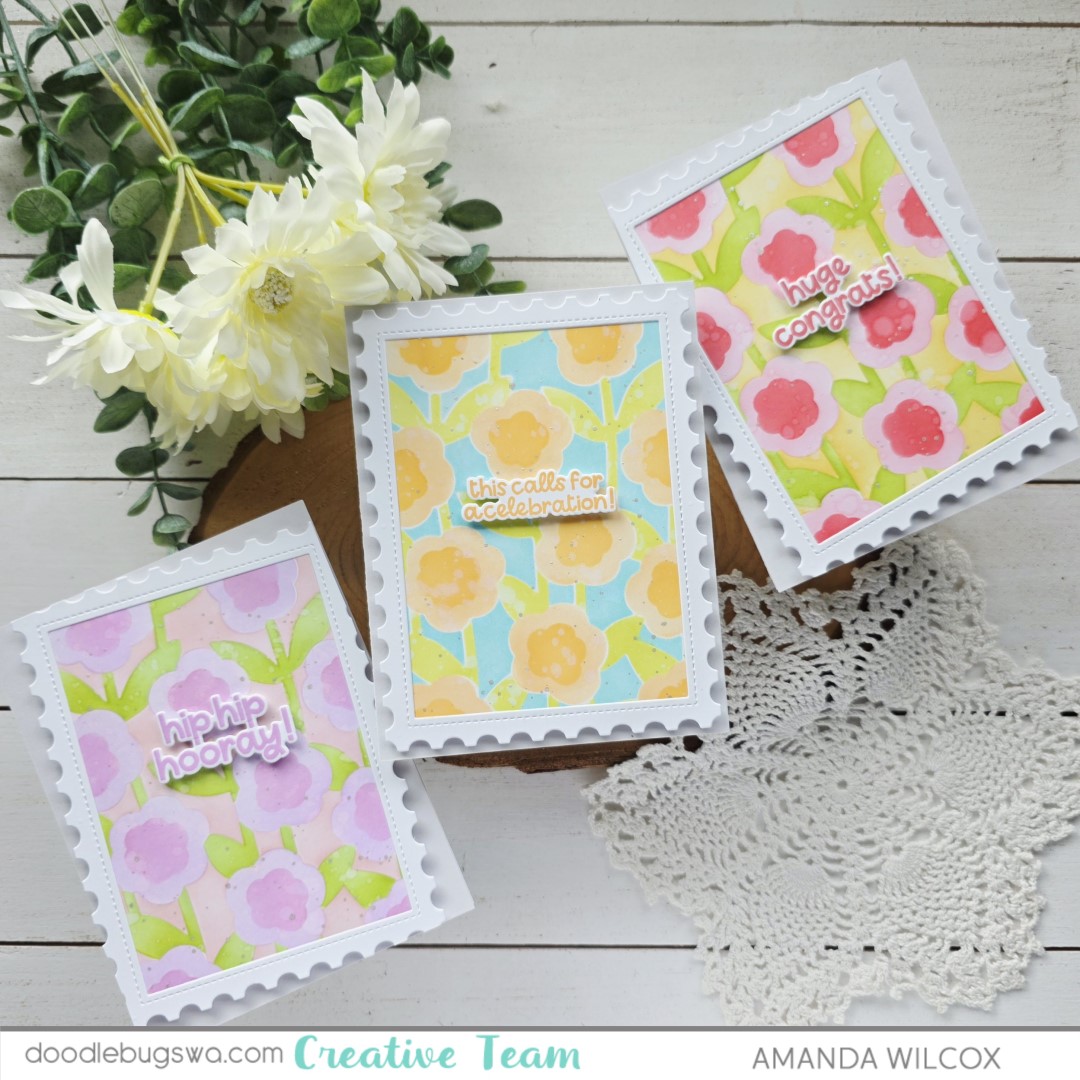
Happy Release Day for Newton’s Nook! We’re having an Instagram hop today to celebrate release day and give you a nice boost of inspiration to use these new dies that are available in the Newton’s Nook shop right now!
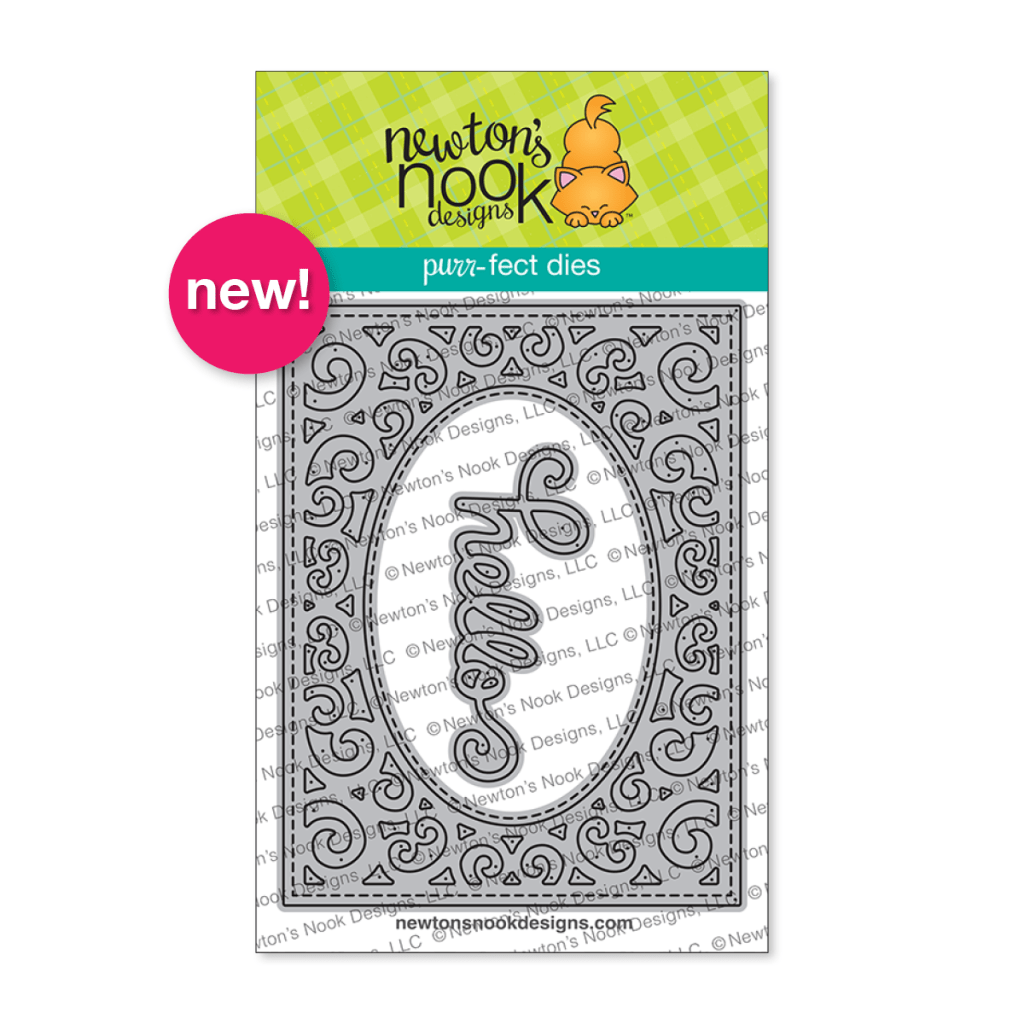
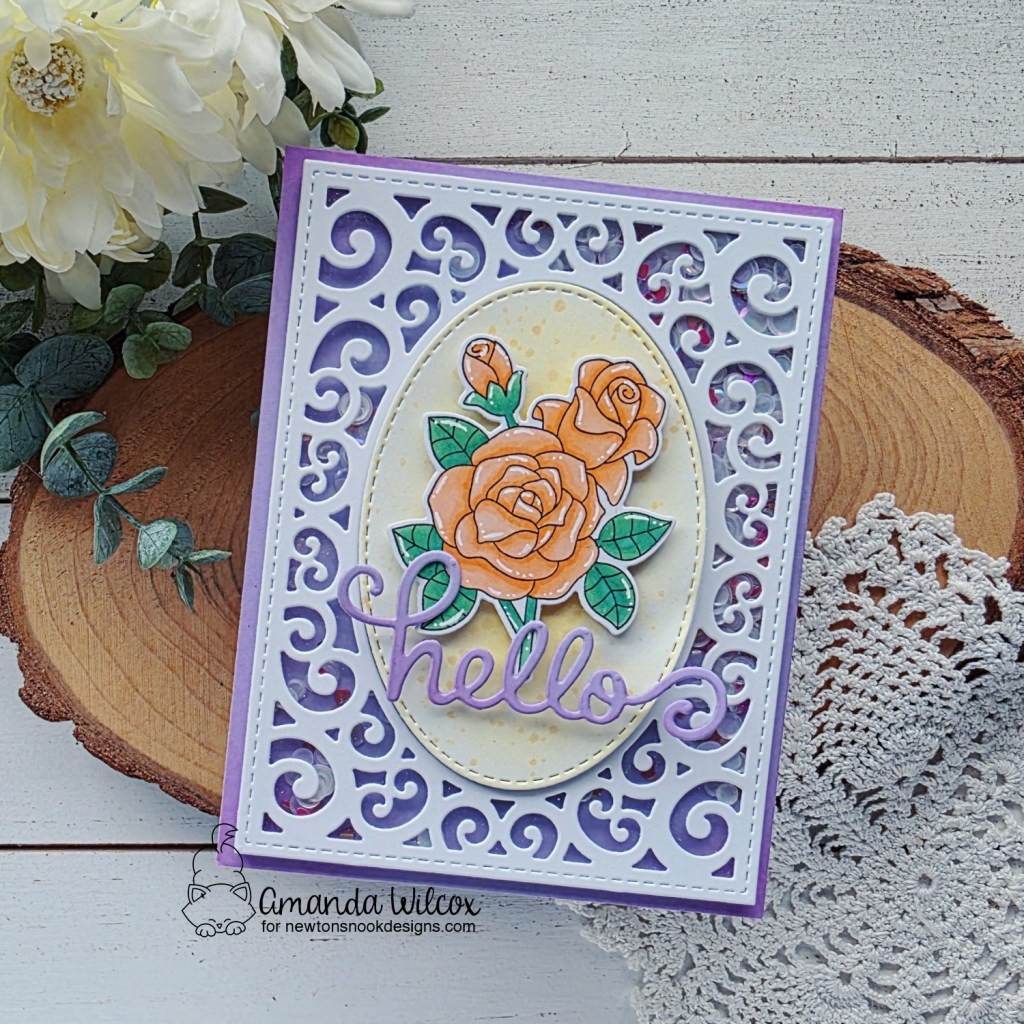
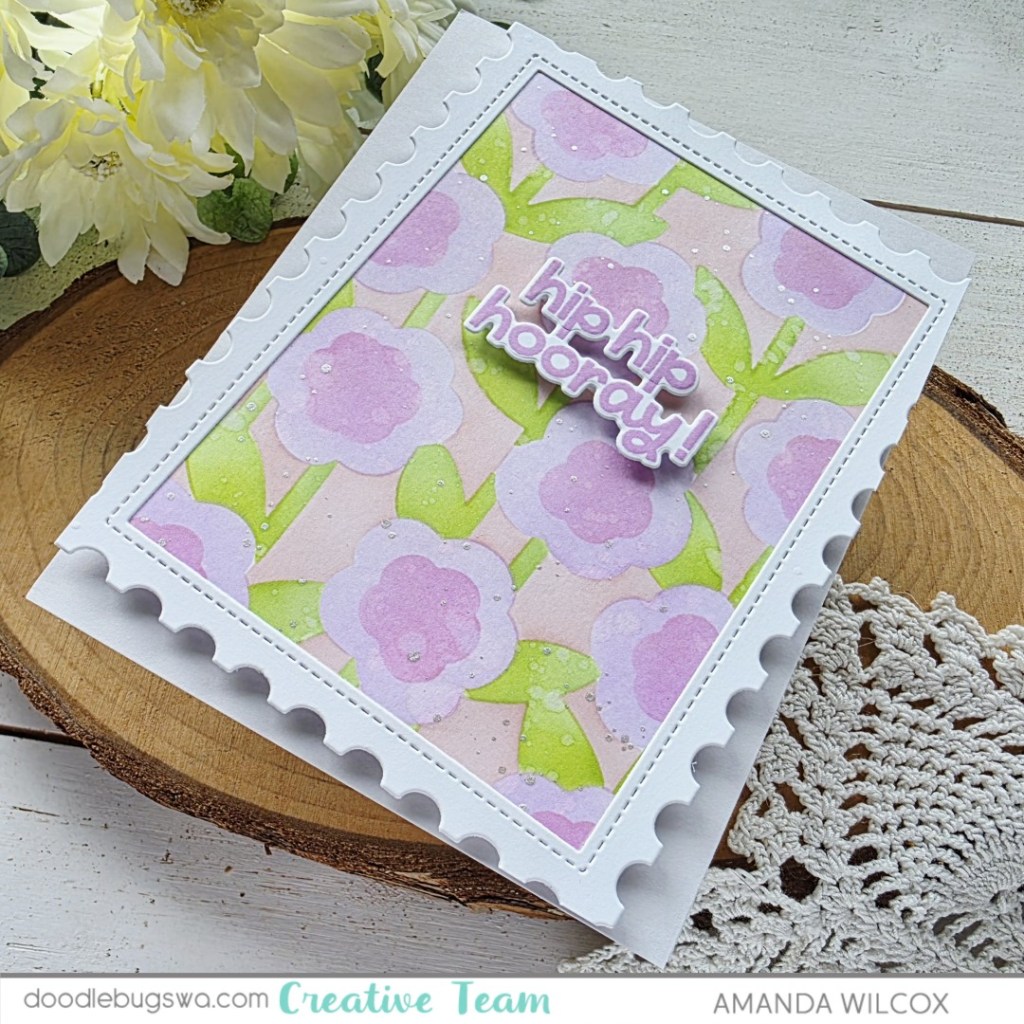
I have a card to share with you using the Filigree Oval Frame die set again, in a simpler way than a shaker which can be overwhelming for some people.

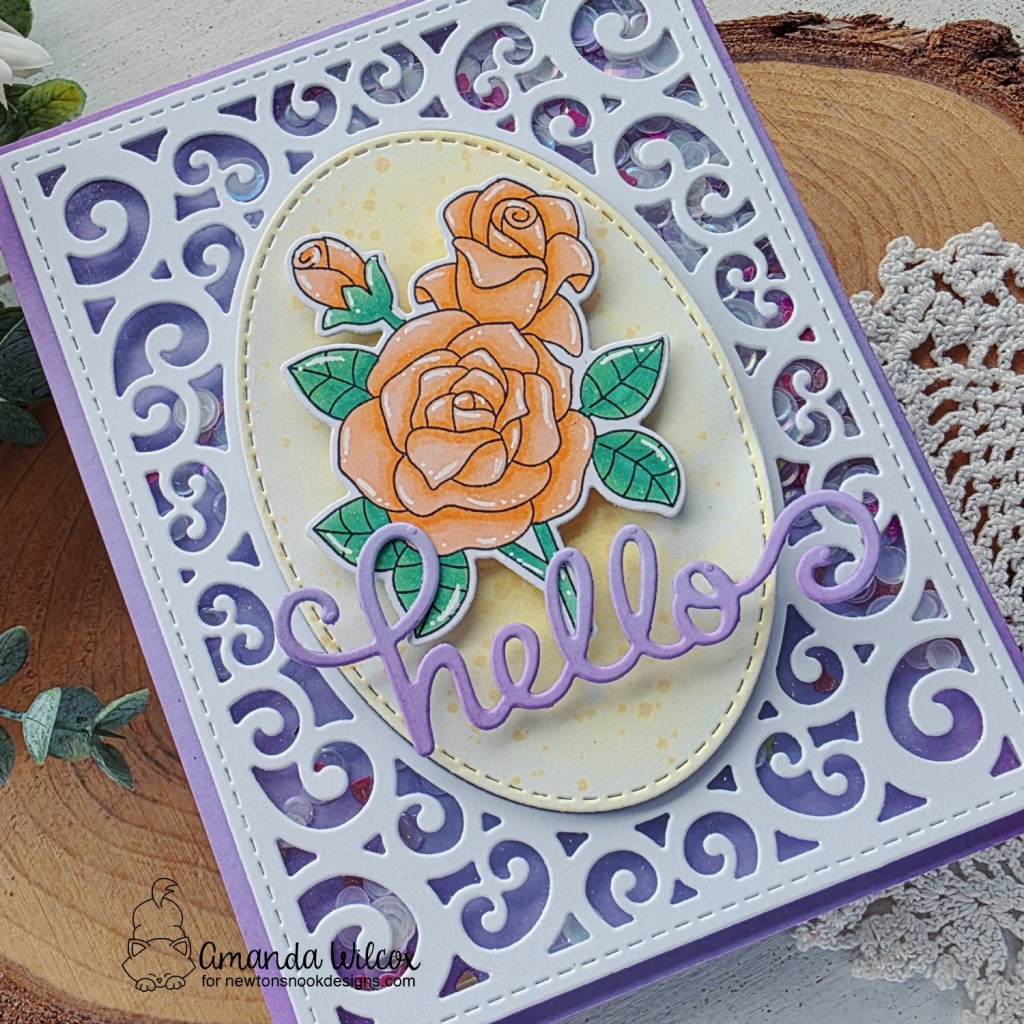
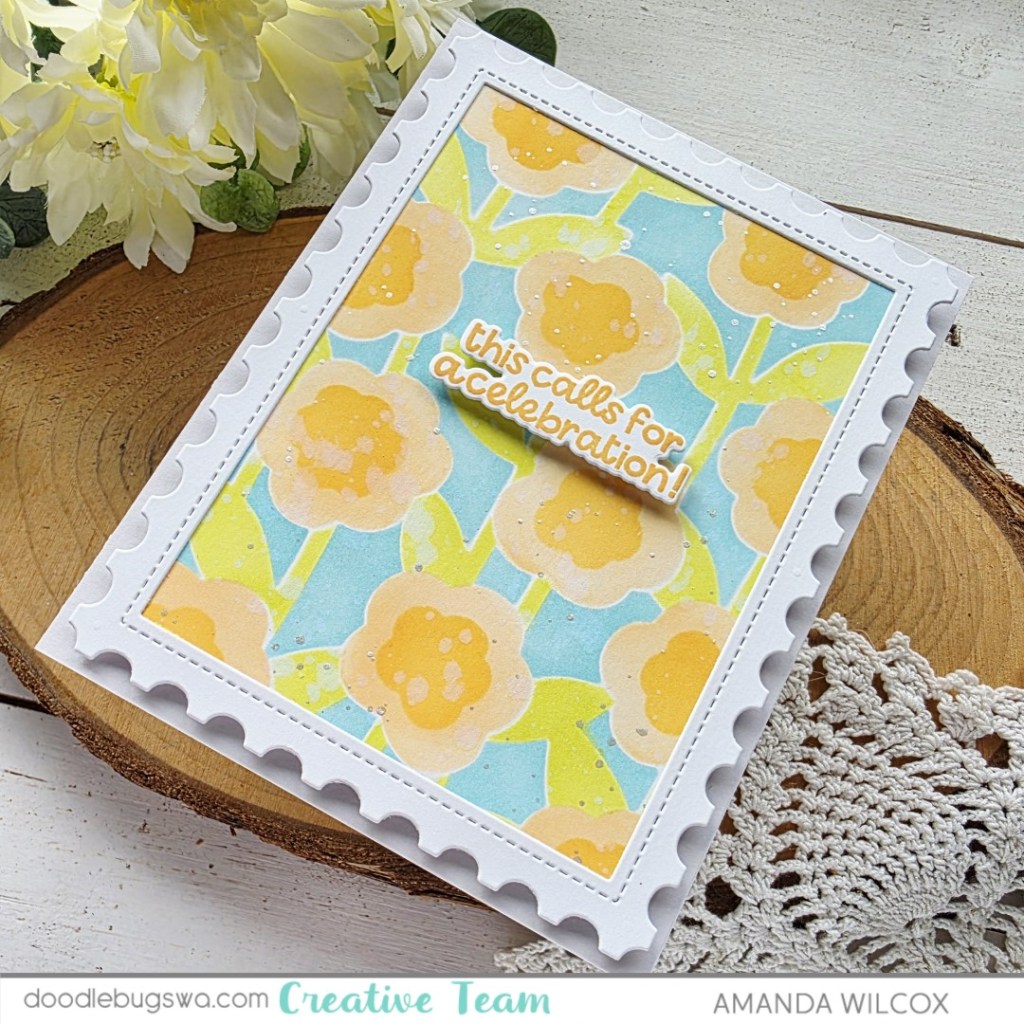
For this card, I actually cut everything out using a pastel pink cardstock and inked over the top. I started out just playing around with no plan but I wanted to add dimension to the pink so I grabbed blending brushes and some warm colored inks. I inked up the frame in a random bit of color here and there, then went back and blended those together.
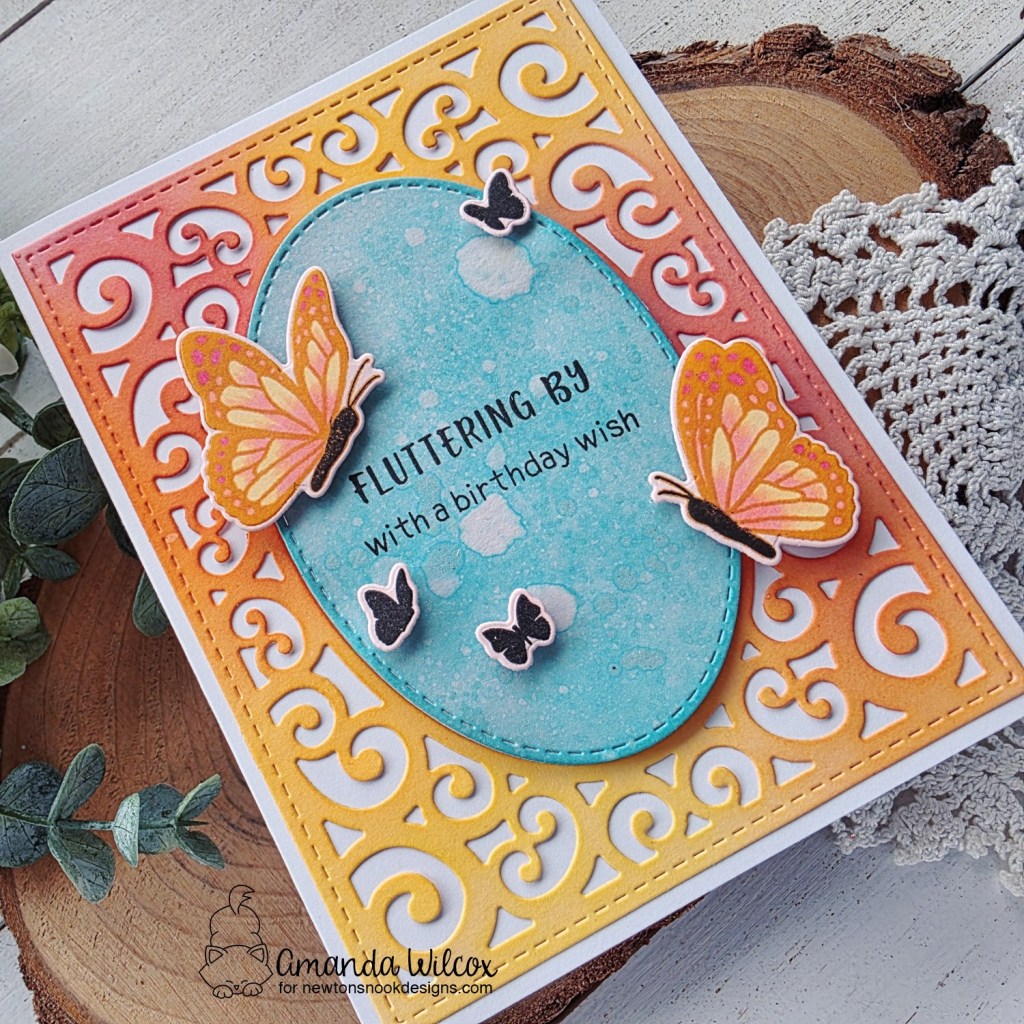
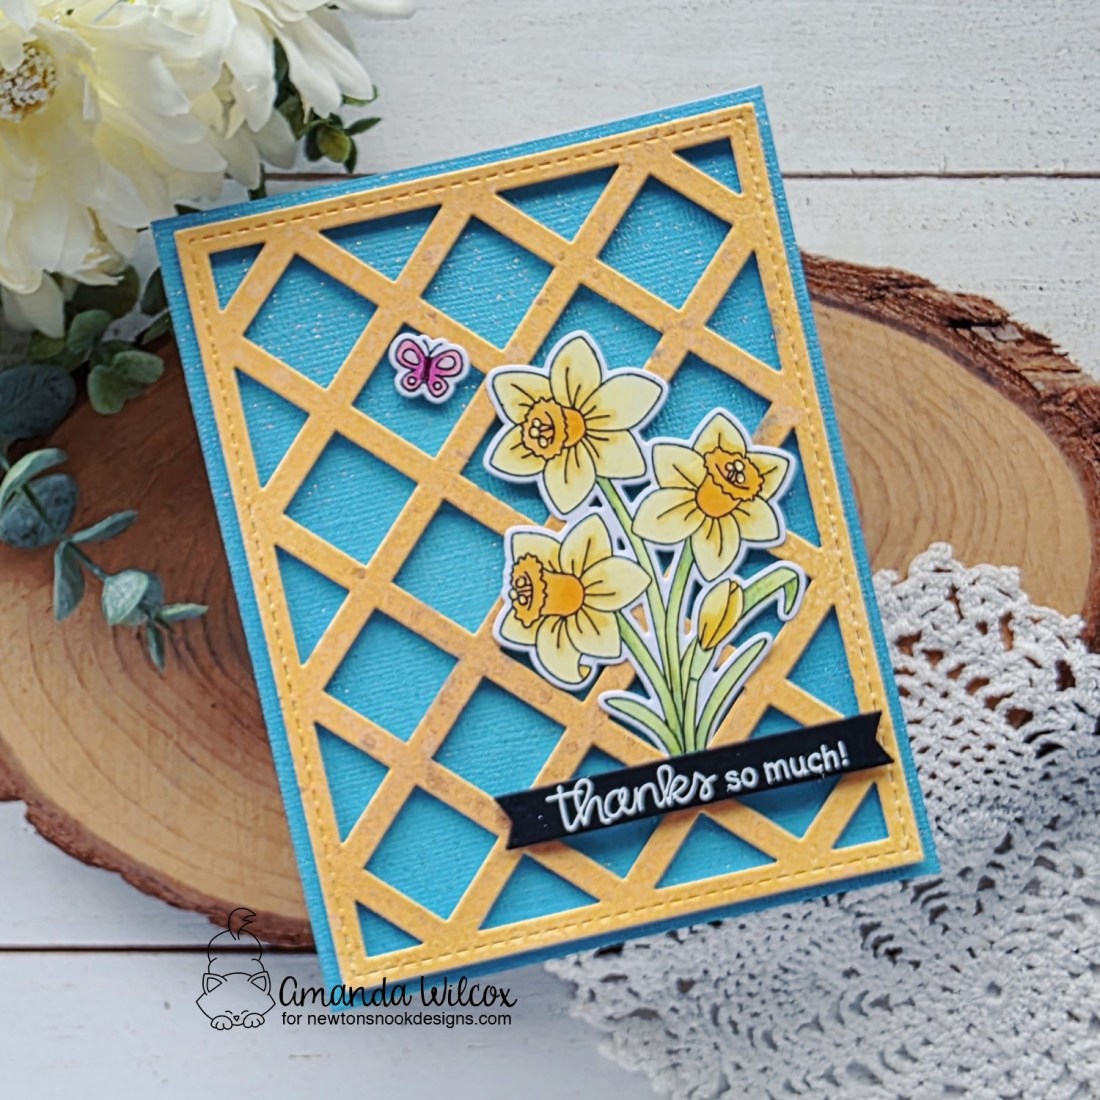
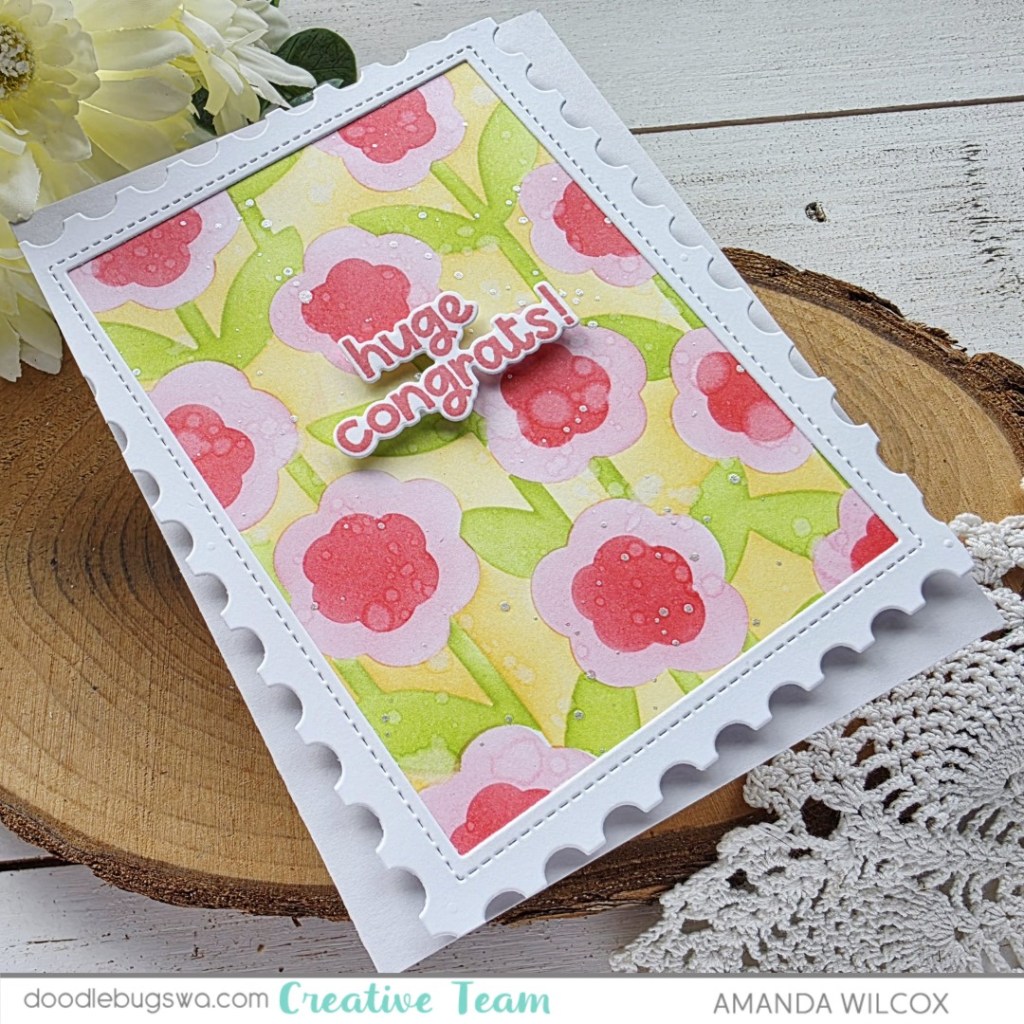
Next, I had pulled out the Monarchs stamp set thinking it is a great spring set to play with but I didn’t want black butterflies so I tried stamping them in orange on the pink cardstock and I love it! I used copic markers to add shading to the open spots which also worked well. I stamped the small shadow butterflies in black and used coordinating dies to cut everything out.
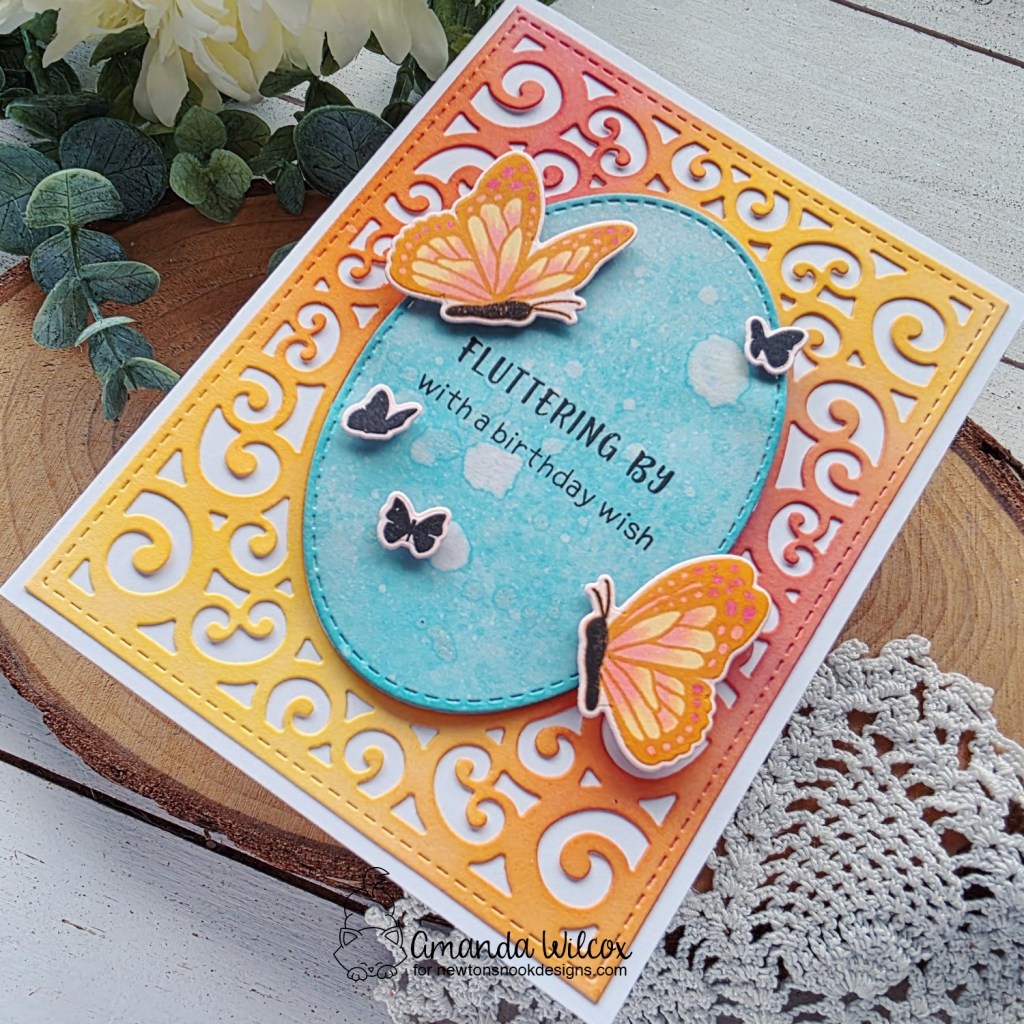
Next, I ink blended blue inks on the oval that cut out when I cut the frame and splattered it with some extra watered down iridescent watercolor. When that was dry, I stamped my sentiment in the center. For assembly, I added the frame to a white card base and popped the oval up with foam tape. Then I added the butterflies with foam squares, doubling up in the areas that needed it.
Products used:
Filigree Oval Frame dies
Monarchs stamps and dies
Blending brushes
Lawn Fawn dye inks – ballet slippers, guava, lemonade, fake tan, mermaid
Foam tape and squares
Liquid glue
I appreciate you sharing your time with me. Have a fabulous day!