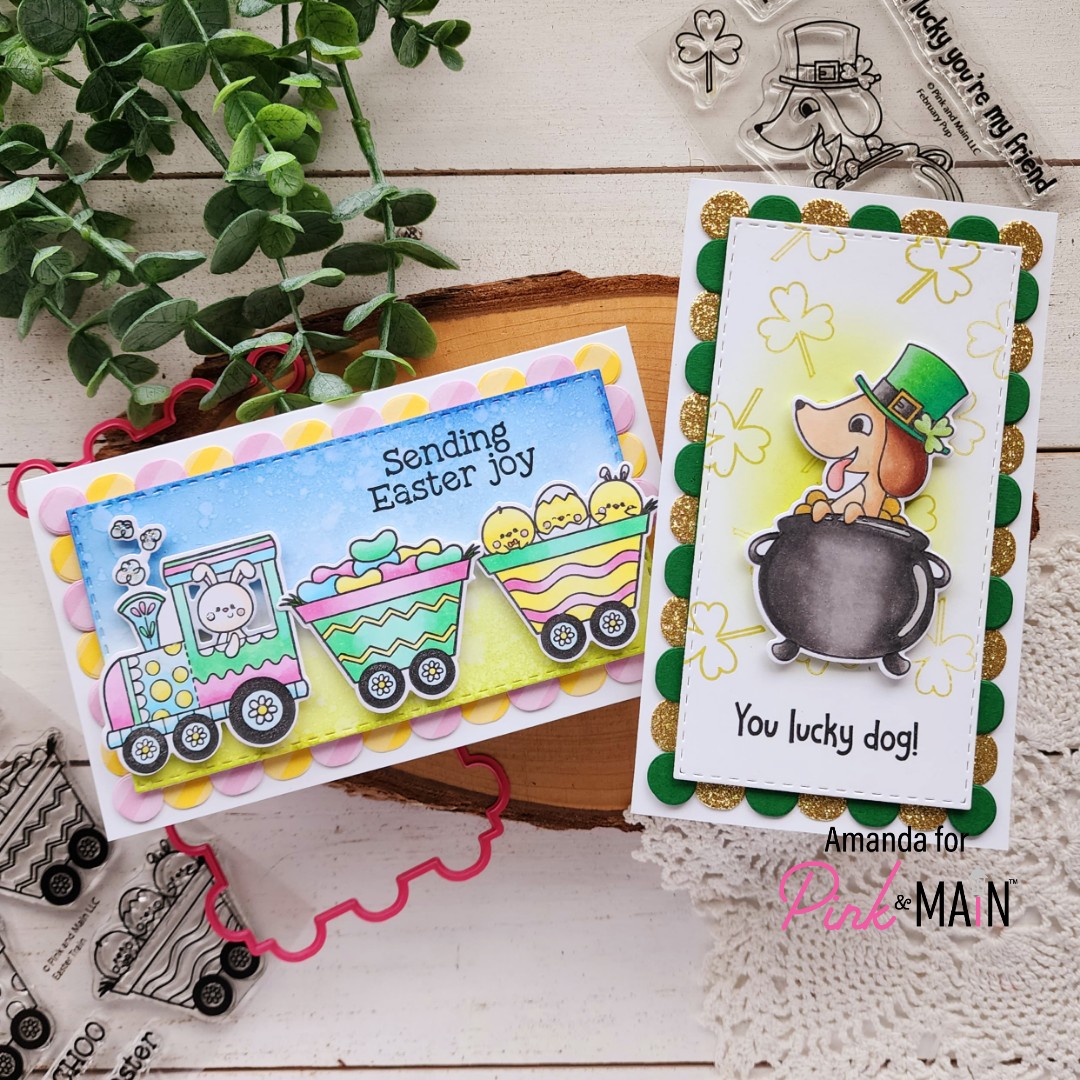
Hello everyone! I’m so glad you’re here today. This week’s #tagtimesaturday features stamps and dies from Avery Elle. This is one of my favorite companies that I feel like I don’t find the time to create with enough. So when this idea came to mind I was very excited to start crafting!

We are hosting the competition this weekend that this tag is for. And since yours truly runs the gift table, I know what my daughter’s delivery gift will be so I took the opportunity to create a coordinating gift tag.
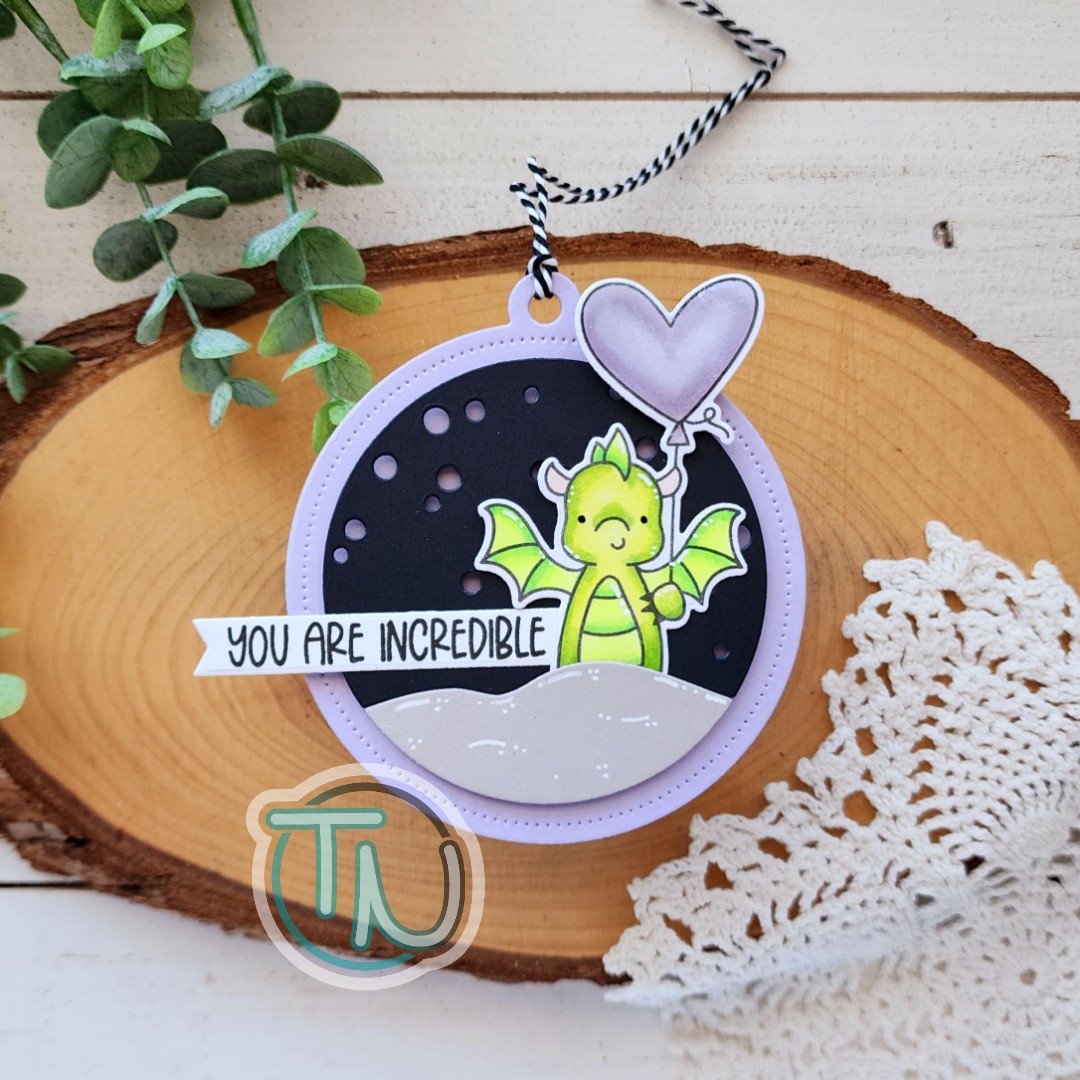
I started by stamping and coloring the sweet image from Dragon Love with my copic markers. I used the coordinating dies to cut him out and set him aside. Then I cut the elements for my tag using the Snowy Tags dies.
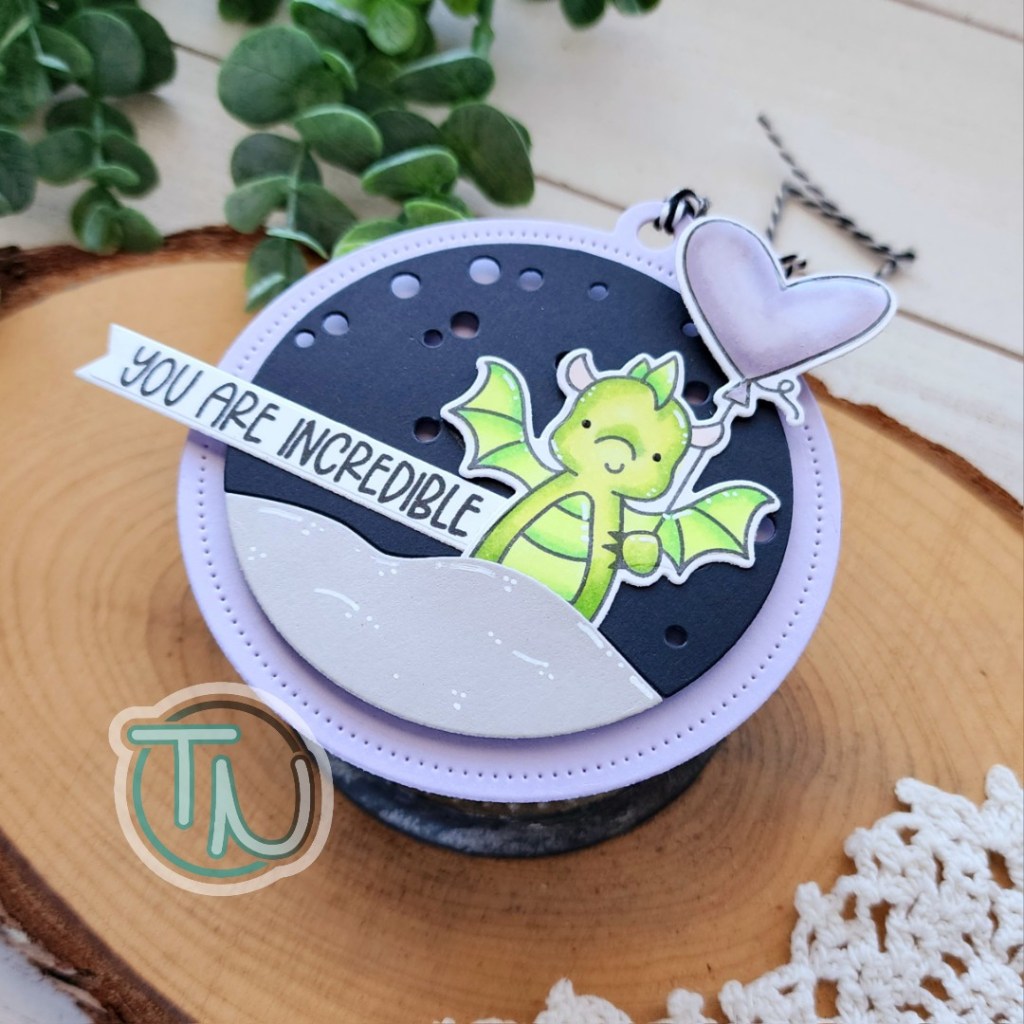
I cut the background piece from purple to match the way I colored the dragon’s balloon. Then I cut the scene elements from black and gray cardstocks. I used foam squares to add those to the purple tag and tucked the dragon into the ground piece.
Next, I went looking for an appropriate sentiment and found this gem in Banner Celebrations. I cut a small banner and stamped it before tucking the end behind the dragon and gluing it in place.
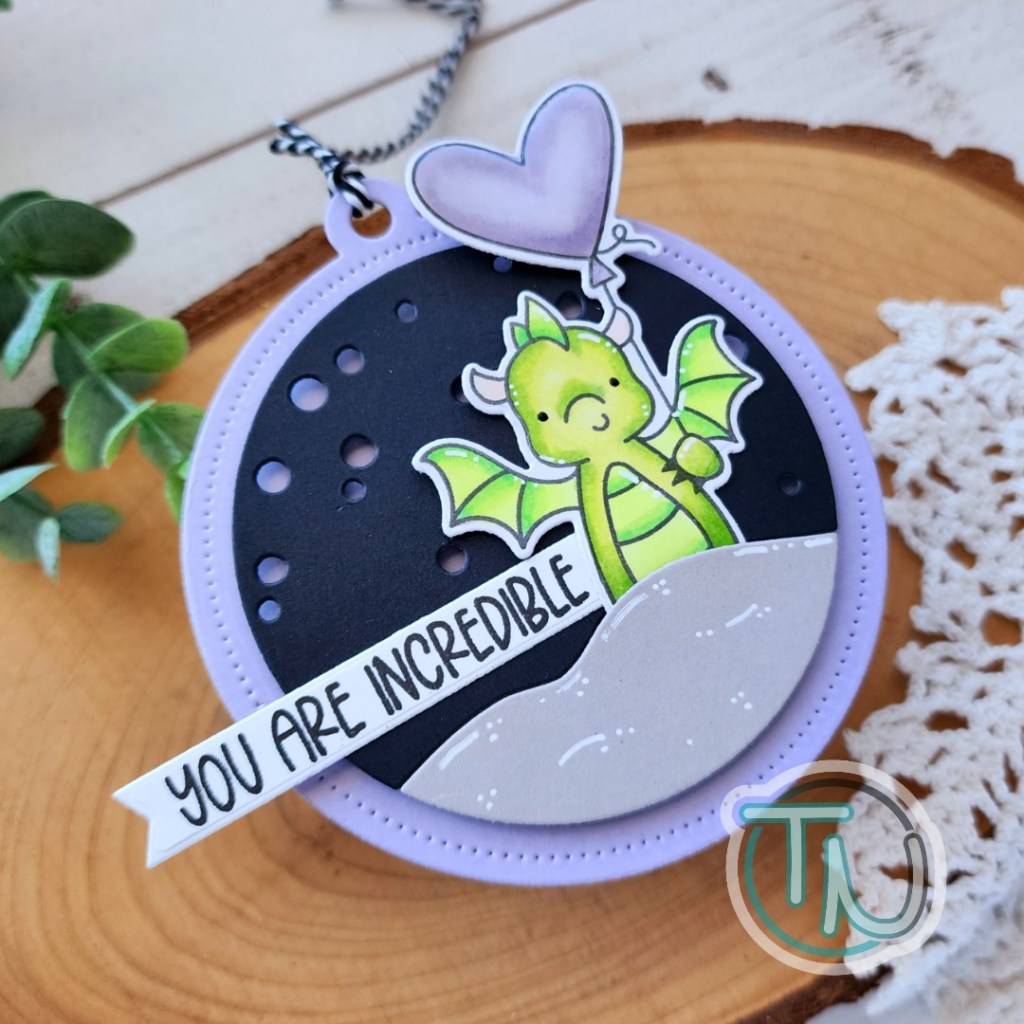
For finishing touches today I added black glaze pen to the dragon’s eyes and then white gel pen highlights all around the dragon and the ground. I covered the balloon with glossy accents so it’s really shiny in the light too. So fun!
Products used today:
Dragon Love stamps and dies (on sale, retiring)
Snowy Tags dies
Banner Celebrations stamps
Foam squares
Glossy accents
I appreciate you sharing your time with me. Have a fabulous day!