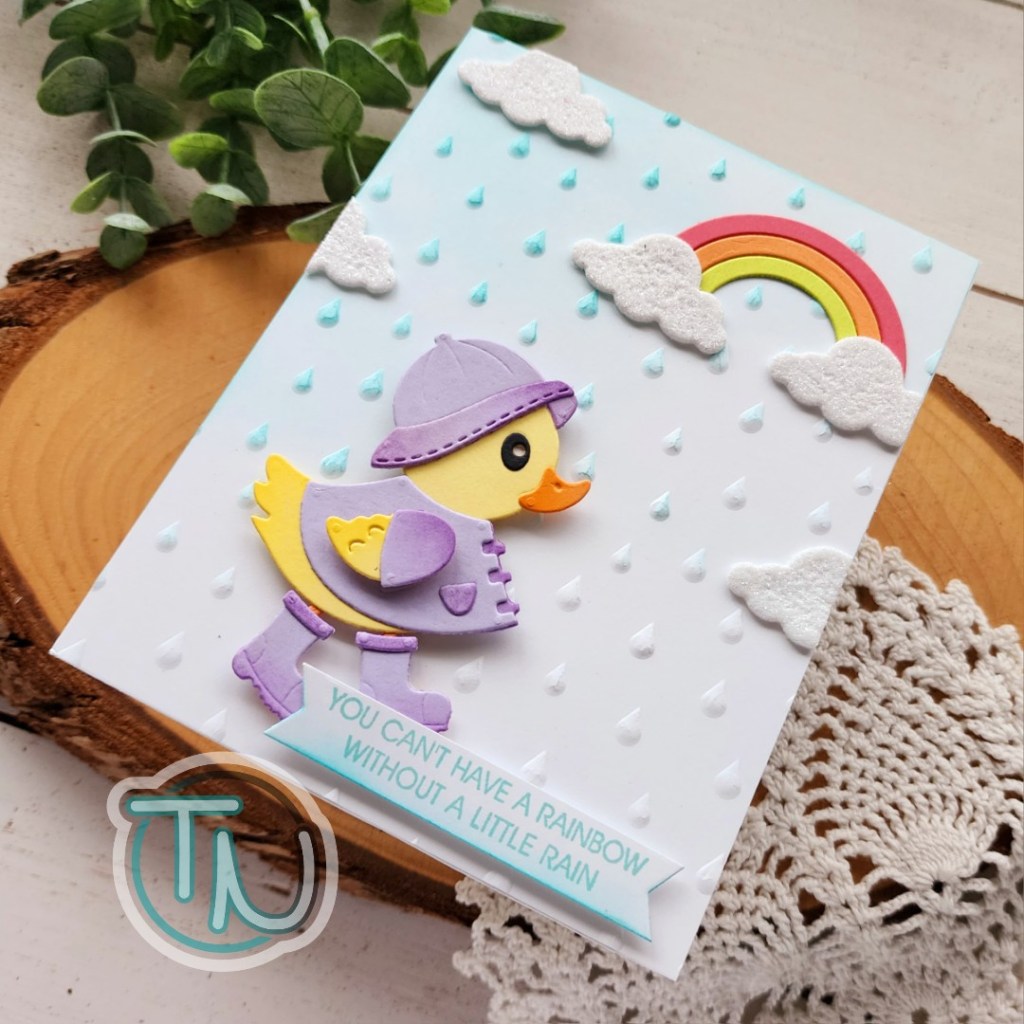
Welcome friends! Today I’m here to share another card featuring a few different sets from the adorable Showered with Love Spellbinders collection. I just adore this whole collection and have been wanted to put the sweet raincoat and boots on the ducky so I finally did it!
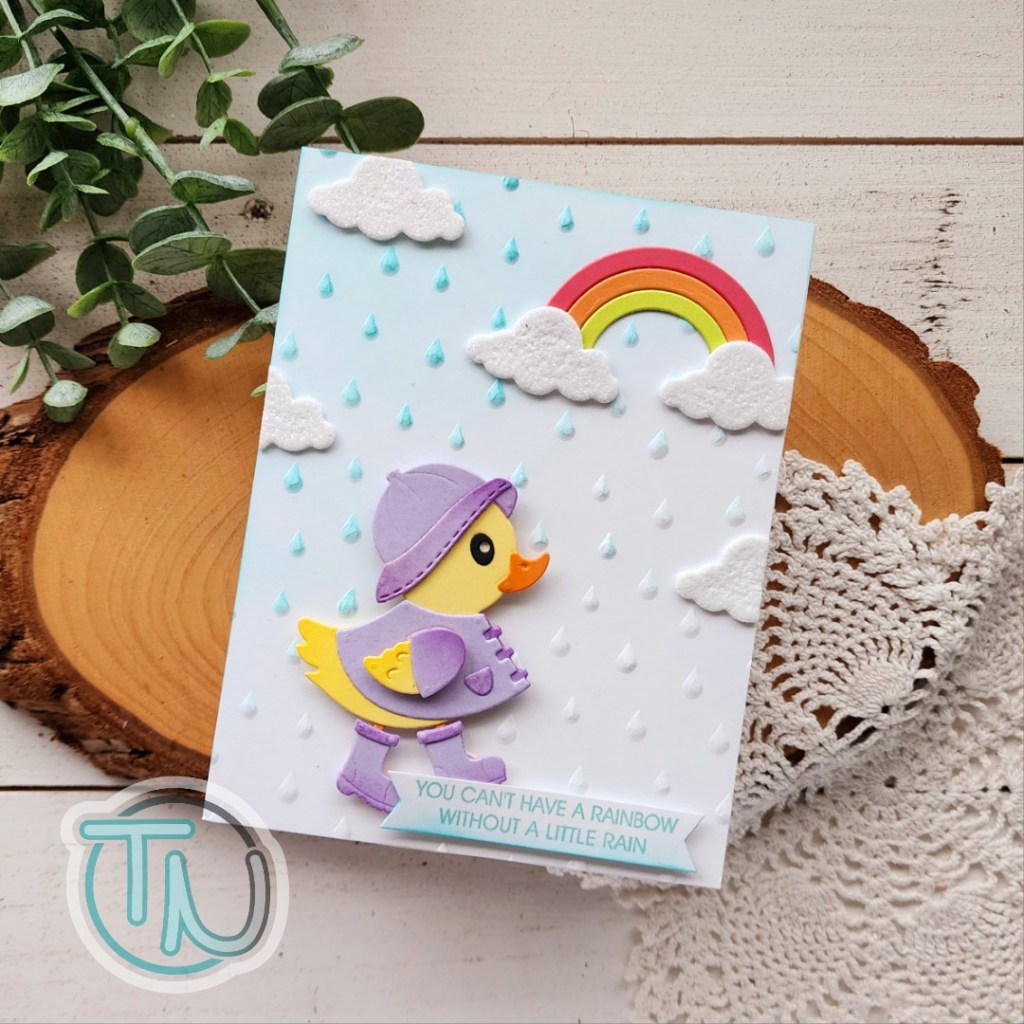
I started my card by playing around with the Duck with Umbrella die set to cut and ink blend all my ducky pieces. I used liquid glue to adhere everything and set her aside. Then I used the Raindrops embossing folder on a piece of white cardstock and ink blended from the top left fading to nothing in the bottom right.

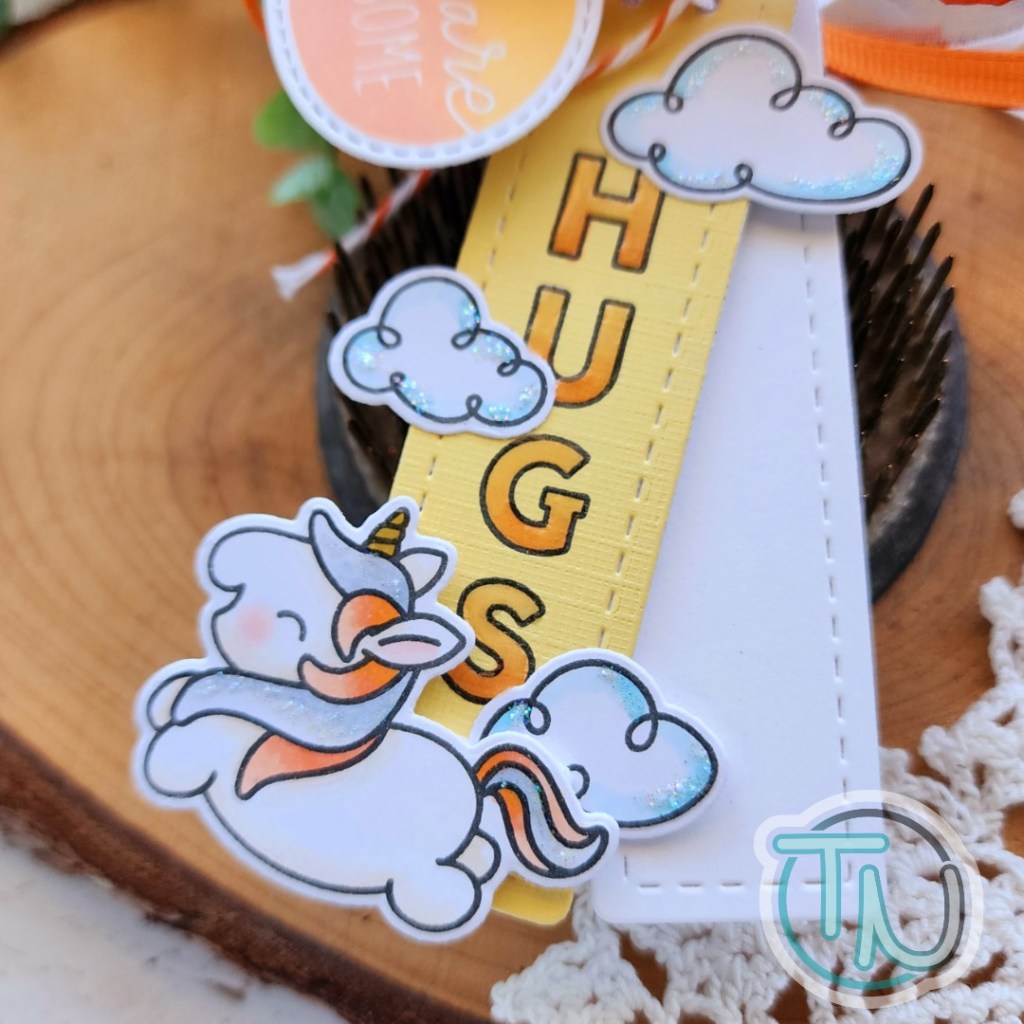
Another thing I picked up recently is the new die cutting glitter foam from Spellbinders. I thought this was the perfect time to pull it out and give it a try. It cut like butter! It’s so perfect and pops right up after it comes out of the die. I love it! After I cut the clouds and rainbow from Rain or Shine I started assembling my card.
The clouds and rainbow are adhered with liquid glue and the duck is popped up with foam squares. Then I chose a sentiment from I’ve Got You Covered and cut it out with a banner die from my stash. I didn’t really want a bold black sentiment so I used the same color as the raindrops and then inked up the bottom of the banner before popping it up with foam squares over part of the ducky’s boots.
I love how this fun card turned out! It’s so sweet and totally got me in the mood for all things spring to craft!
Products used:
Duck with Umbrella dies
Rain or Shine dies
I’ve Got You Covered stamps
Pop-Up Die Cutting Glitter Foam sheets
Foam squares
Liquid glue
I appreciate you sharing your time with me. Have a fabulous day!