Welcome friends! Today I’m over on the Newton’s Nook blog sharing a little “pickup” card for someone who could use a smile. Oh, goodness I love a good pun! This Farming Fun set from Newton’s Nook is not short on them either! They’re so good!
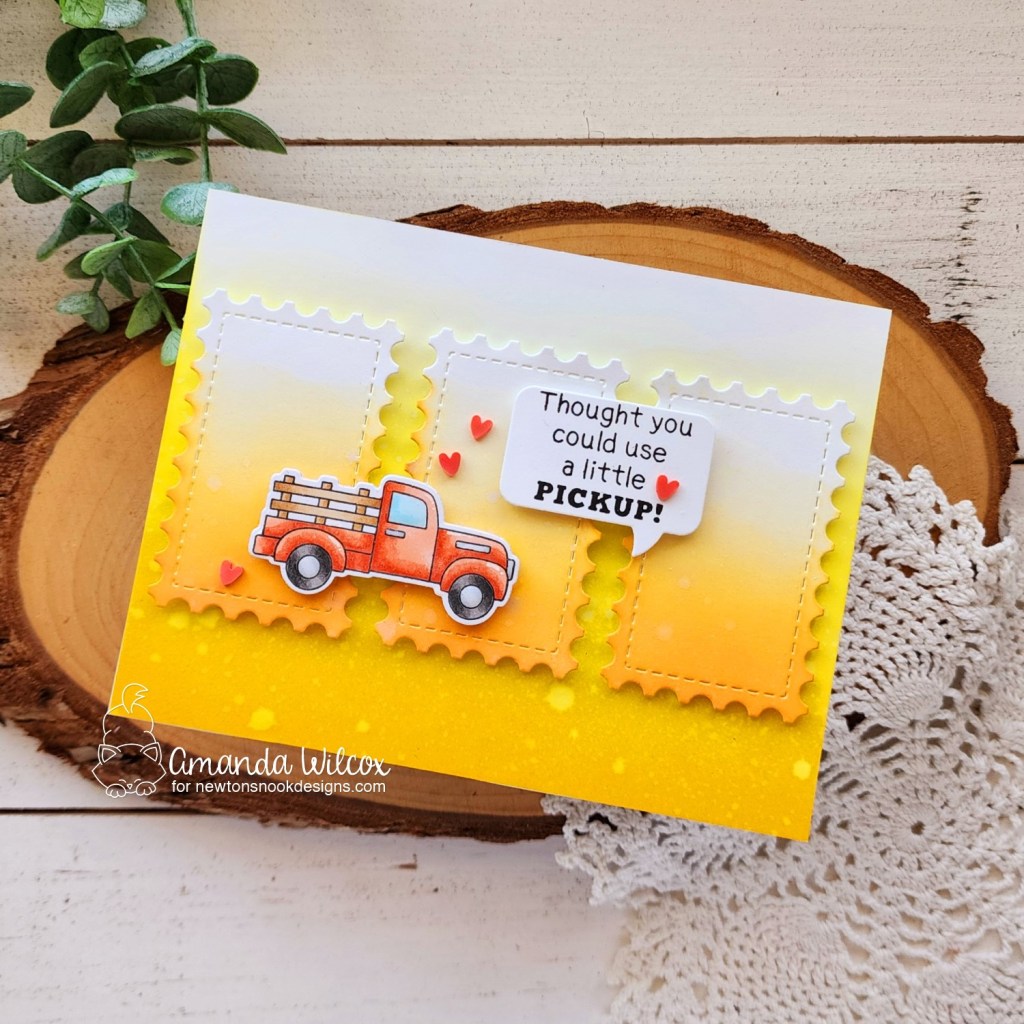
I thought a sunshine feel for my card giving a “pickup” could use some warm tones, so that’s what I stuck to for my color palette. I stamped and colored the truck with copic markers and cut it out with the coordinating die. The speech bubbles are solid dies so I cut that out and then stamped the sentiment on it.
For my background panel, I blended distress oxide ink in mustard seed and squeezed lemonade fading to nothing at the top. Then I cut 3 of the next-to-smallest die in the Framework set and blended distress oxide ink in carved pumpkin, fading up to nothing. I spritzed them all with a distress sprayer and let them dry.

Next, I adhered the background panel to a card base and popped the rectangles up with foam tape. Finally I added the truck and speech bubble with foam squares.
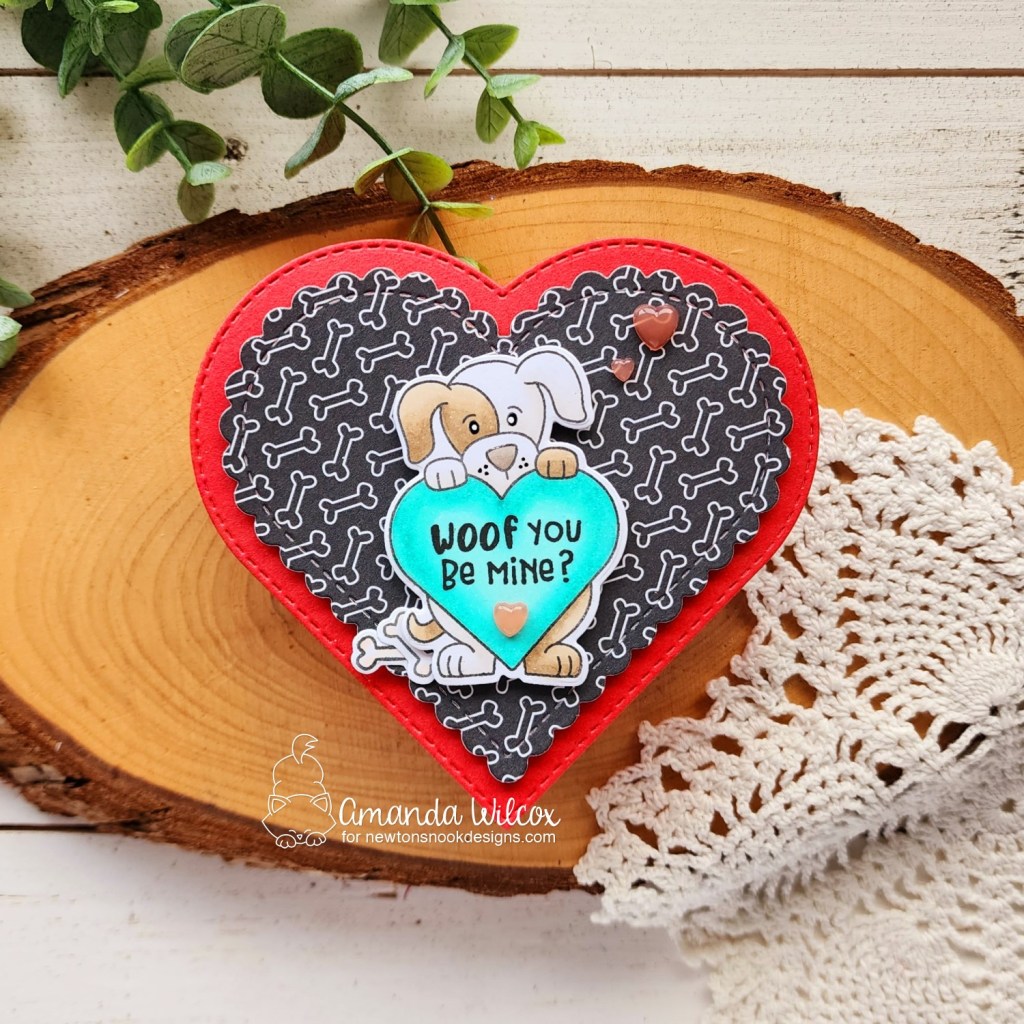
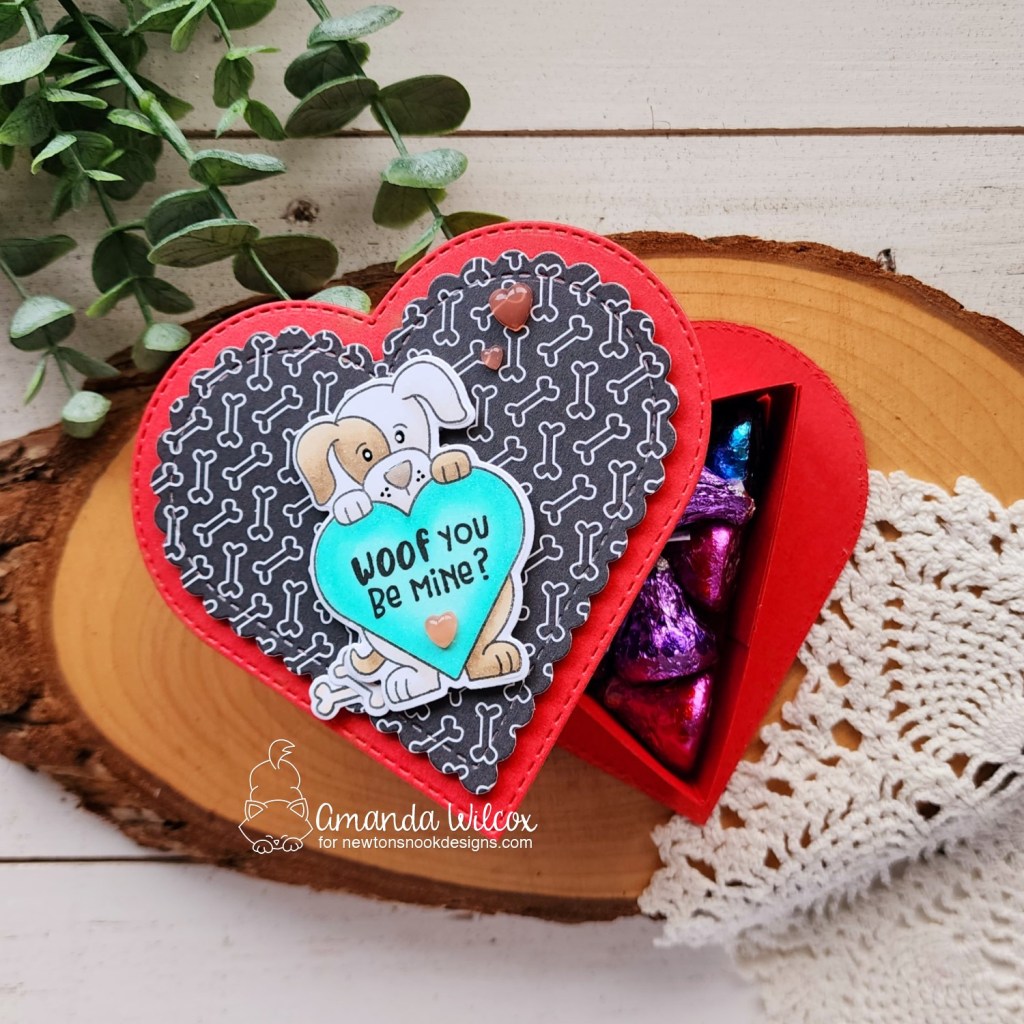
For finishing touches I added red clay hearts from the Twiddler’s Nook Sweethearts embellishment mix with liquid glue. Then I came in with a bit of glossy accents on parts of the truck -anything “metal” and the window.
Products used today:
Farming Fun stamps and dies
Framework dies
Speech Bubbles dies
Distress Oxide Ink – mustard seed, squeezed lemonade, carved pumpkin
Foam tape and squares
Glossy accents
Liquid glue
Sweethearts clay embellishments
I appreciate you sharing your time with me. Have a fabulous day!