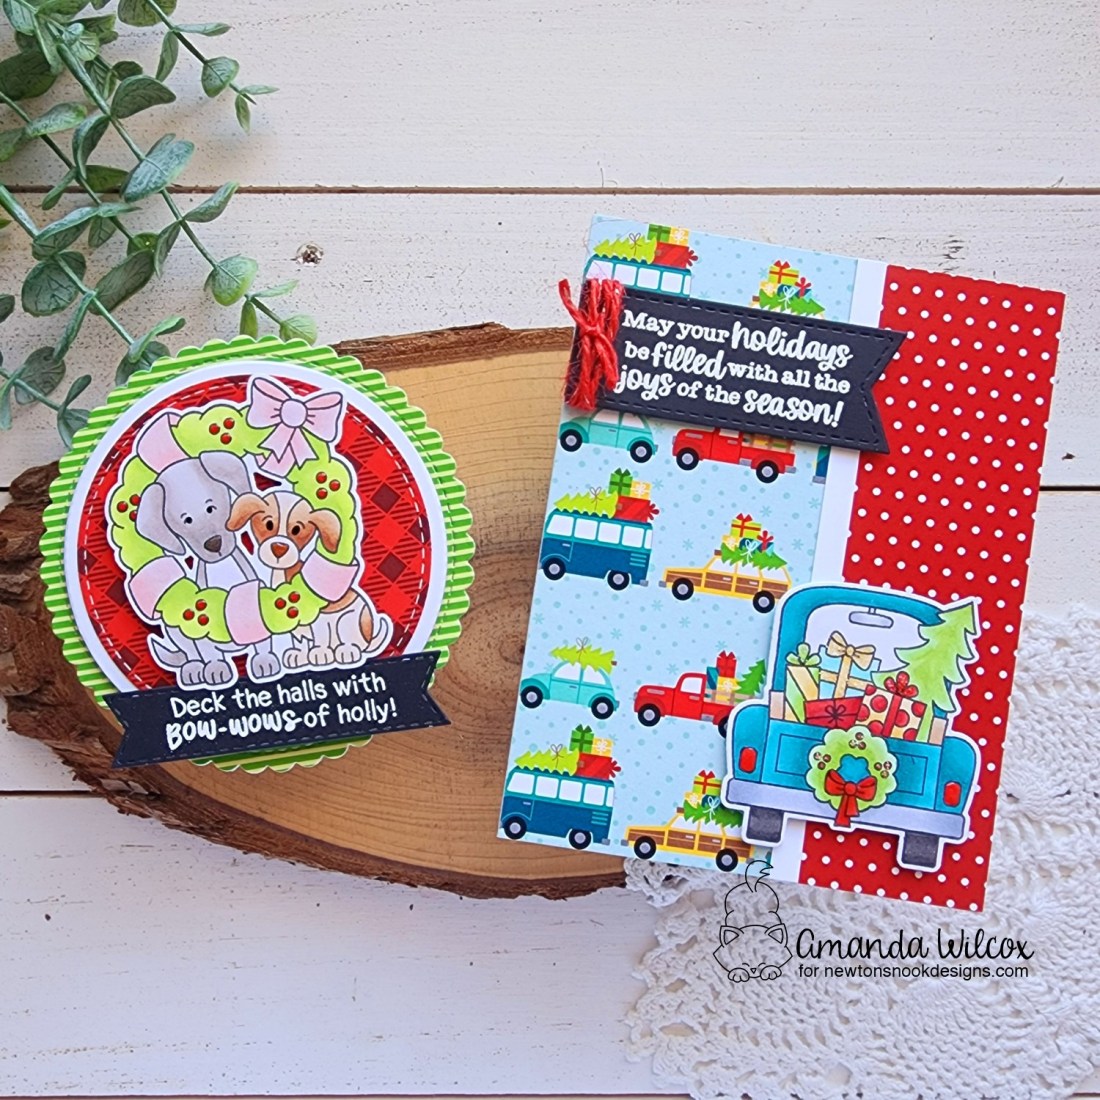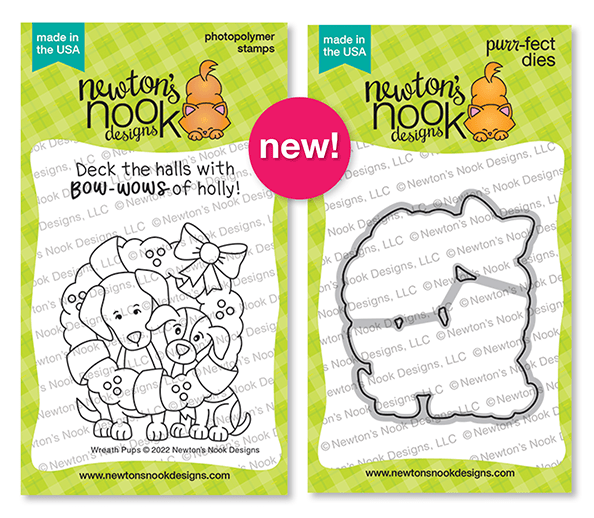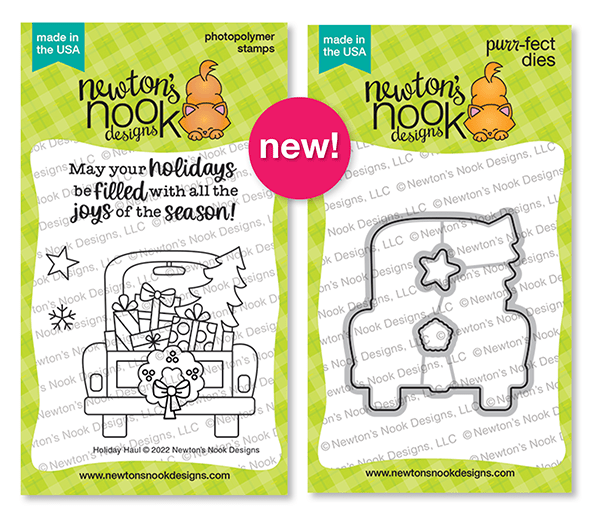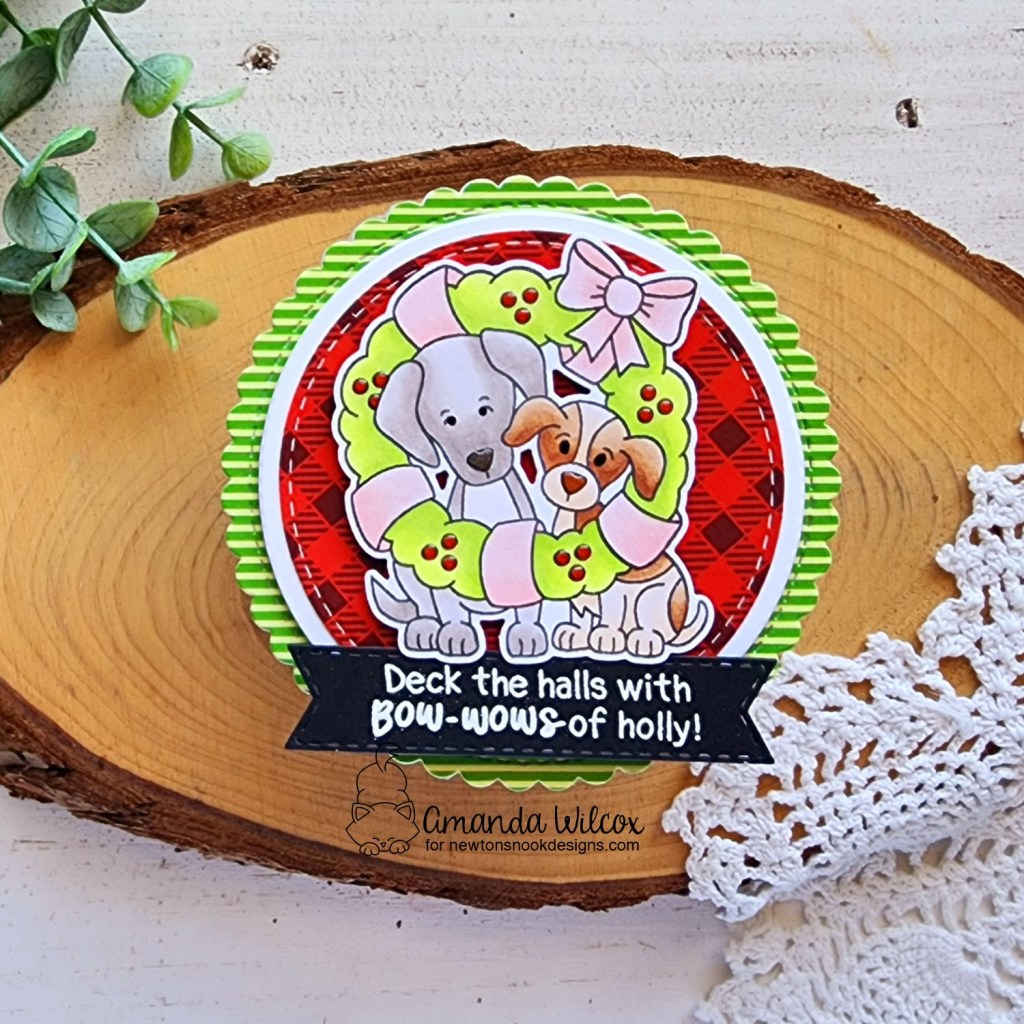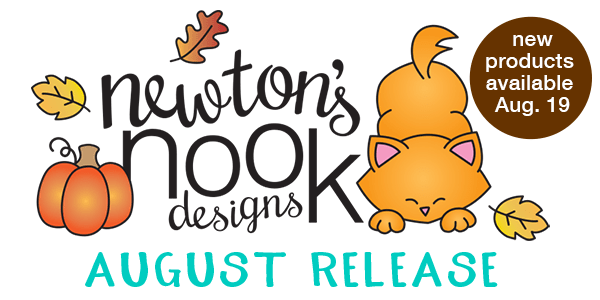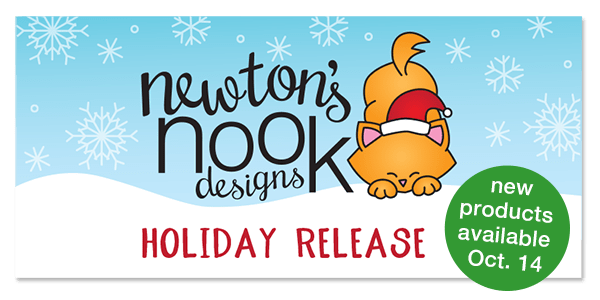
Alright friends, we’re over the hump and on to day 3 of release reveals for the October Newton’s Nook release! There are two more amazing stamp and dies sets to reveal and super fun projects to share!
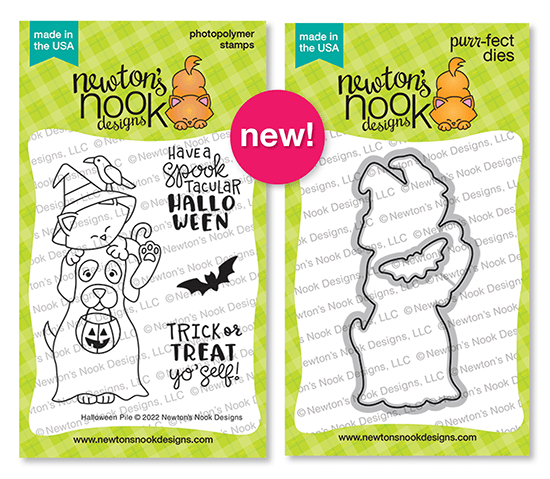
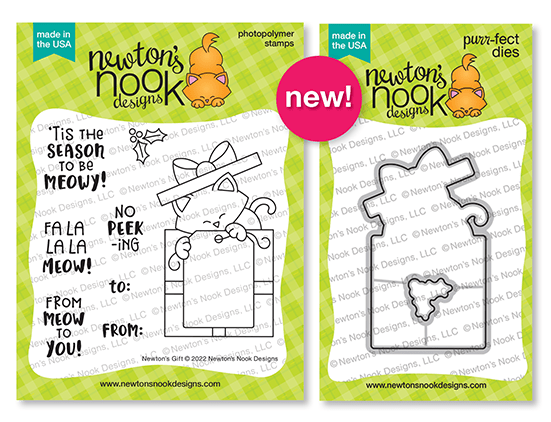
Newton’s Gift stamps and dies
Christmas Nap stamps and dies
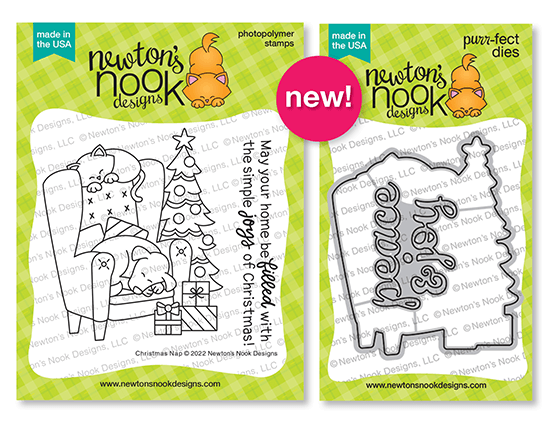
These sets are super sweet! Great for the holidays but also, Newton’s Gift is great for all occasions!
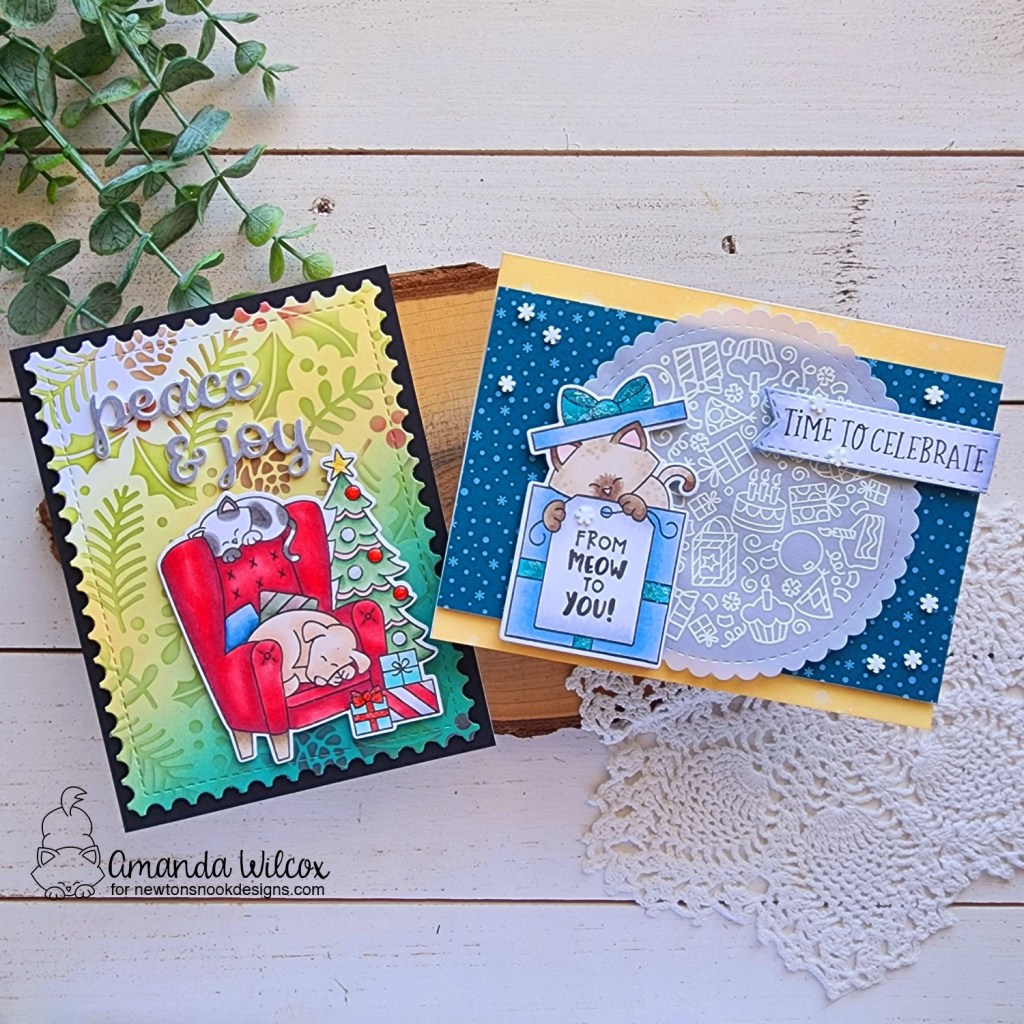
I couldn’t resist creating a fun winter themed birthday card with Newton’s Gift right away. It’s so sweet and great in any color combo you want to try it in.
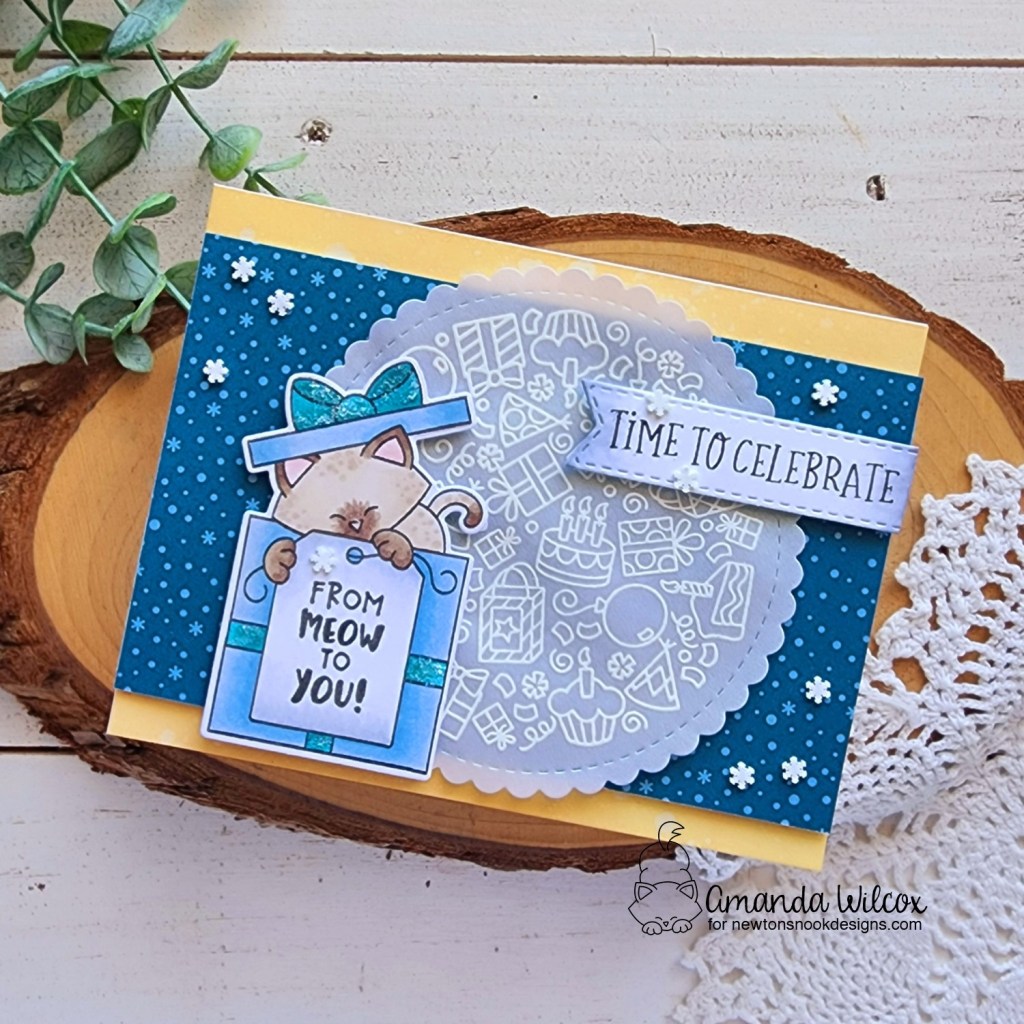
I stamped and colored the image using that great snowflake paper from the new paper pad as a guide. To reduce the risk of smearing, I stamped on the gift tag after I was done coloring. Then I used the coordinating die to cut it out.
Next, I die cut a scalloped circle from Circle Frames and heat embossed Birthday Roundabout in white. I die cut a banner from Banner Trio and stamped a sentiment from the same birthday set on it. I used copics to give it some shading to coordinate with the gift tag.
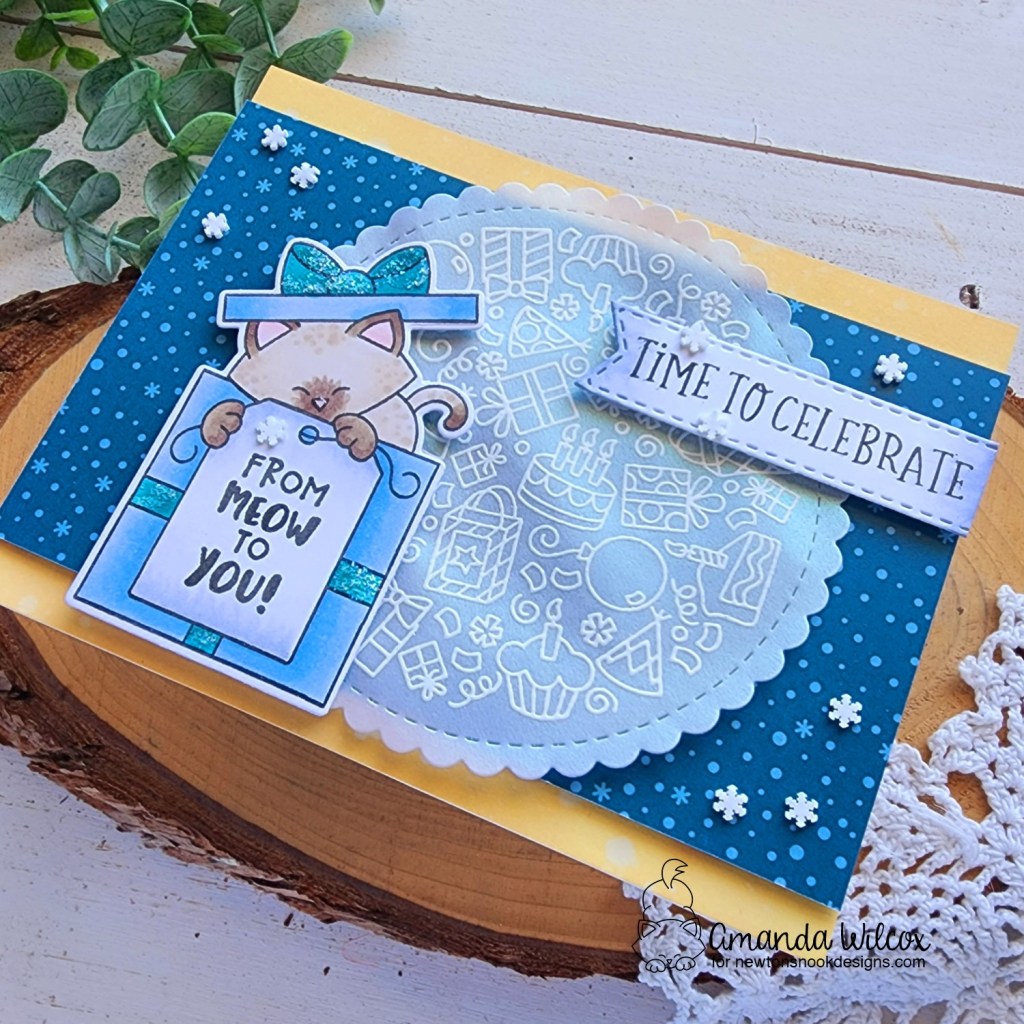
Next, I ink blended scattered straw distress oxide on an A2 panel and splattered it with water, then I popped up the patterned paper with foam tape. I added foam squares to the banner and image and adhered them to the vellum circle. I used these places to hide adhesive to adhere the vellum to the card front.

For finishing touches, I added white clay snowflakes from Twiddler’s Nook Happy Feet embellishment mix around the design, glossy accents to Newton’s nose and stardust Stickles to the gift ribbon.
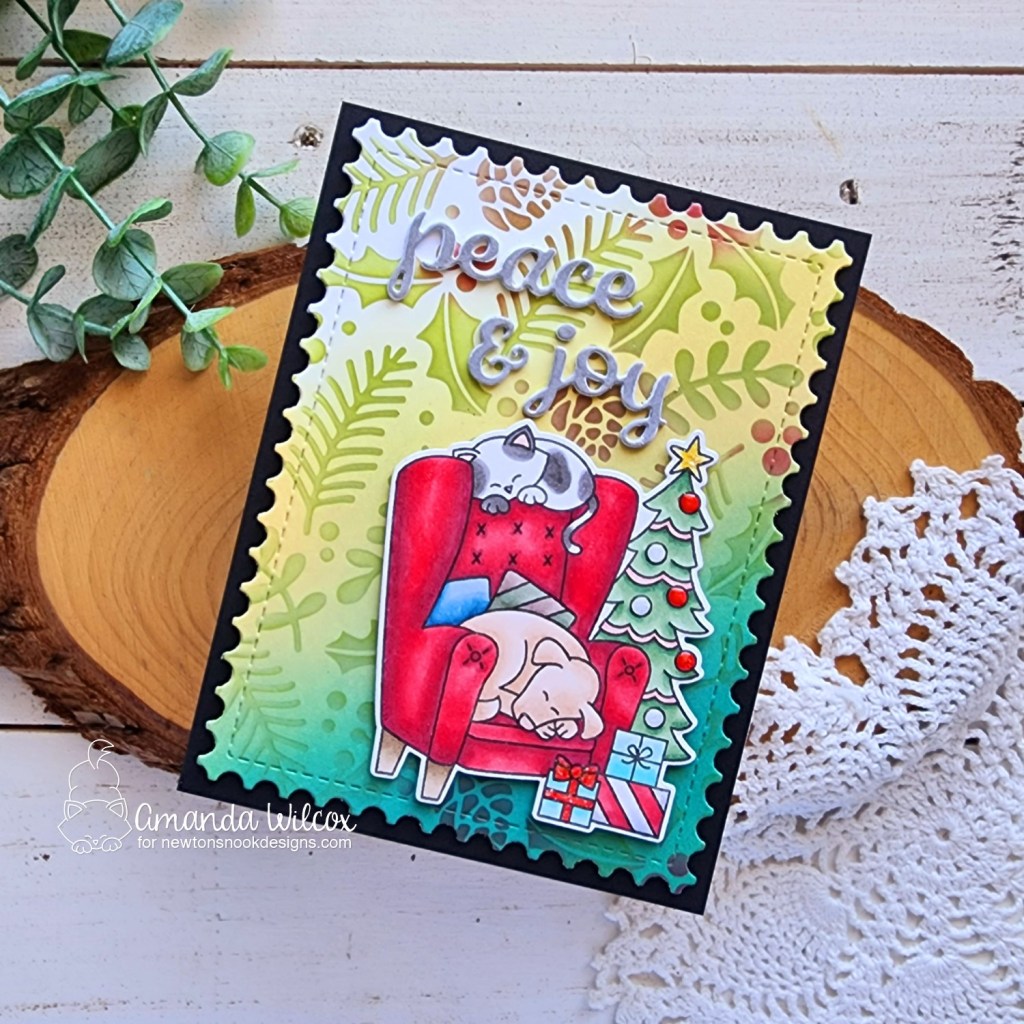
For my Christmas Nap card, I stamped and colored the image in some warm colors fit for winter. I used the coordinating die to cut it out and set it aside. This die set also has the word dies Peace & Joy in it so I cut them from white cardstock 4 times and adhered them together with liquid glue.
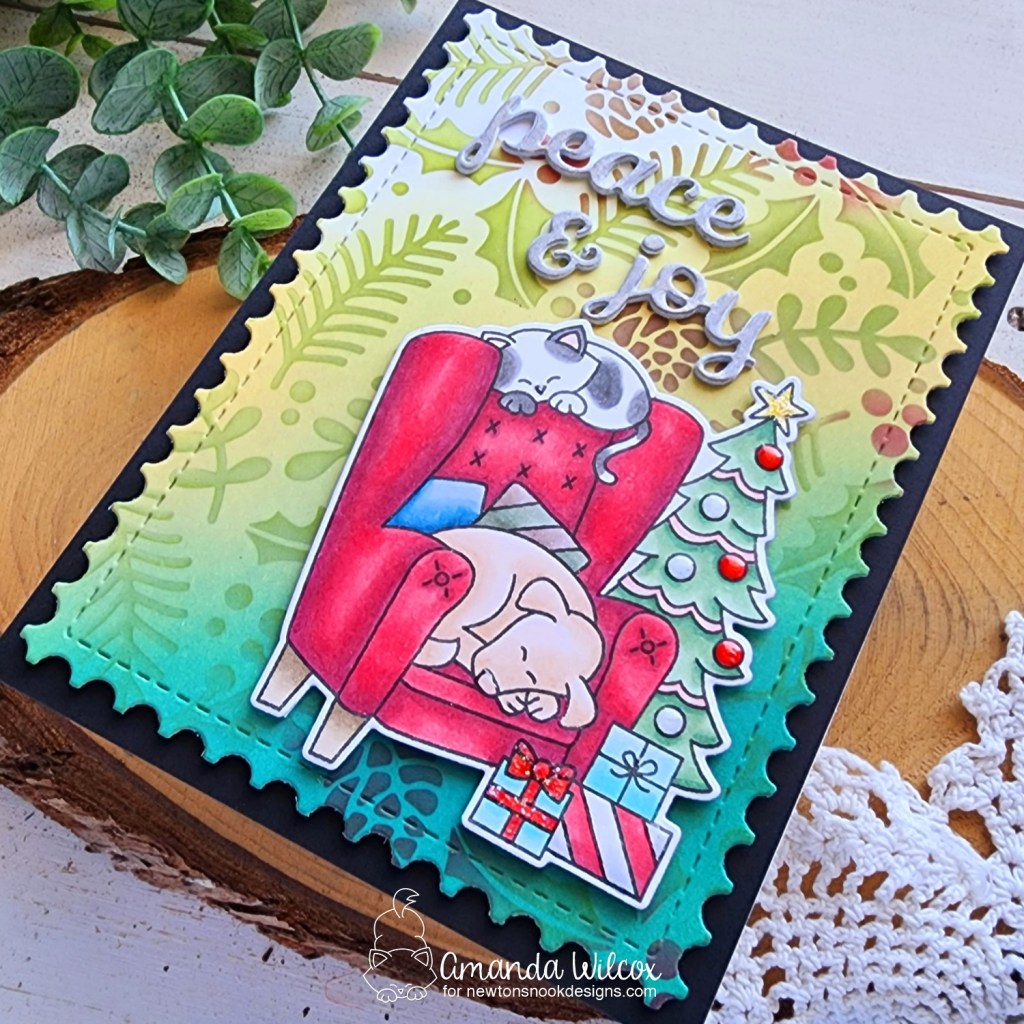
For my background, I inked up a panel with scattered straw and evergreen bough distress oxide, fading to nothing. Then I layered the Christmas Foliage stencil over top and inked through that with blending brushes and dye inks from my stash. I die cut the panel with the largest Framework die and popped it up on a black A2 size panel. I adhered that to a white card base and added the image and sentiment next.
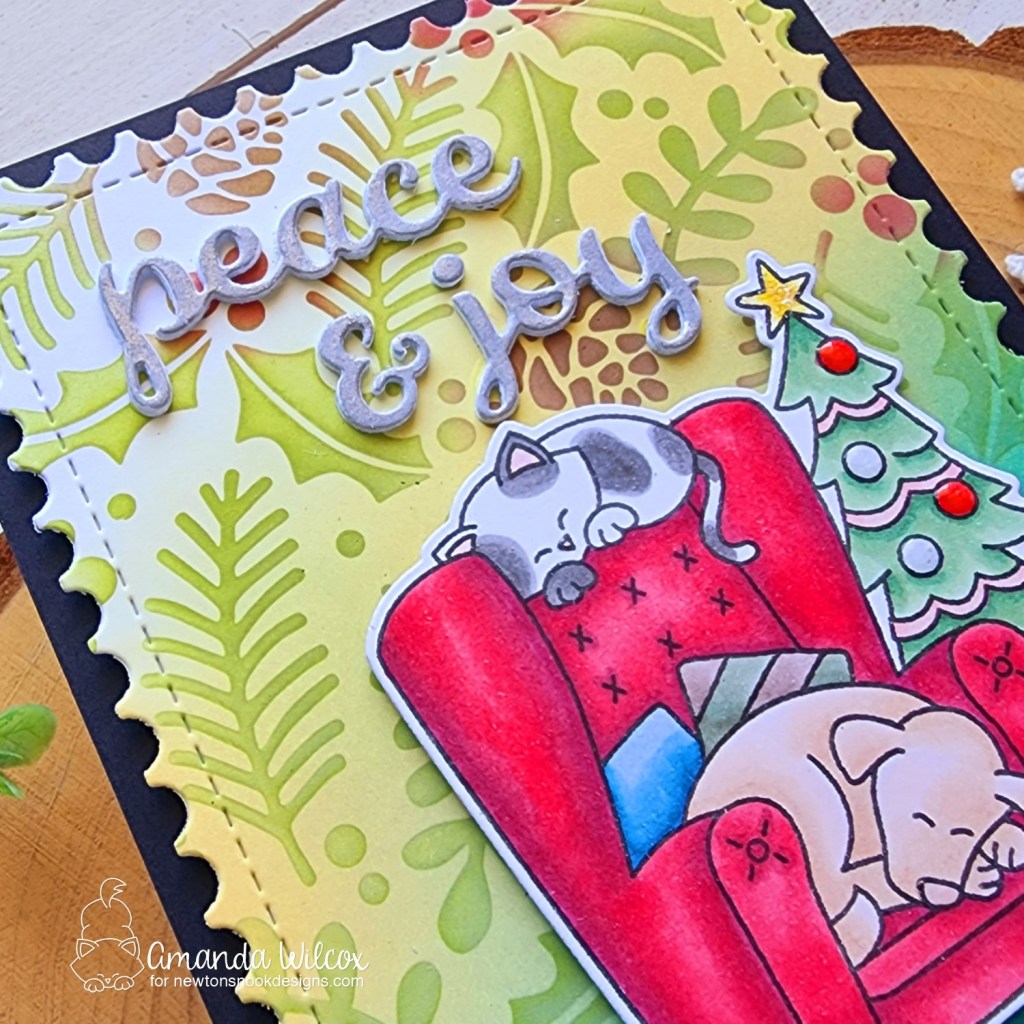
For finishing touches I used a silver Wink of Stella glitter brush pen on the sentiment, which I LOVE! Then glossy accents on the ornaments and critter noses. Last I added stardust Stickles to the gift bow and star on the tree.
Would you like to win the “Christmas Nap” or the “Newton’s Gift” Stamp Set? We will choose ONE lucky winner for each stamp set!
Here’s how to win: Comment on the NND blog and Design Team blogs (see list below)! The winner will be chosen at random from the collective reveal posts. Make sure to check out each of their blogs and comment for your chance to win. You will not know which blog has been chosen so the more you comment on the better your chances are of winning! You have until Thursday October 13th at 9pm ET to comment — winners will be announced on the blog post on Friday October 14th.
Check out all the awesome Design Team Blogs below to enter:
Newton’s Nook Designs
Donna Idlet
Ellen Haxelmans
Tina Herbeck
Larissa Heskett
Samantha Mann
Zsofia Molnar
Maria Russell
Farhana Sarker
Tatiana Trafimovich
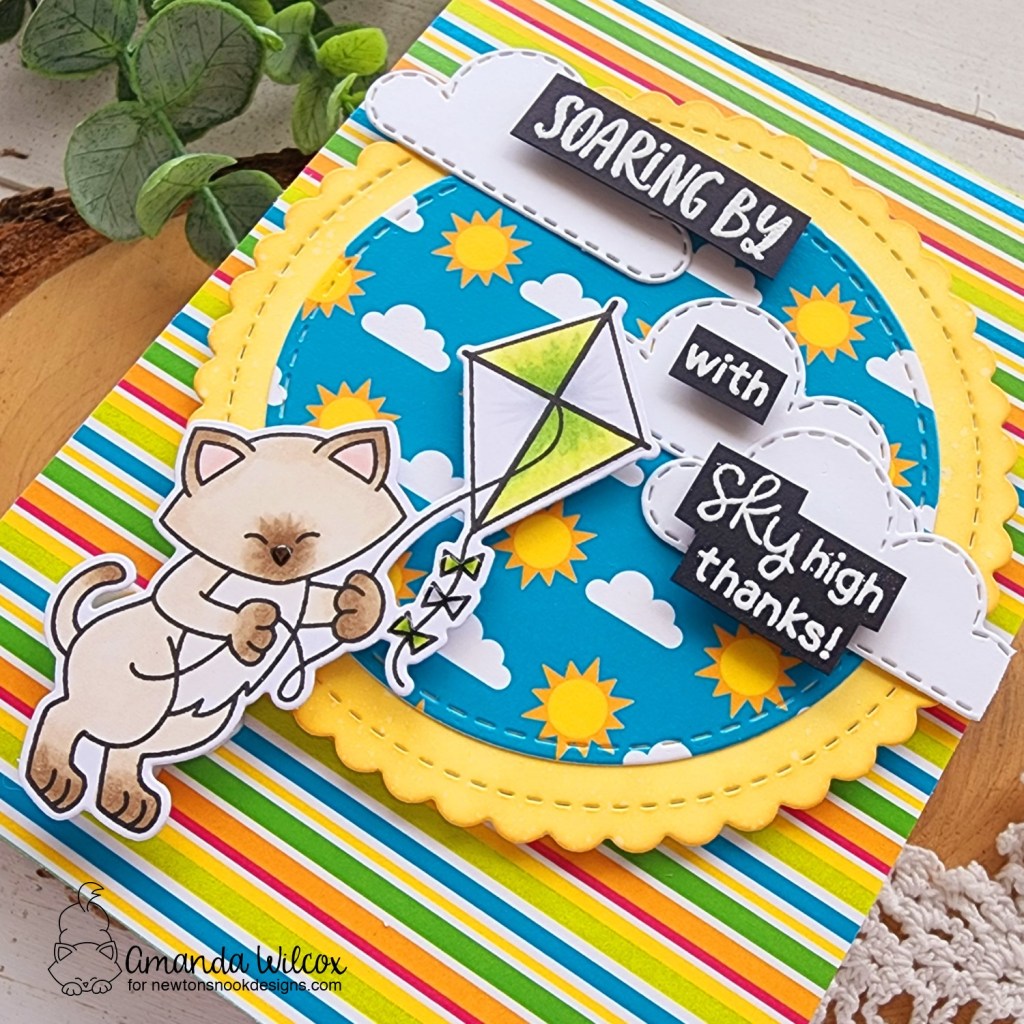
Amanda Wilcox