I'm a wife, mom, craft blogger and designer for Newton's Nook, Pink & Main, Miss Ink Stamps and Pixi Dust Designs. I also create as an affiliate for Spellbinders and guest design for other companies. Welcome to my crafty place. I hope you enjoy looking around.
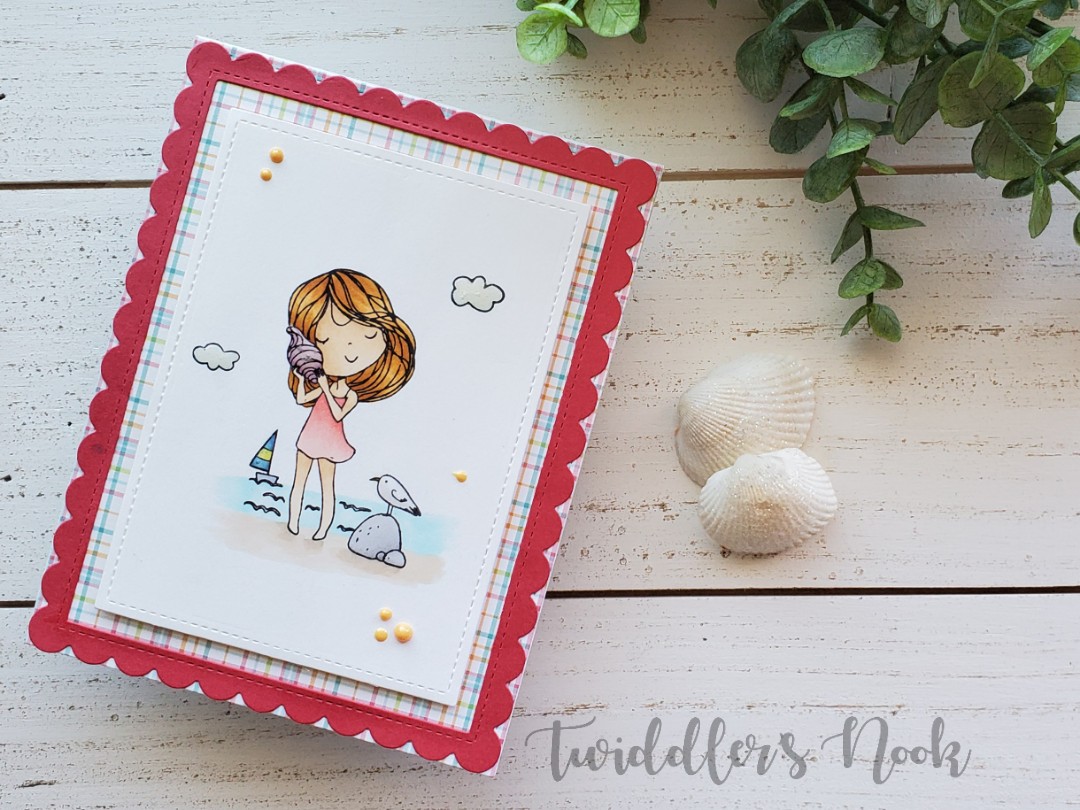
I don’t know about you but I’m over the moon for the newest Rabbit Hole Designs release. It’s all to die for and I had to have everything! Today I’m showcasing the By the Shore stamp set with a simple and adorable card!
Card recipe:
Stamp and color images with copic markers.
Die cut image with stitched rectangle and also a larger stitched rectangle from plaid paper.
Die cut scalloped frame from contrasting paper.
Glue plaid rectangle and frame to a card front.
Pop up smaller rectangle with stamped images with foam tape.
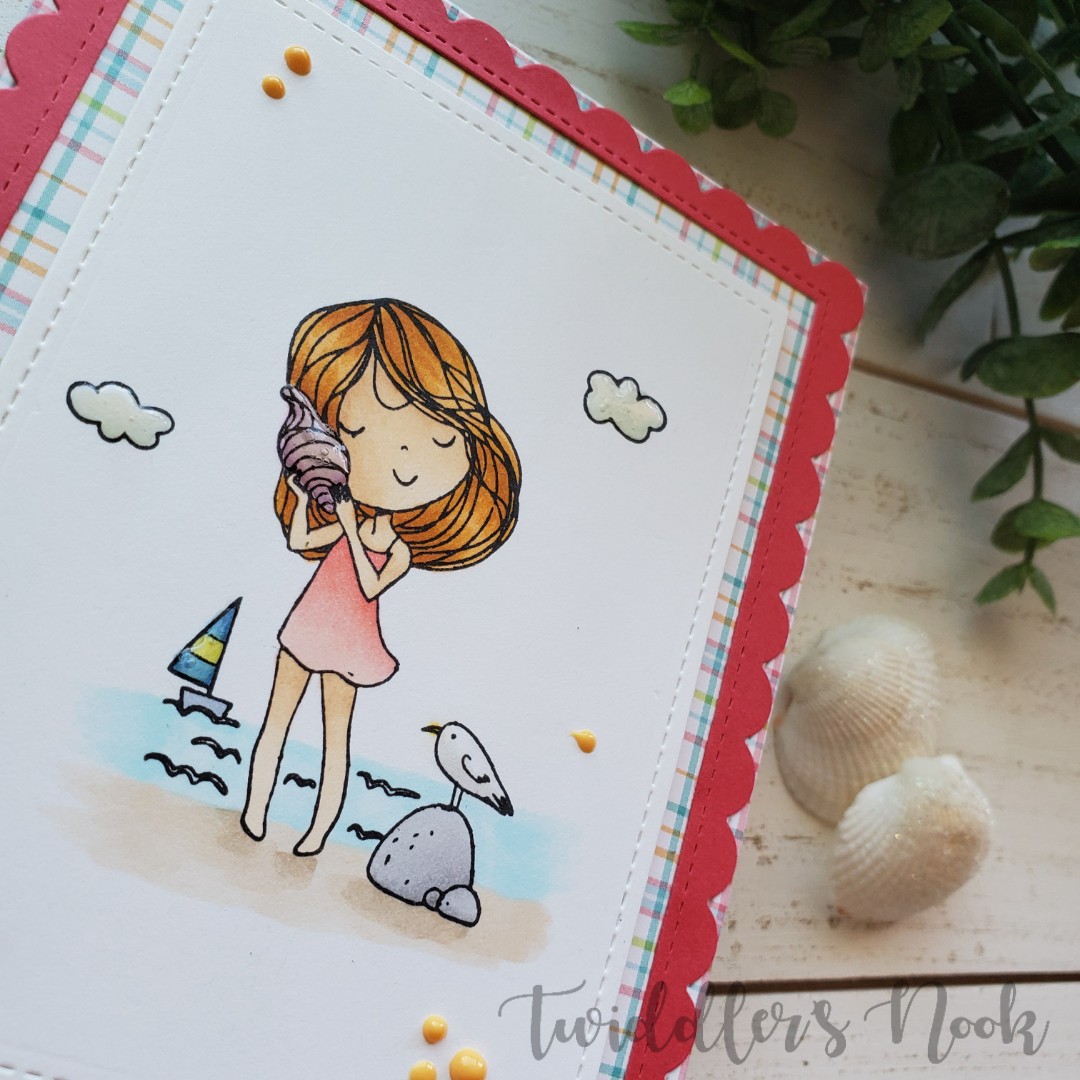
Embellish with Nuvo crystal drops and glossy accents.
This card is so sweet and simple. I left off a sentiment so it didn’t distract from the adorable image. I’ll add one to the inside when I’m ready to give it away.
I’ve already got another one of these beauties stamped and waiting for color because I loved this one so much!
Be sure to stop by tomorrow to see what other new Rabbit Hole Designs set I’ll be playing with!
I appreciate you sharing your time with me. Have a fabulous day!
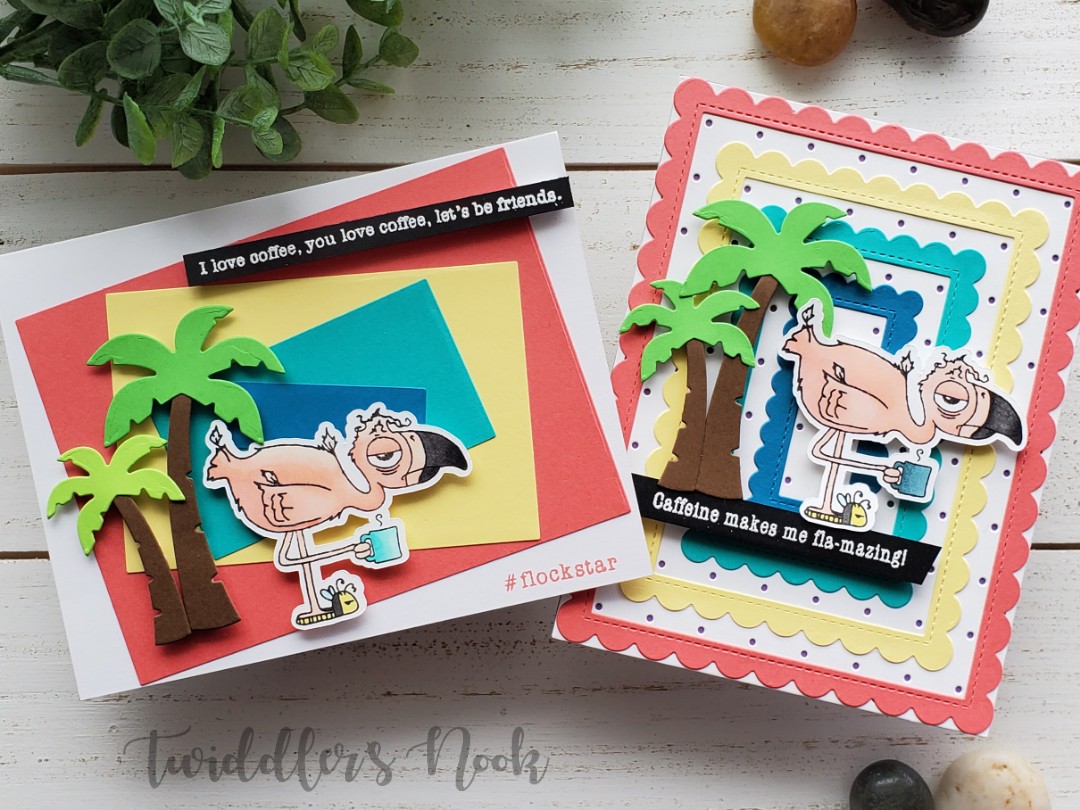
I’m so excited to share this pair of cards made with The Rabbit Hole Designs Caffeinated Flamingo stamp set. I think it’s so perfect to start the week of with these caffeinated critters because…well, Monday. Ugh. Cheers to more coffee and making it through another week!
Originally, I only had this first card in mind but as I started die cutting, the second one came into my head and I knew I needed to make a pair. Here’s how I made them.
Die cut the polka dot cover from white cardstock and layered it over purple.
Die cut the whole scalloped frame set in rainbow colors and glued them onto the polka dot cover.
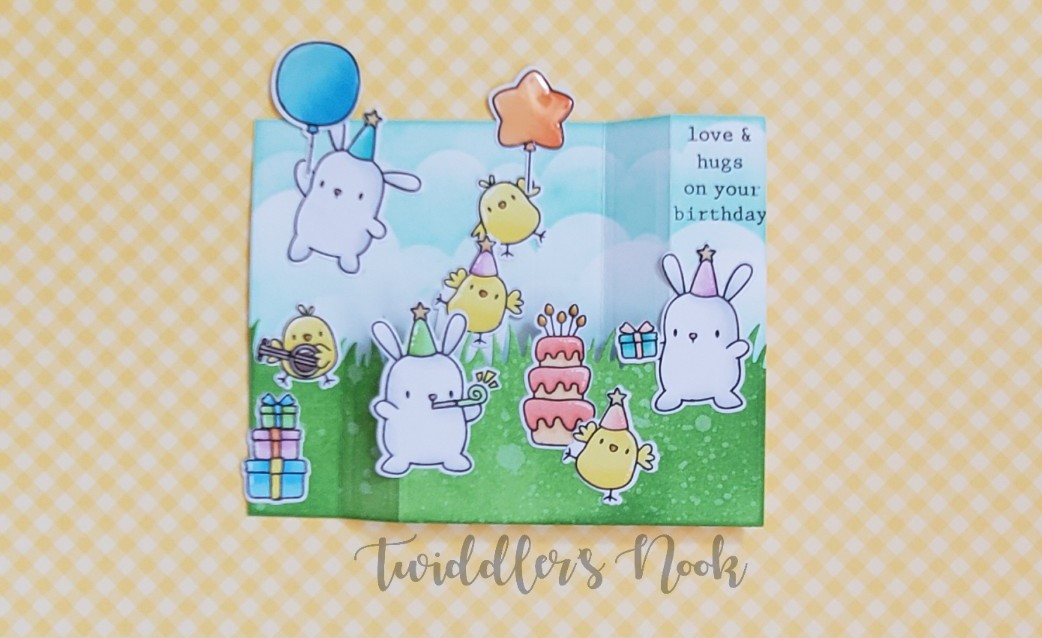
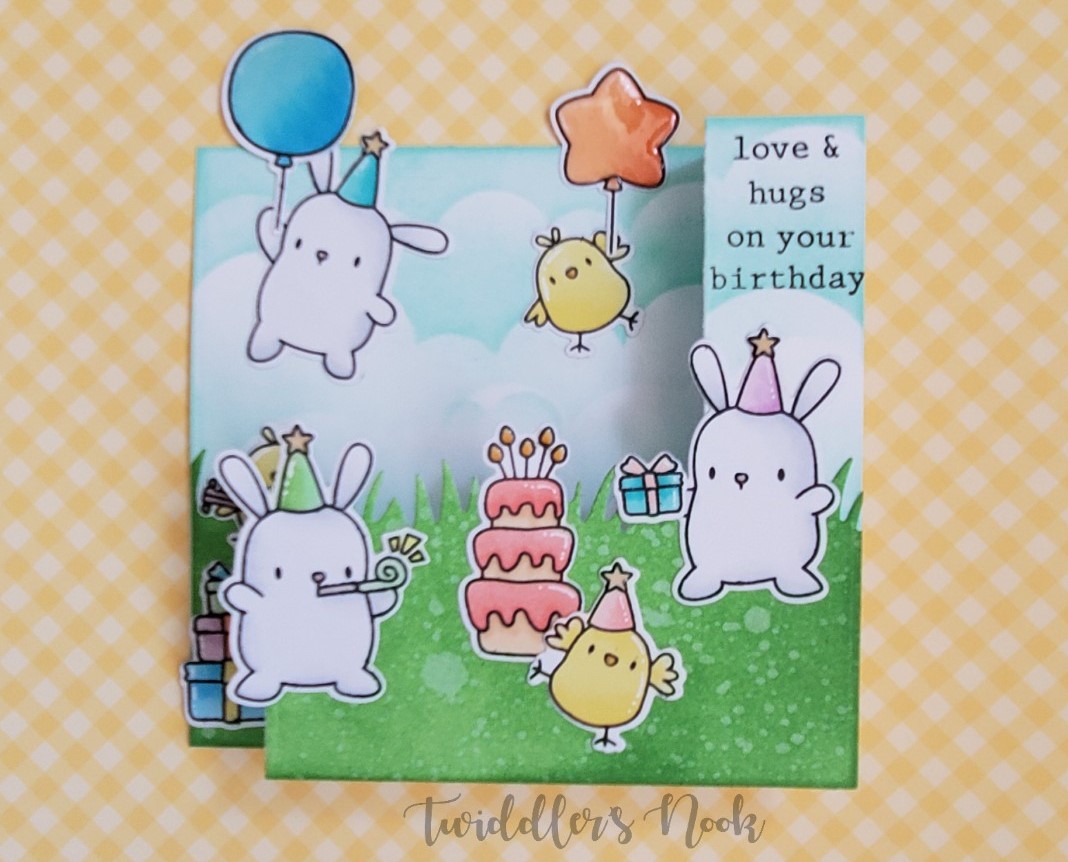
I’ve been itching to try one of these cards since Mother’s Day when my family surprised me with a huge Mama Elephant haul! I was totally overwhelmed. It was fantastic and I’ve been having so much fun with all of it.
If you’re interested in the basics of the wiper surprise click here to go to the Mama Elephant You Tube page for a tutorial. Otherwise here are the basics on how I created this adorable birthday card.
I stamped, colored and die cut all the critters and bigger accessories from the Party Animals stamp set.
Cut two panels from the main die in the wiper surprise set. Using a Simon Says Stamp cloud stencil I blended cracked pistachio distress ink on the back panel for a sky effect. Then covered the other panel with mowed lawn distress ink and die cut with a Lawn Fawn grassy border die cut.
Following the video, I assembled the basics of the card and wiper mechanism first and then embellished with the critters.
Since I used a combination of liquid glue and tape runner, I let it sit for a minute so the glue could dry. To finish it off I added white gel pen accents throughout the images and glossy accents to all the noses, candle flames, stars on the hats and both balloons.
The next morning when the glossy accents were dry, I stamped a stacked sentiment on the right side to complete this fun birthday card.
Look at that little chickie popping up when you pull the sides. It’s just to die for! I love this so much, I keep playing with it over and over again.
I appreciate you sharing your time with me. Have a fabulous day!
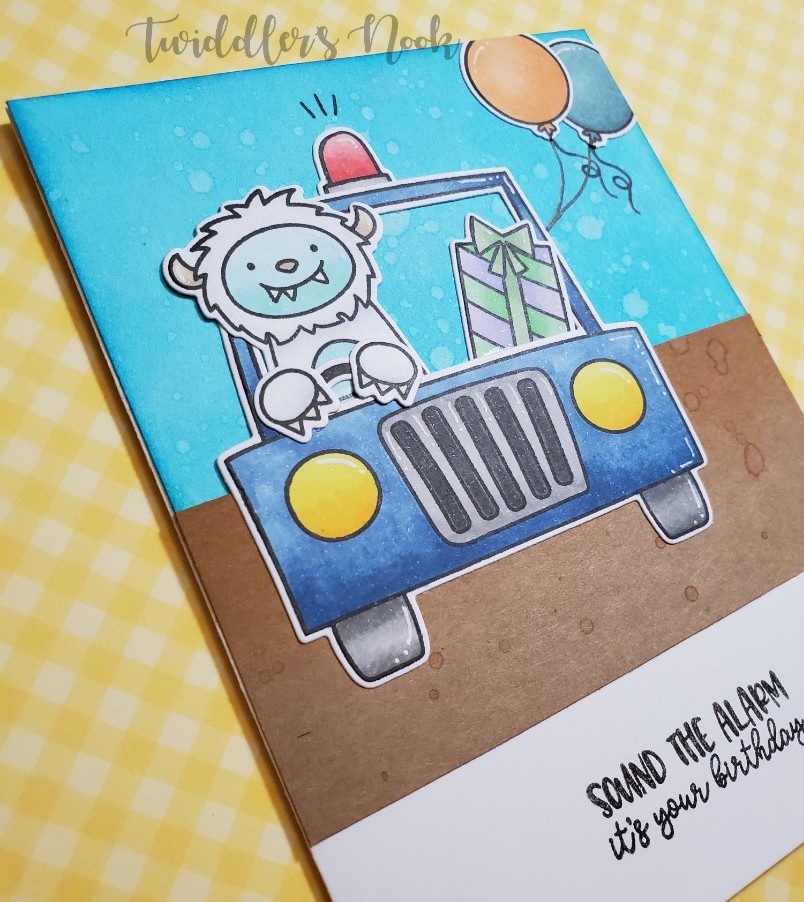
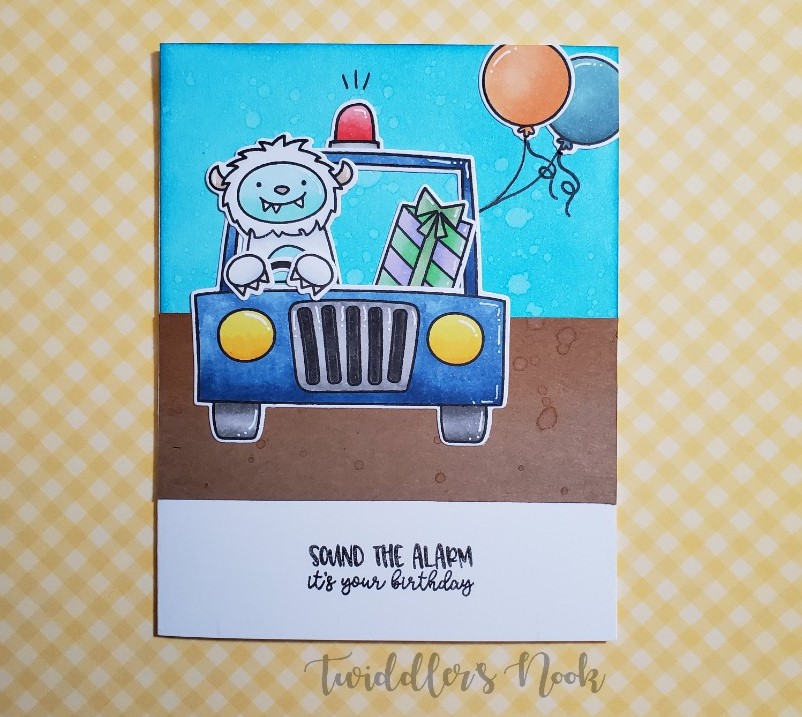
Stamped the images, colored them with copic markers and die cut them all out.
Blended distress inks on a white panel and small kraft strip and spritzed with water.
Trimmed the blue and kraft panels down so I had room to stamp the sentiment underneath and glued them to the card base.
Glued down my car, scary pal and accessories and then drew in the balloon strings.
Stamped my sentiment on the bottom portion of the card and it’s finished.
I love these monsters so much! It was hard to pick one for this card. I can’t wait to use them all! I hope you enjoyed this card and feel inspired to try something creative.
I appreciate you sharing your time with me. Have a fabulous day!
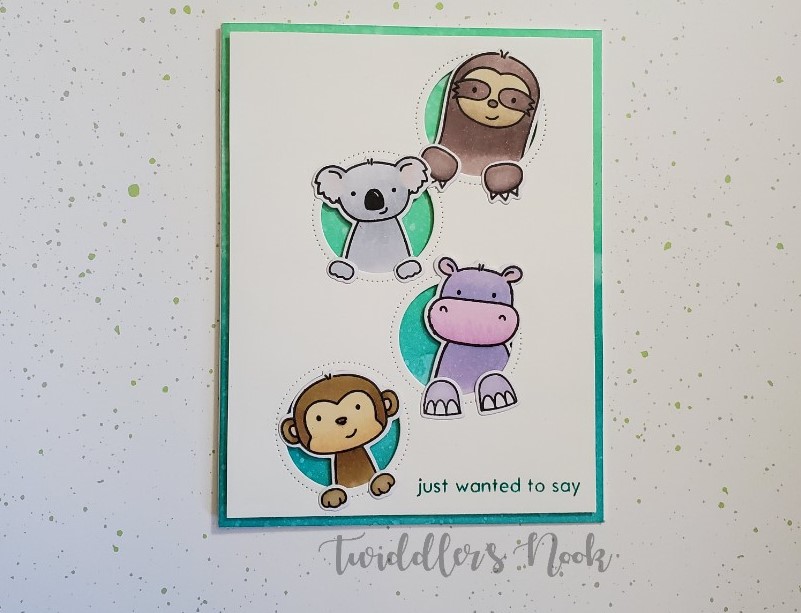
As I was impatiently waiting for the mail to bring my order from the most recent Avery Elle release I decided it would be so fun to get some Avery Elle stamps and dies out that I already have!
I started by blending peacock feathers and cracked pistachio distress inks on a piece of cardstock, spritzed with water and set aside to dry. Then stamped the critters I wanted to use, colored them with copics and die cut them out. Next, I trimmed down a piece of white cardstock to 4×5.25 and die cut the circle frames from that. I added foam tape to the back of that panel and centered it on the distress inked background. Last I added my peek-a-boo critters with foam tape and stamped a little sentiment from the set on the front. I adhered the whole thing to a side fold card base and it’s ready to go!
I love having cards like these on hand that are versatile and can have a sentiment added to the inside later to match the occasion I’m giving it for.
I love these critters and can’t wait to try this idea with the new scary pals. Stay tuned and I’ll share something fun with those really soon.
I appreciate you sharing your time with me. Have a fabulous day!
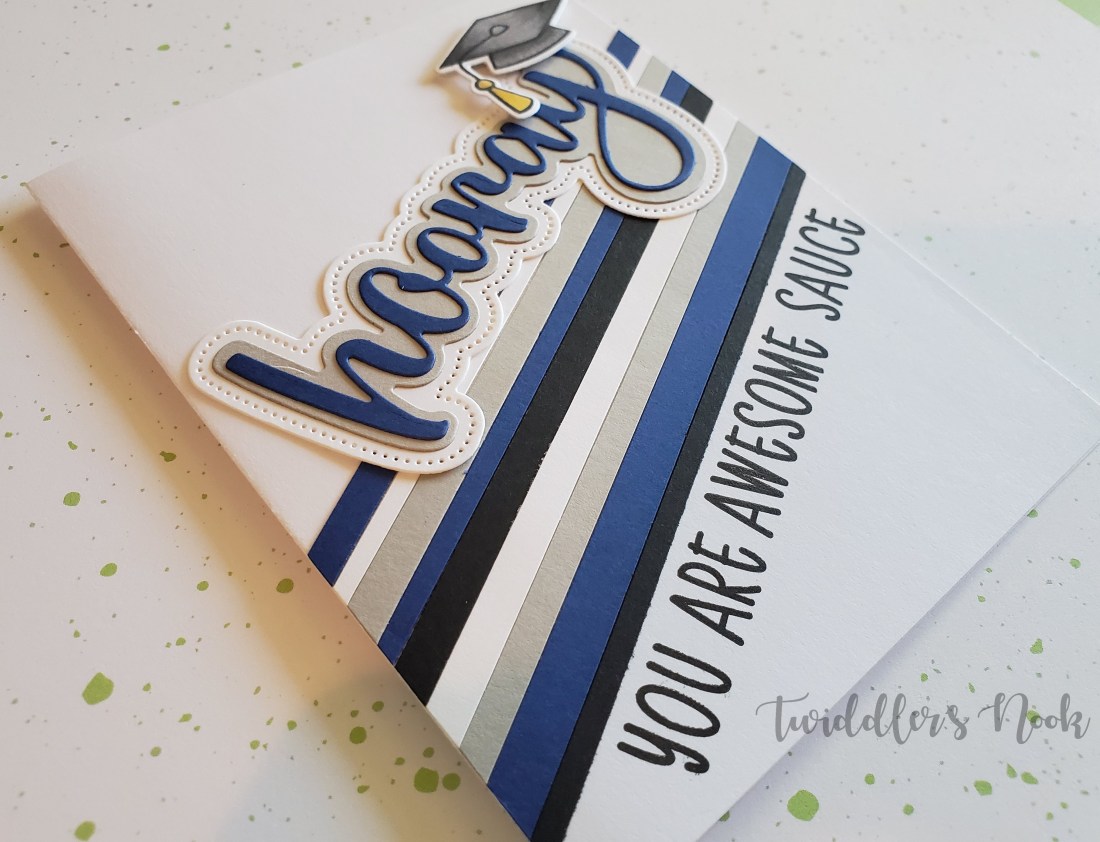
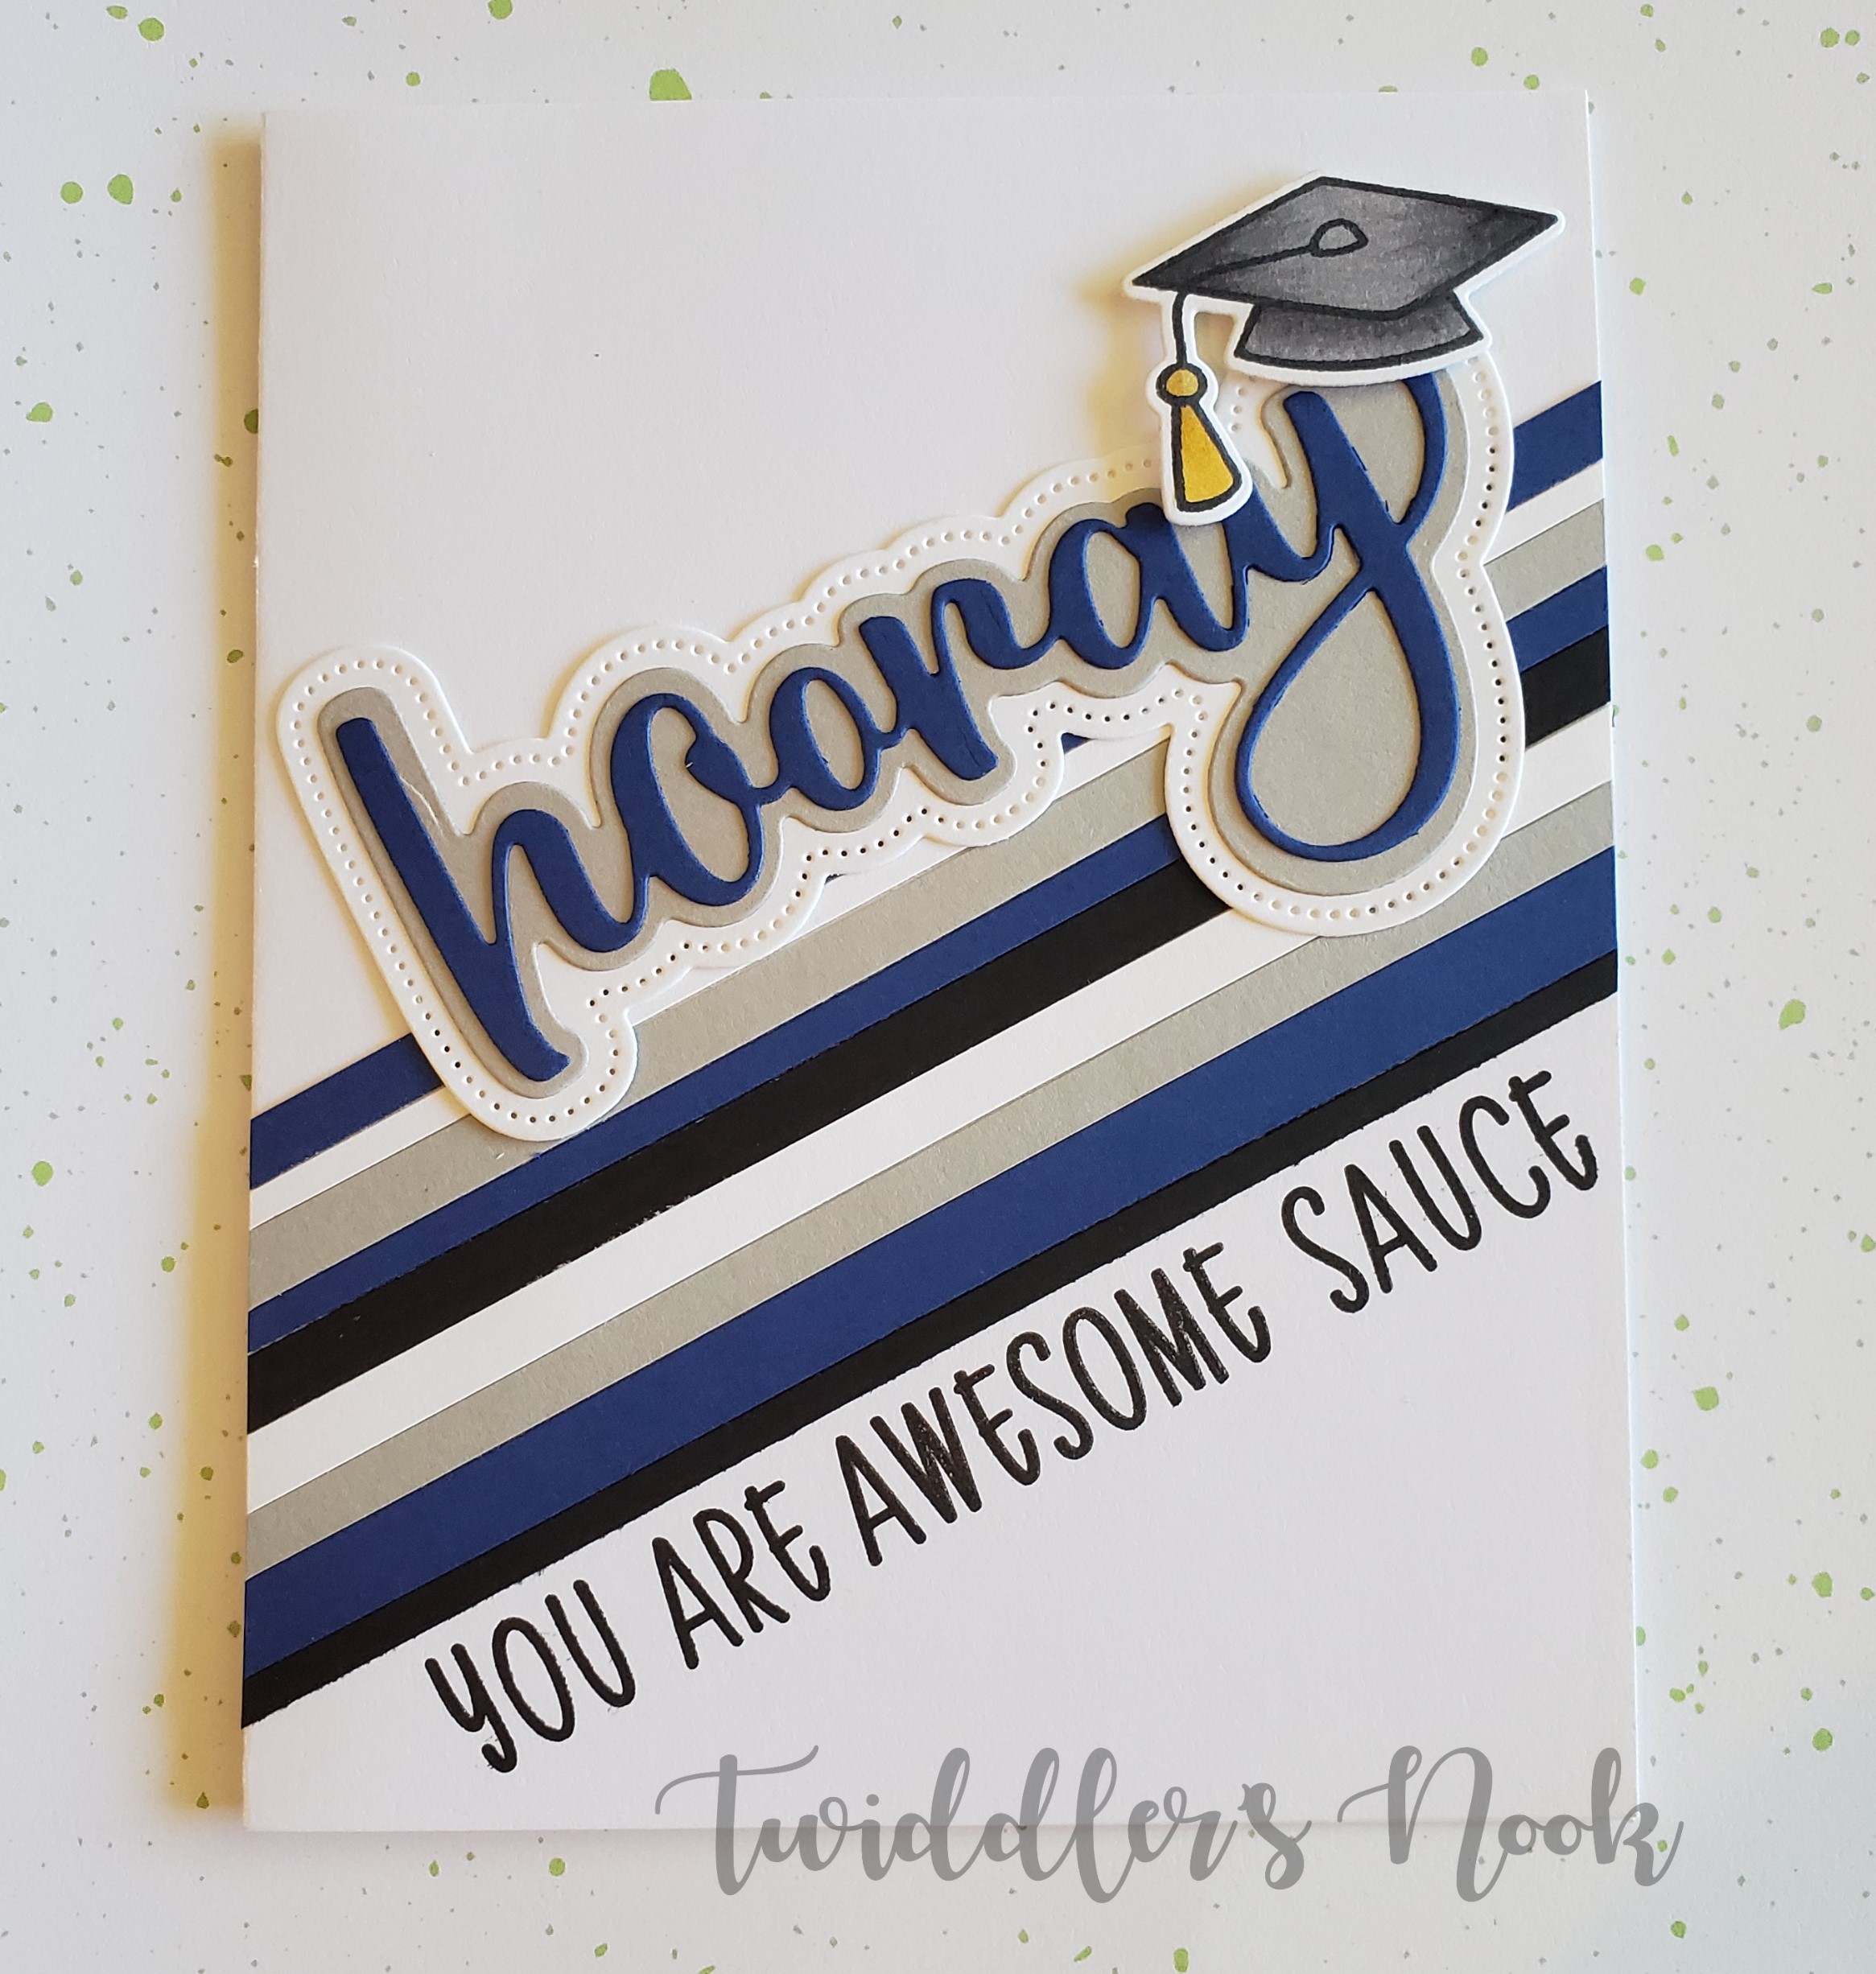
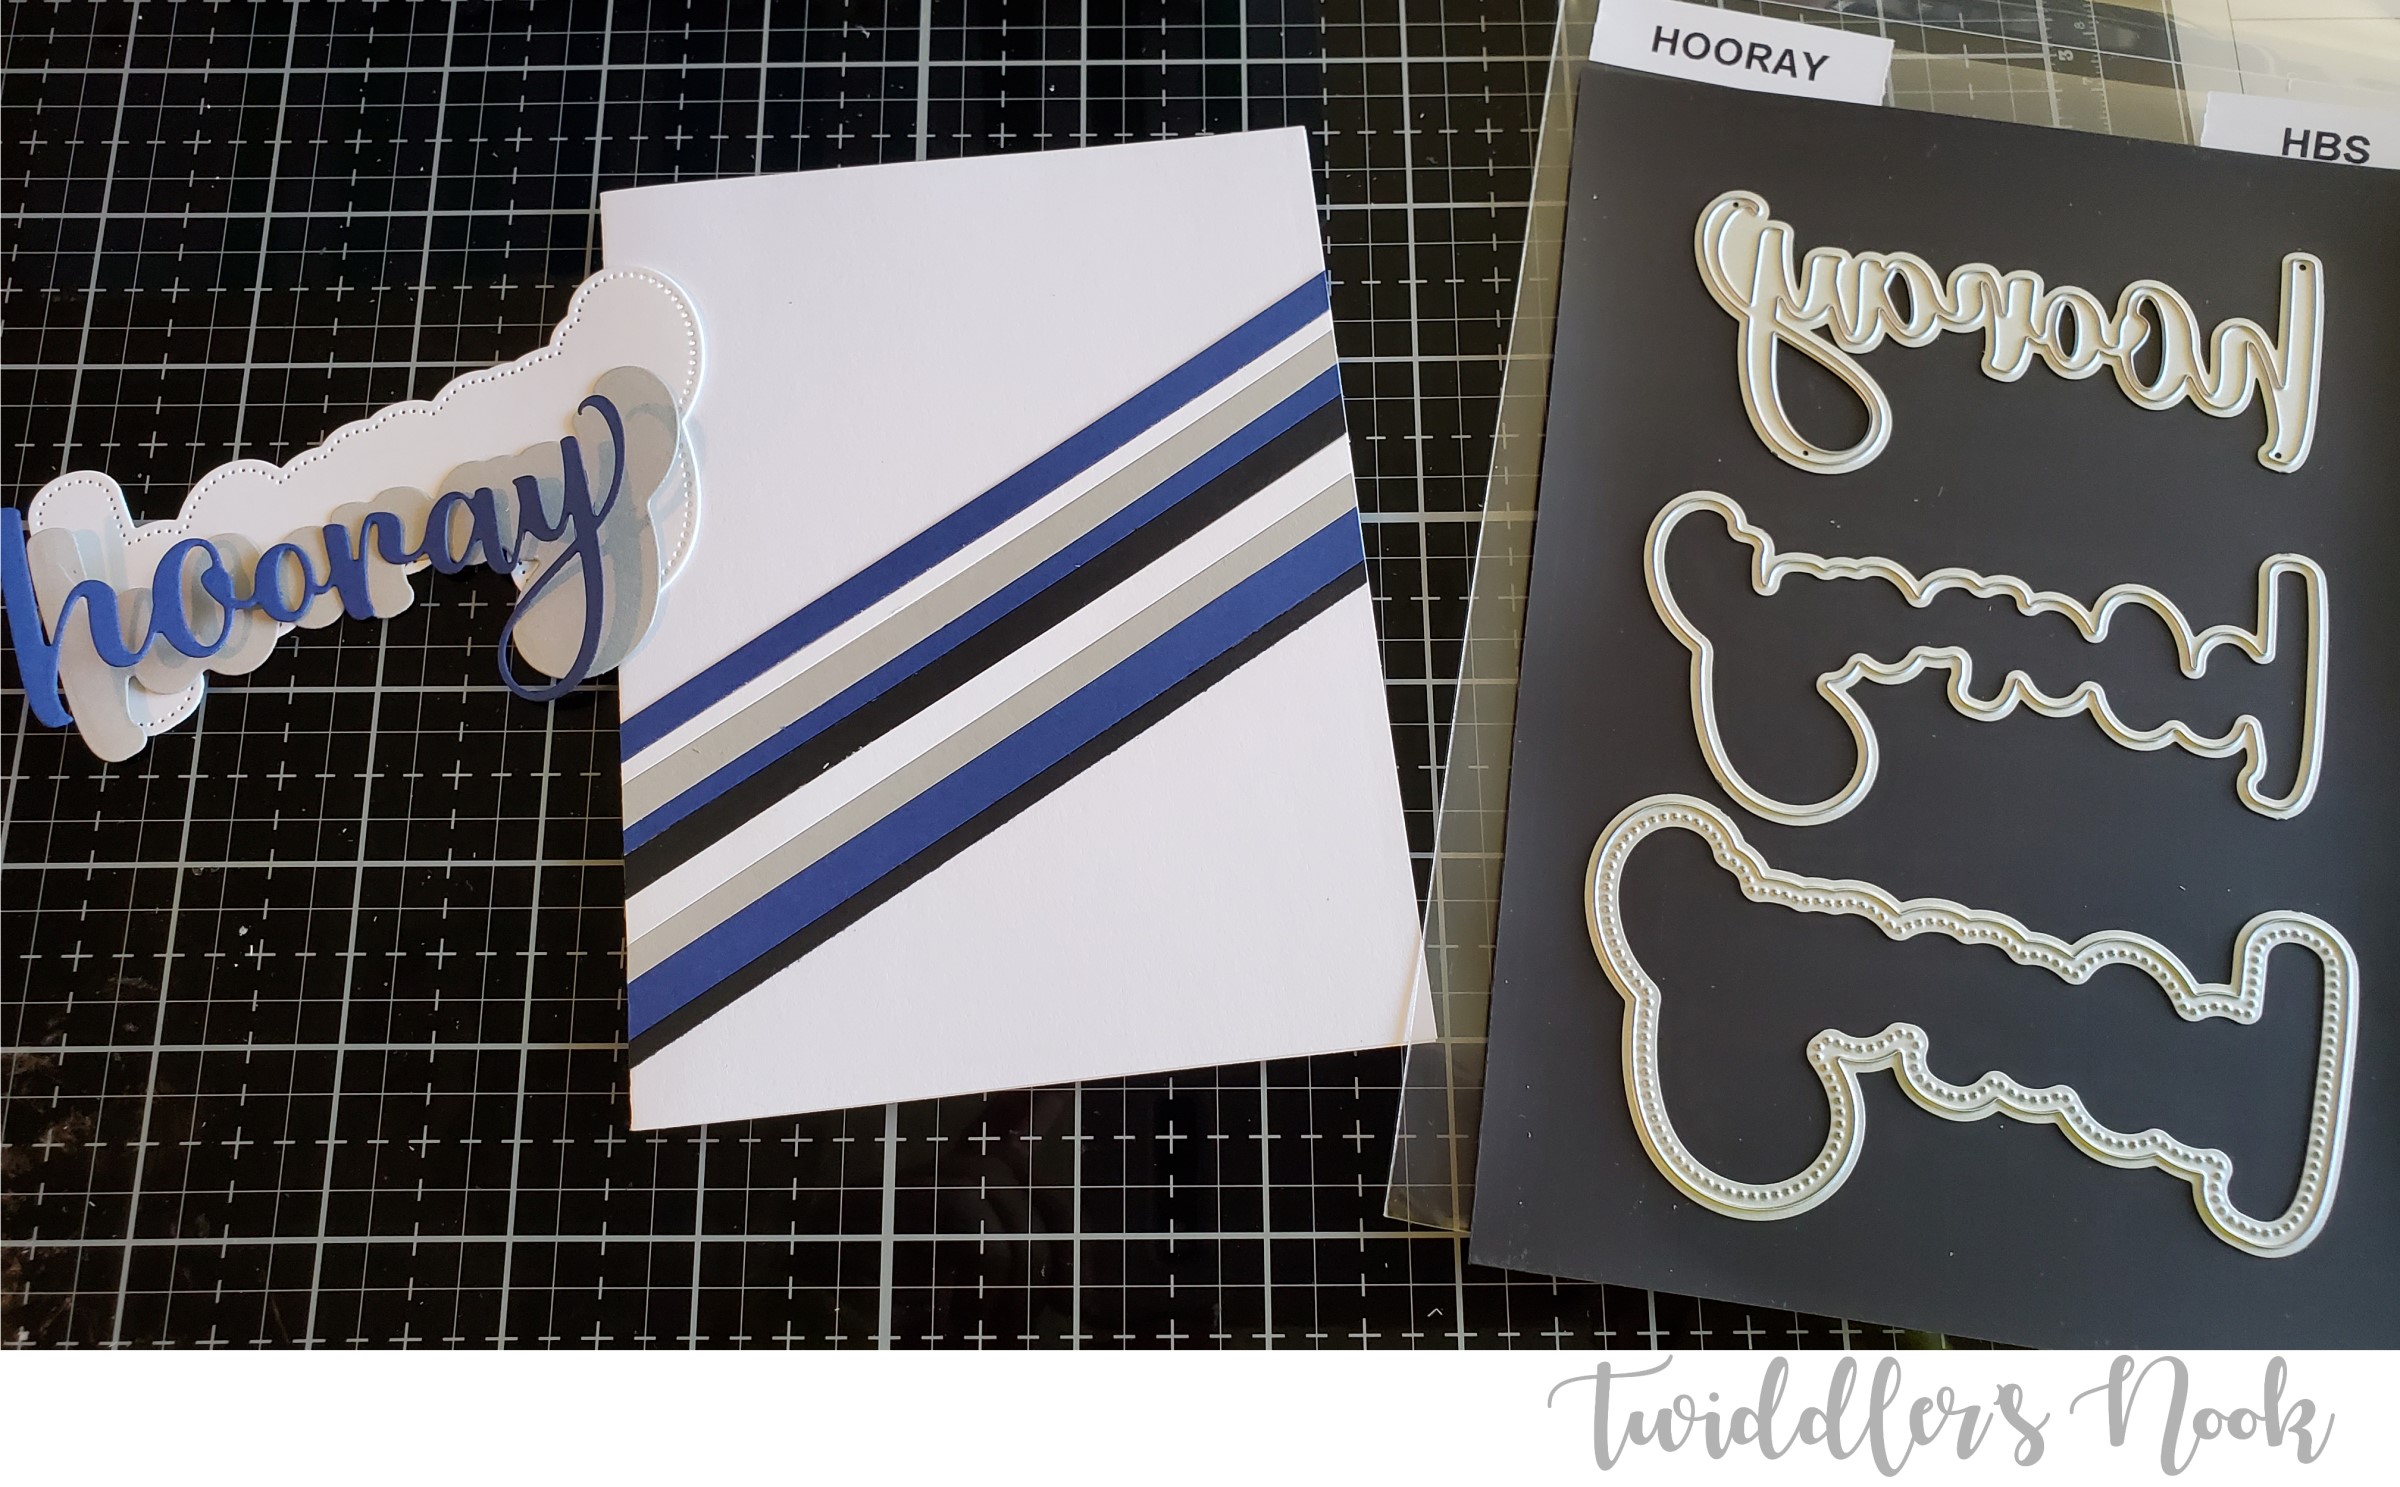
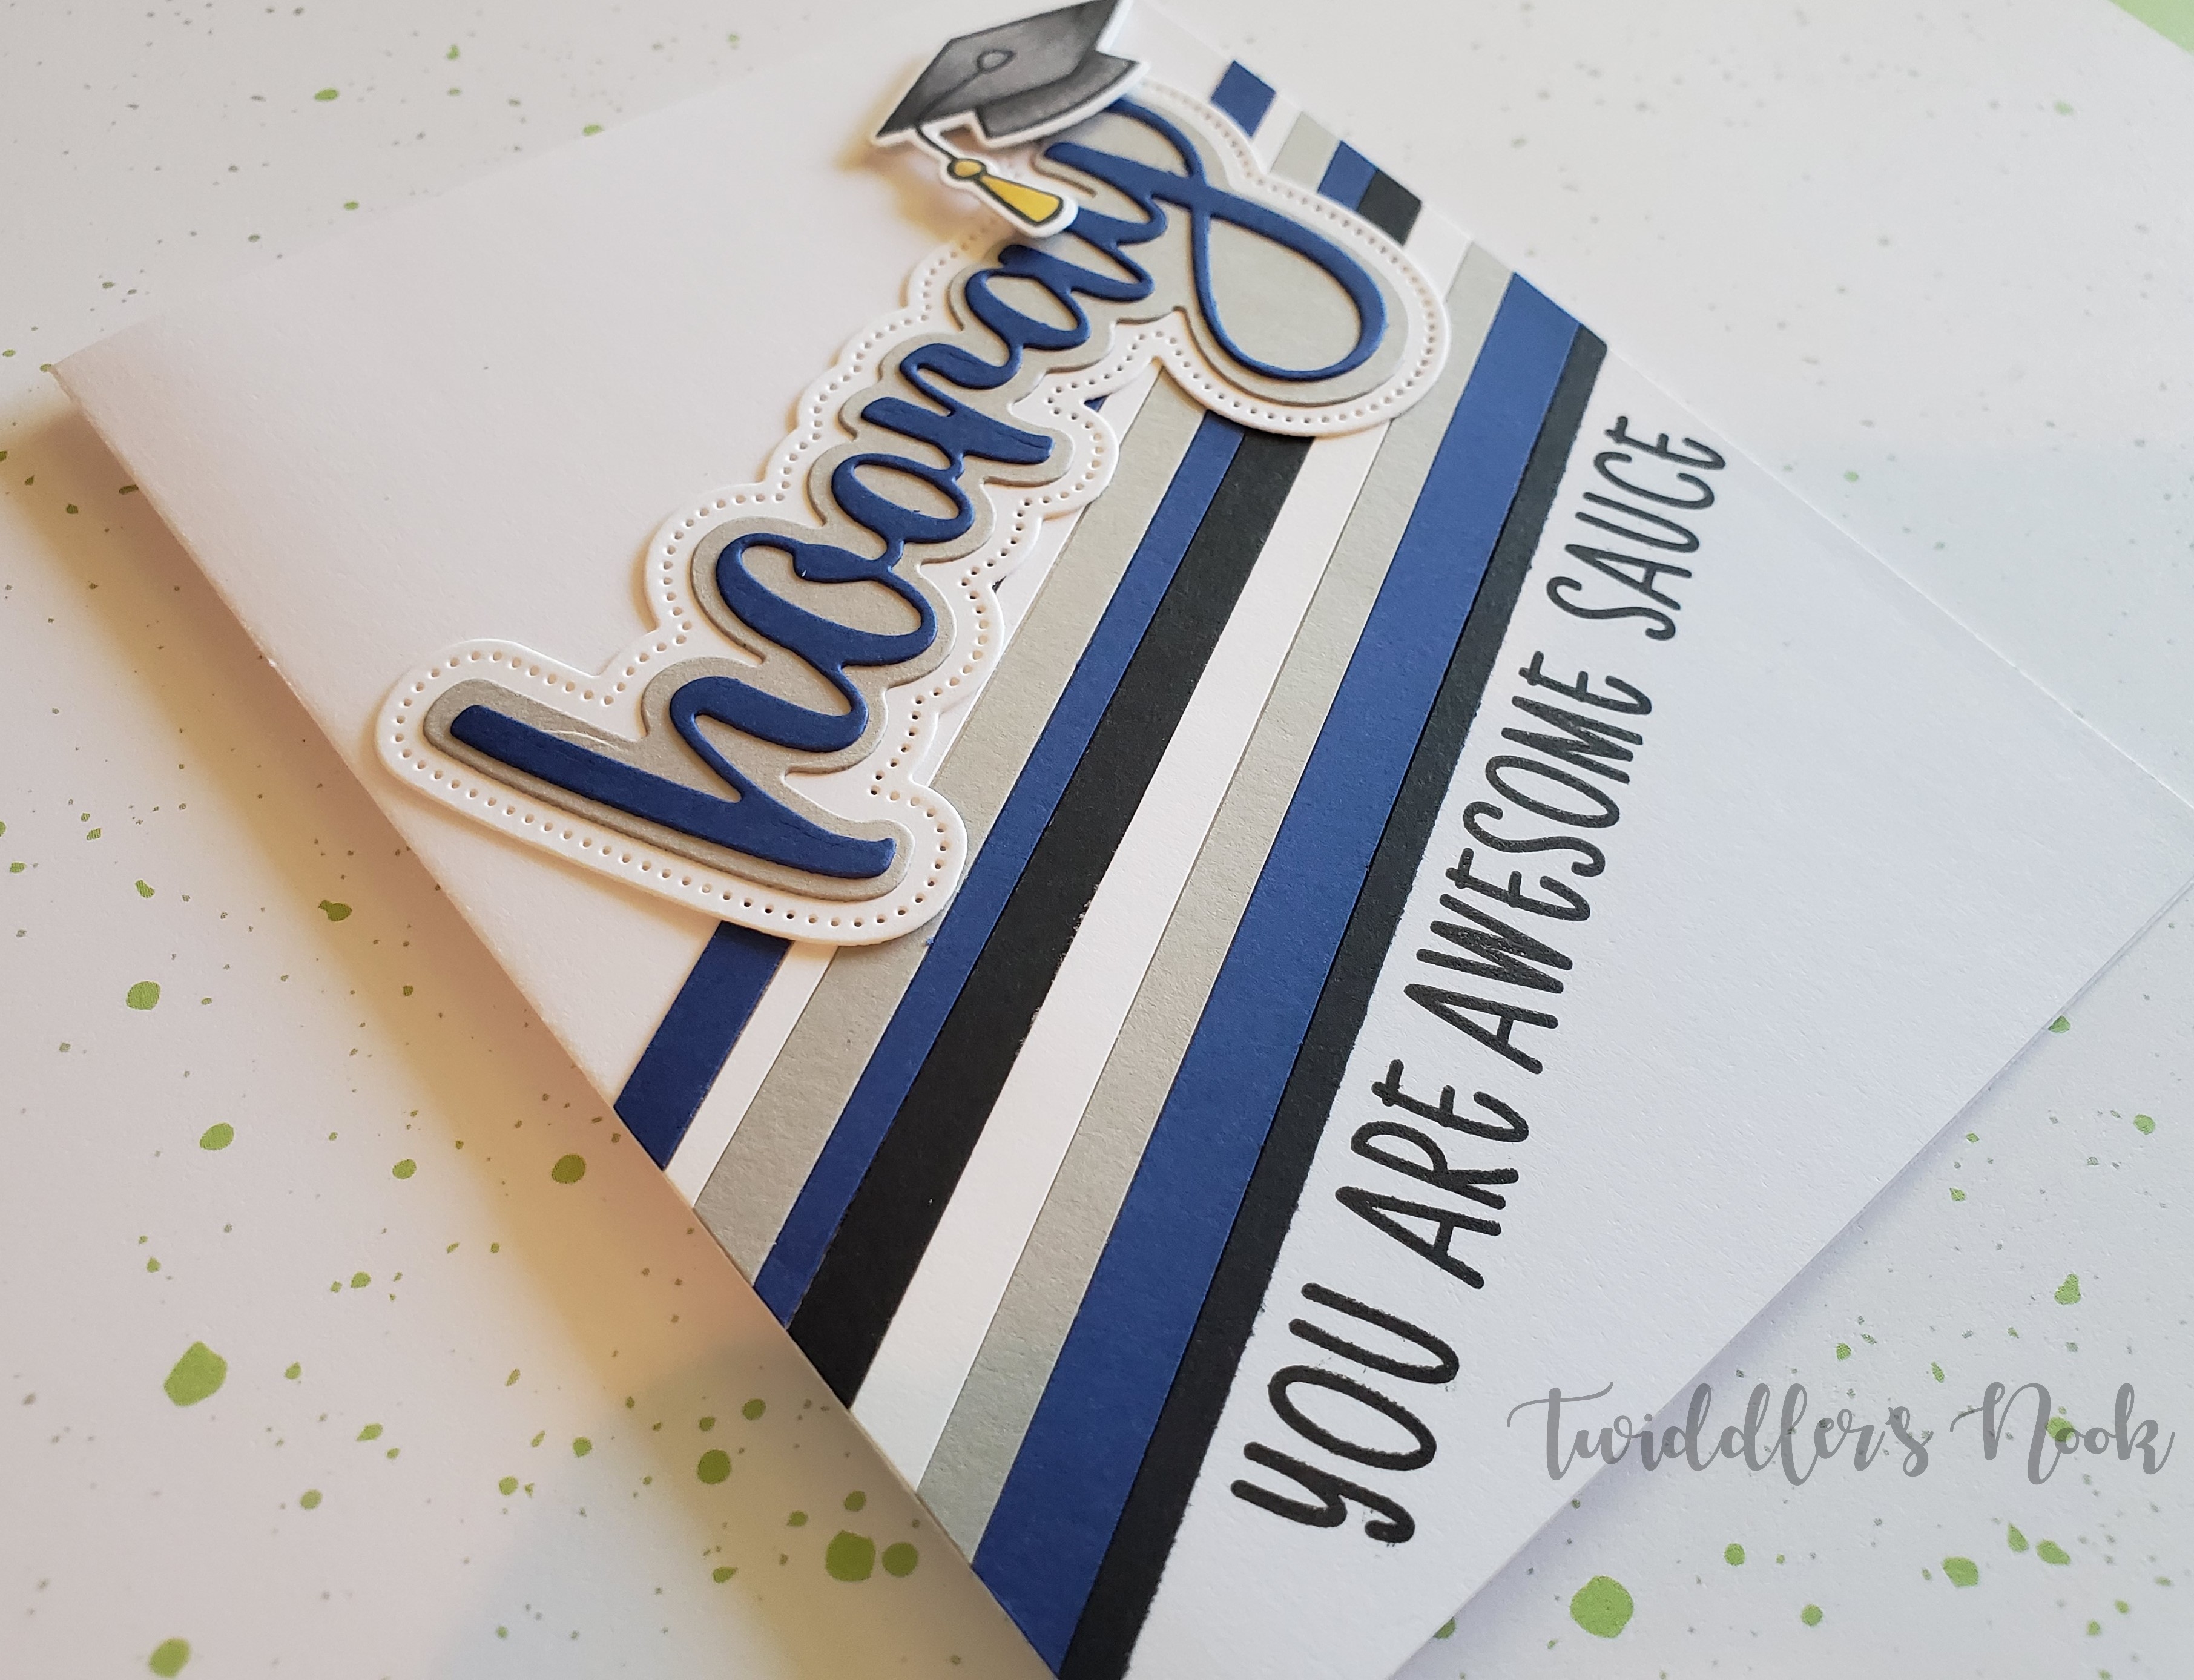
Thanks for stopping by. Today I’m here with a CAS graduation card using Honey Bee Stamps Awesome Sauce sentiment set, Hooray die cut set and Lawn Fawn Hats Off to You stamps and coordinating dies.
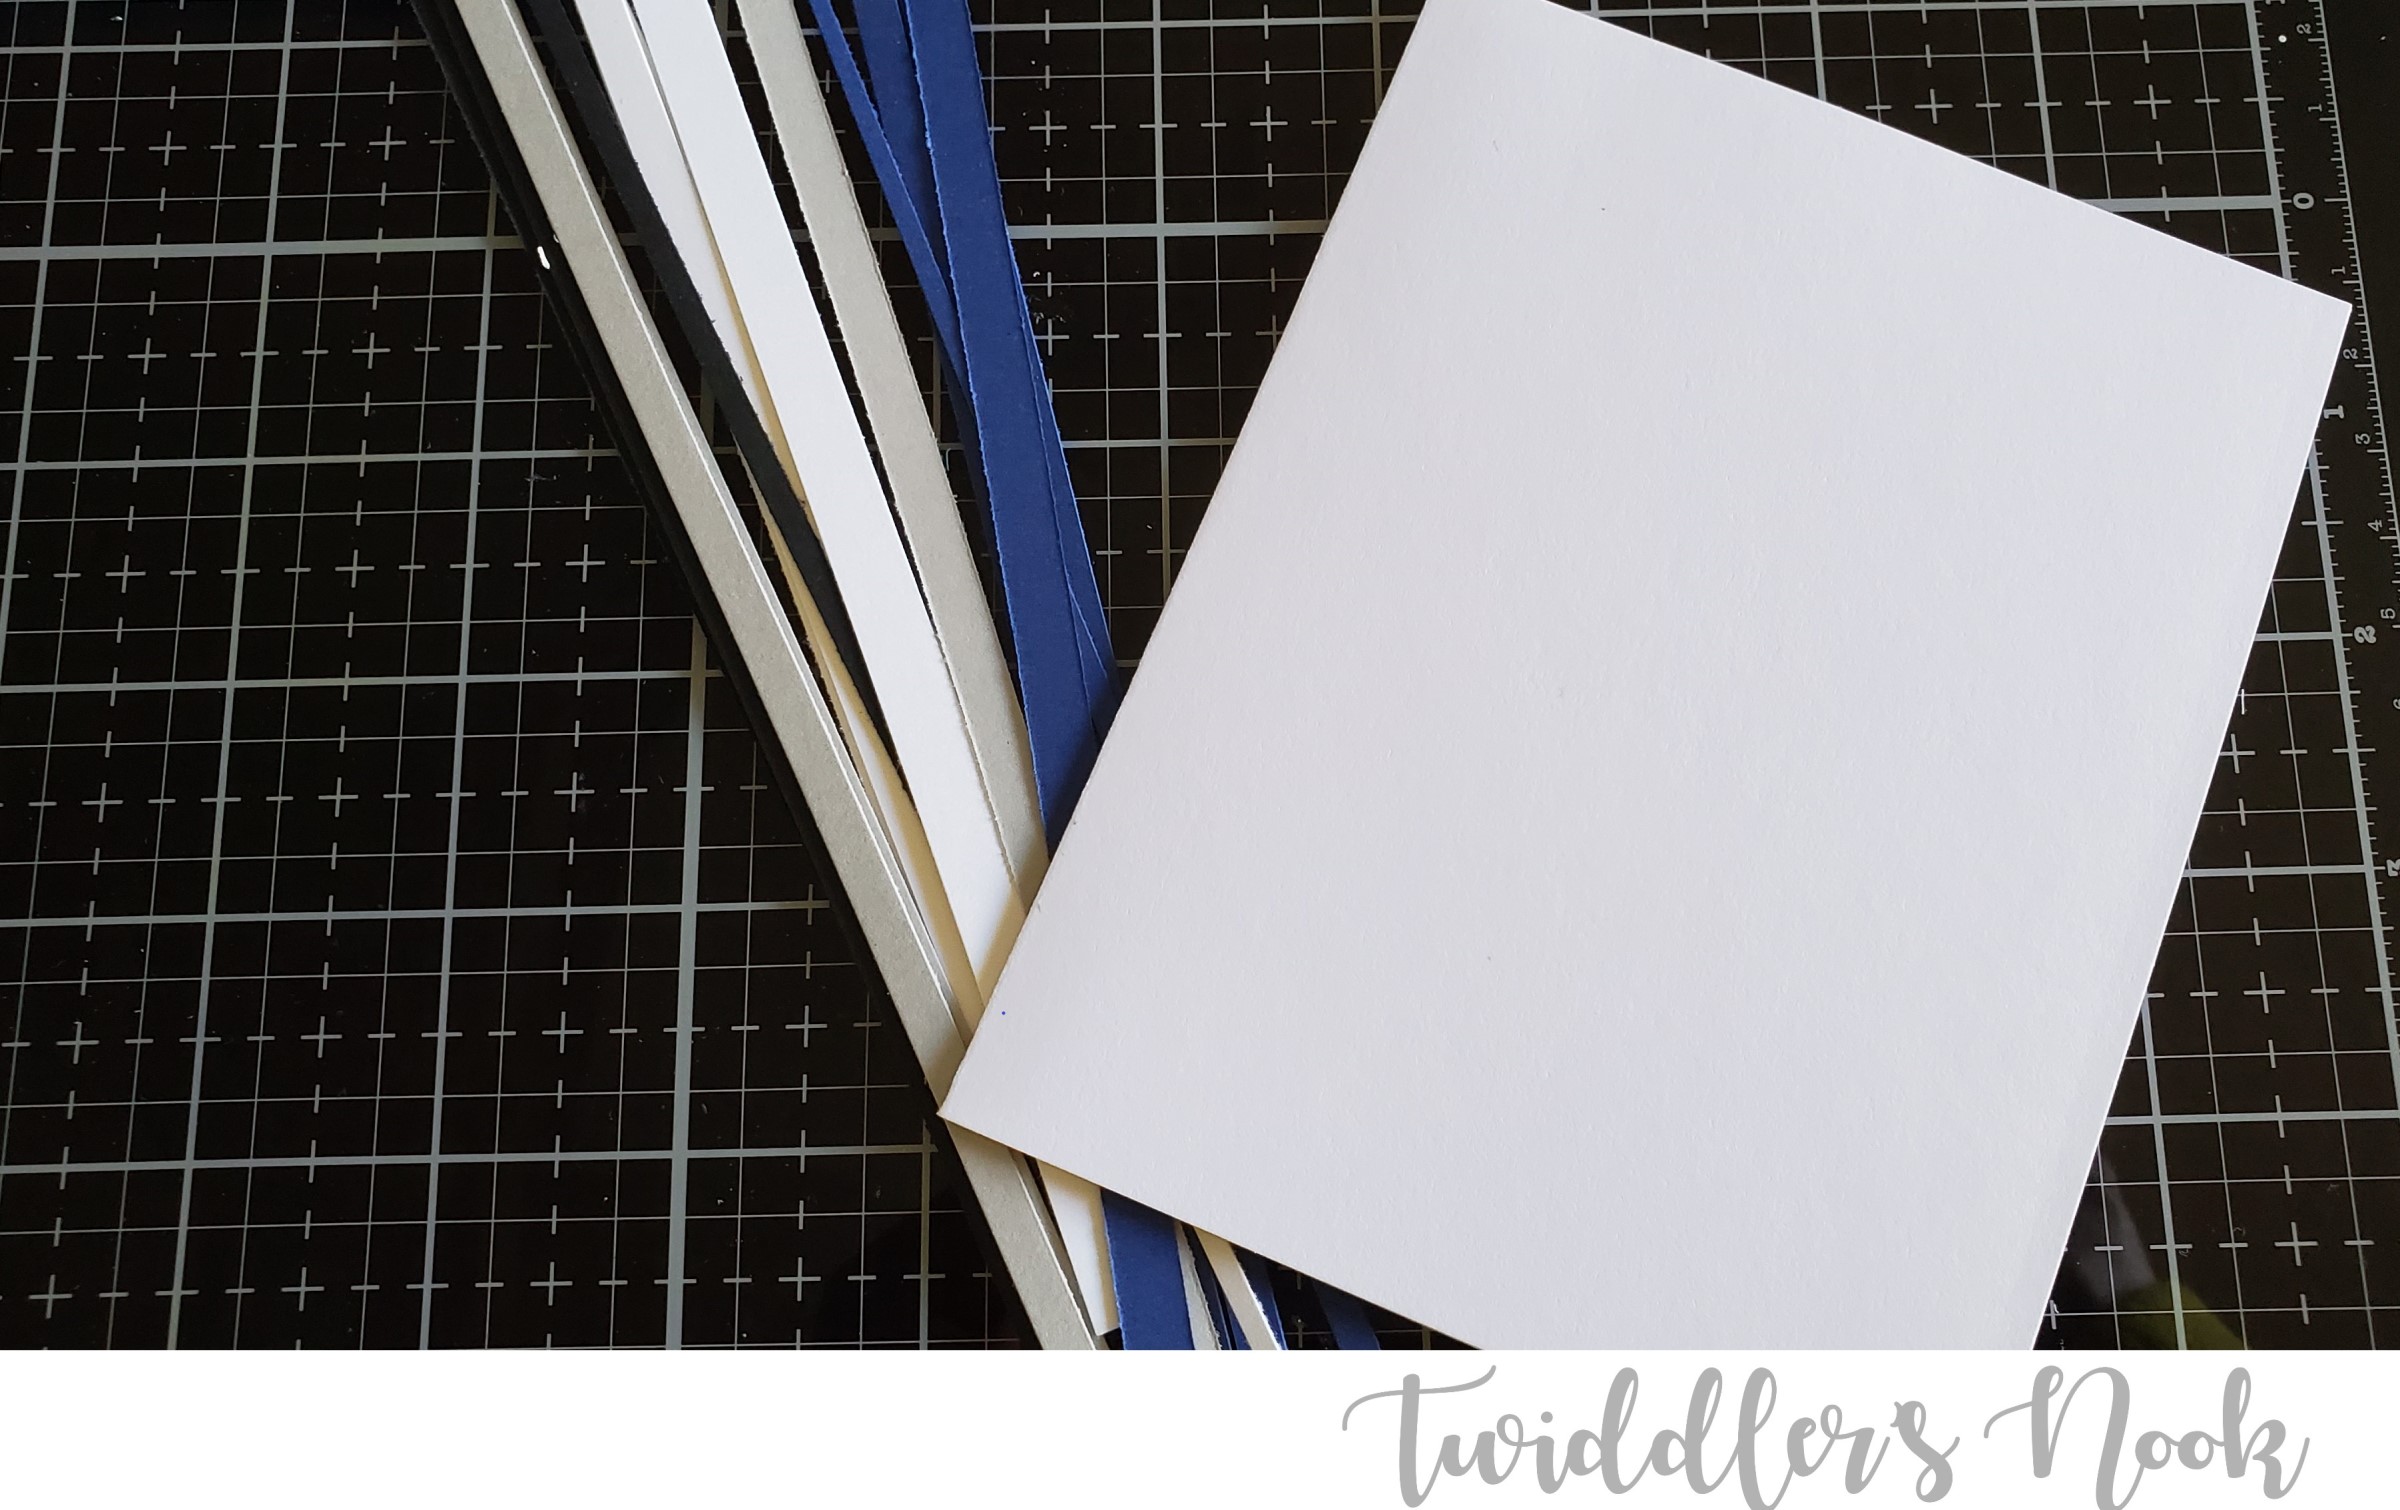
I started with a card base and chose my color palette. I took cardstock of the colors I chose and cut thin strips. I didn’t measure them, trying to make them vary in thickness. Somewhere between 1/8 inch and a 1/4 inch.
Then, I put tape runner on the section of the card that I wanted to add my stripes to and laid the strips down, pressing firmly. I trimmed the excess off the edges of the card sides.
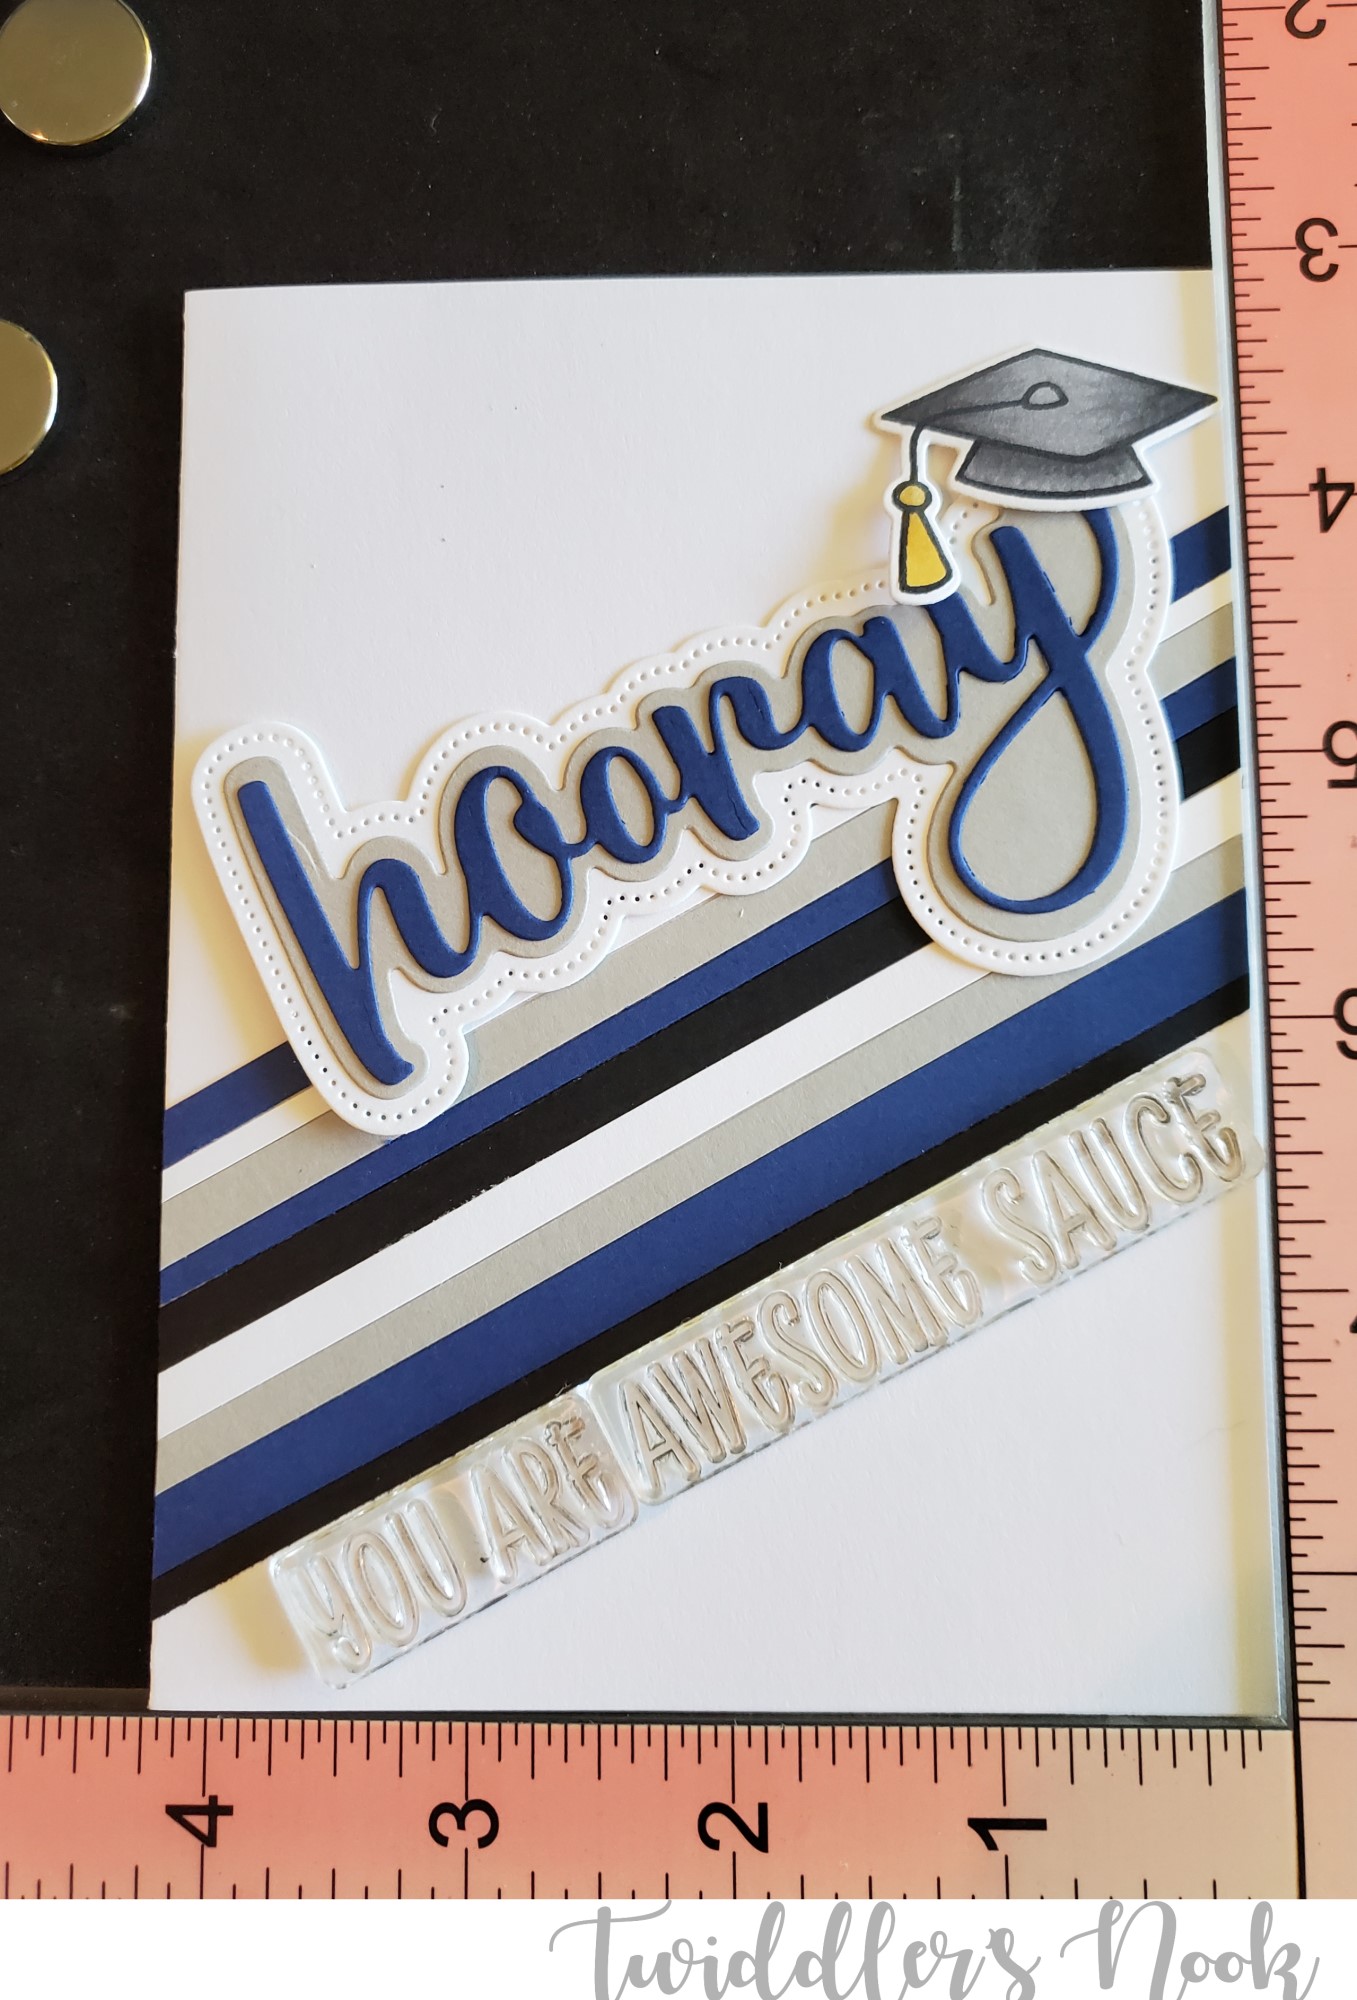
Then I die cut the hooray sentiment from blue, gray and white cardstocks to match the stripes and glued the layers together.
I stamped, color and die cut the graduation hat from the Lawn Fawn Hats Off to You set and laid everything out. At this point I decided to add the “You Are Awesome Sauce” sentiment below the stripes.
After stamping the sentiment I glued the hooray down and popped the hat up with foam squares.
This awesome graduation card is finished and so simple to customize for any senior’s school colors.
I appreciate you sharing your time with me. Have a fabulous day!
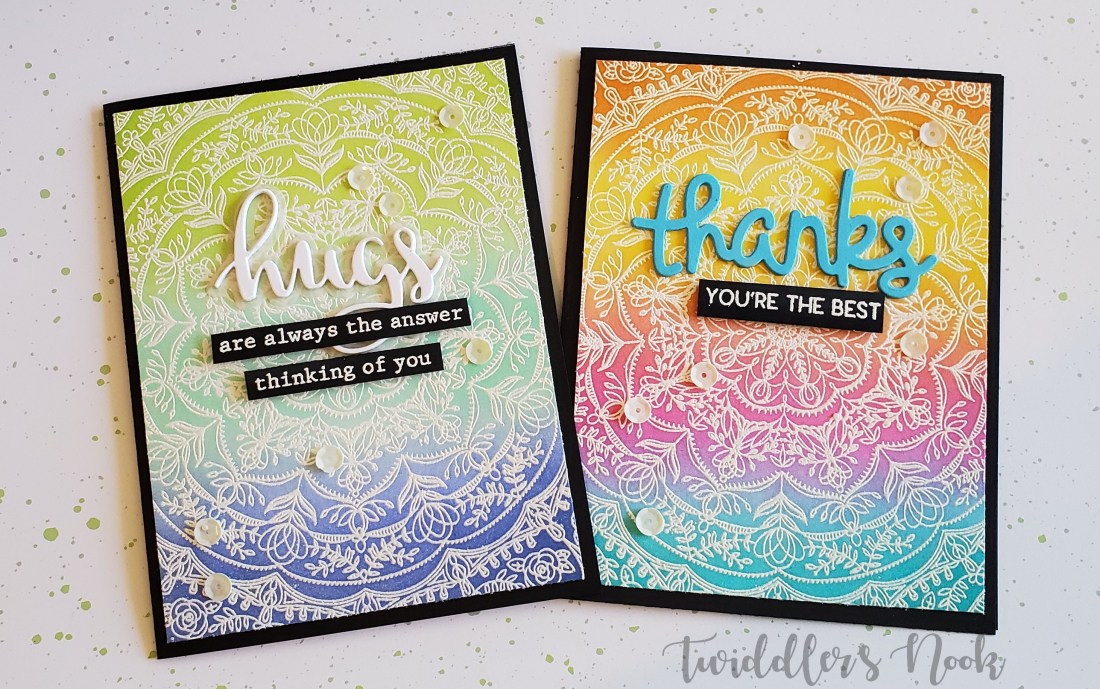
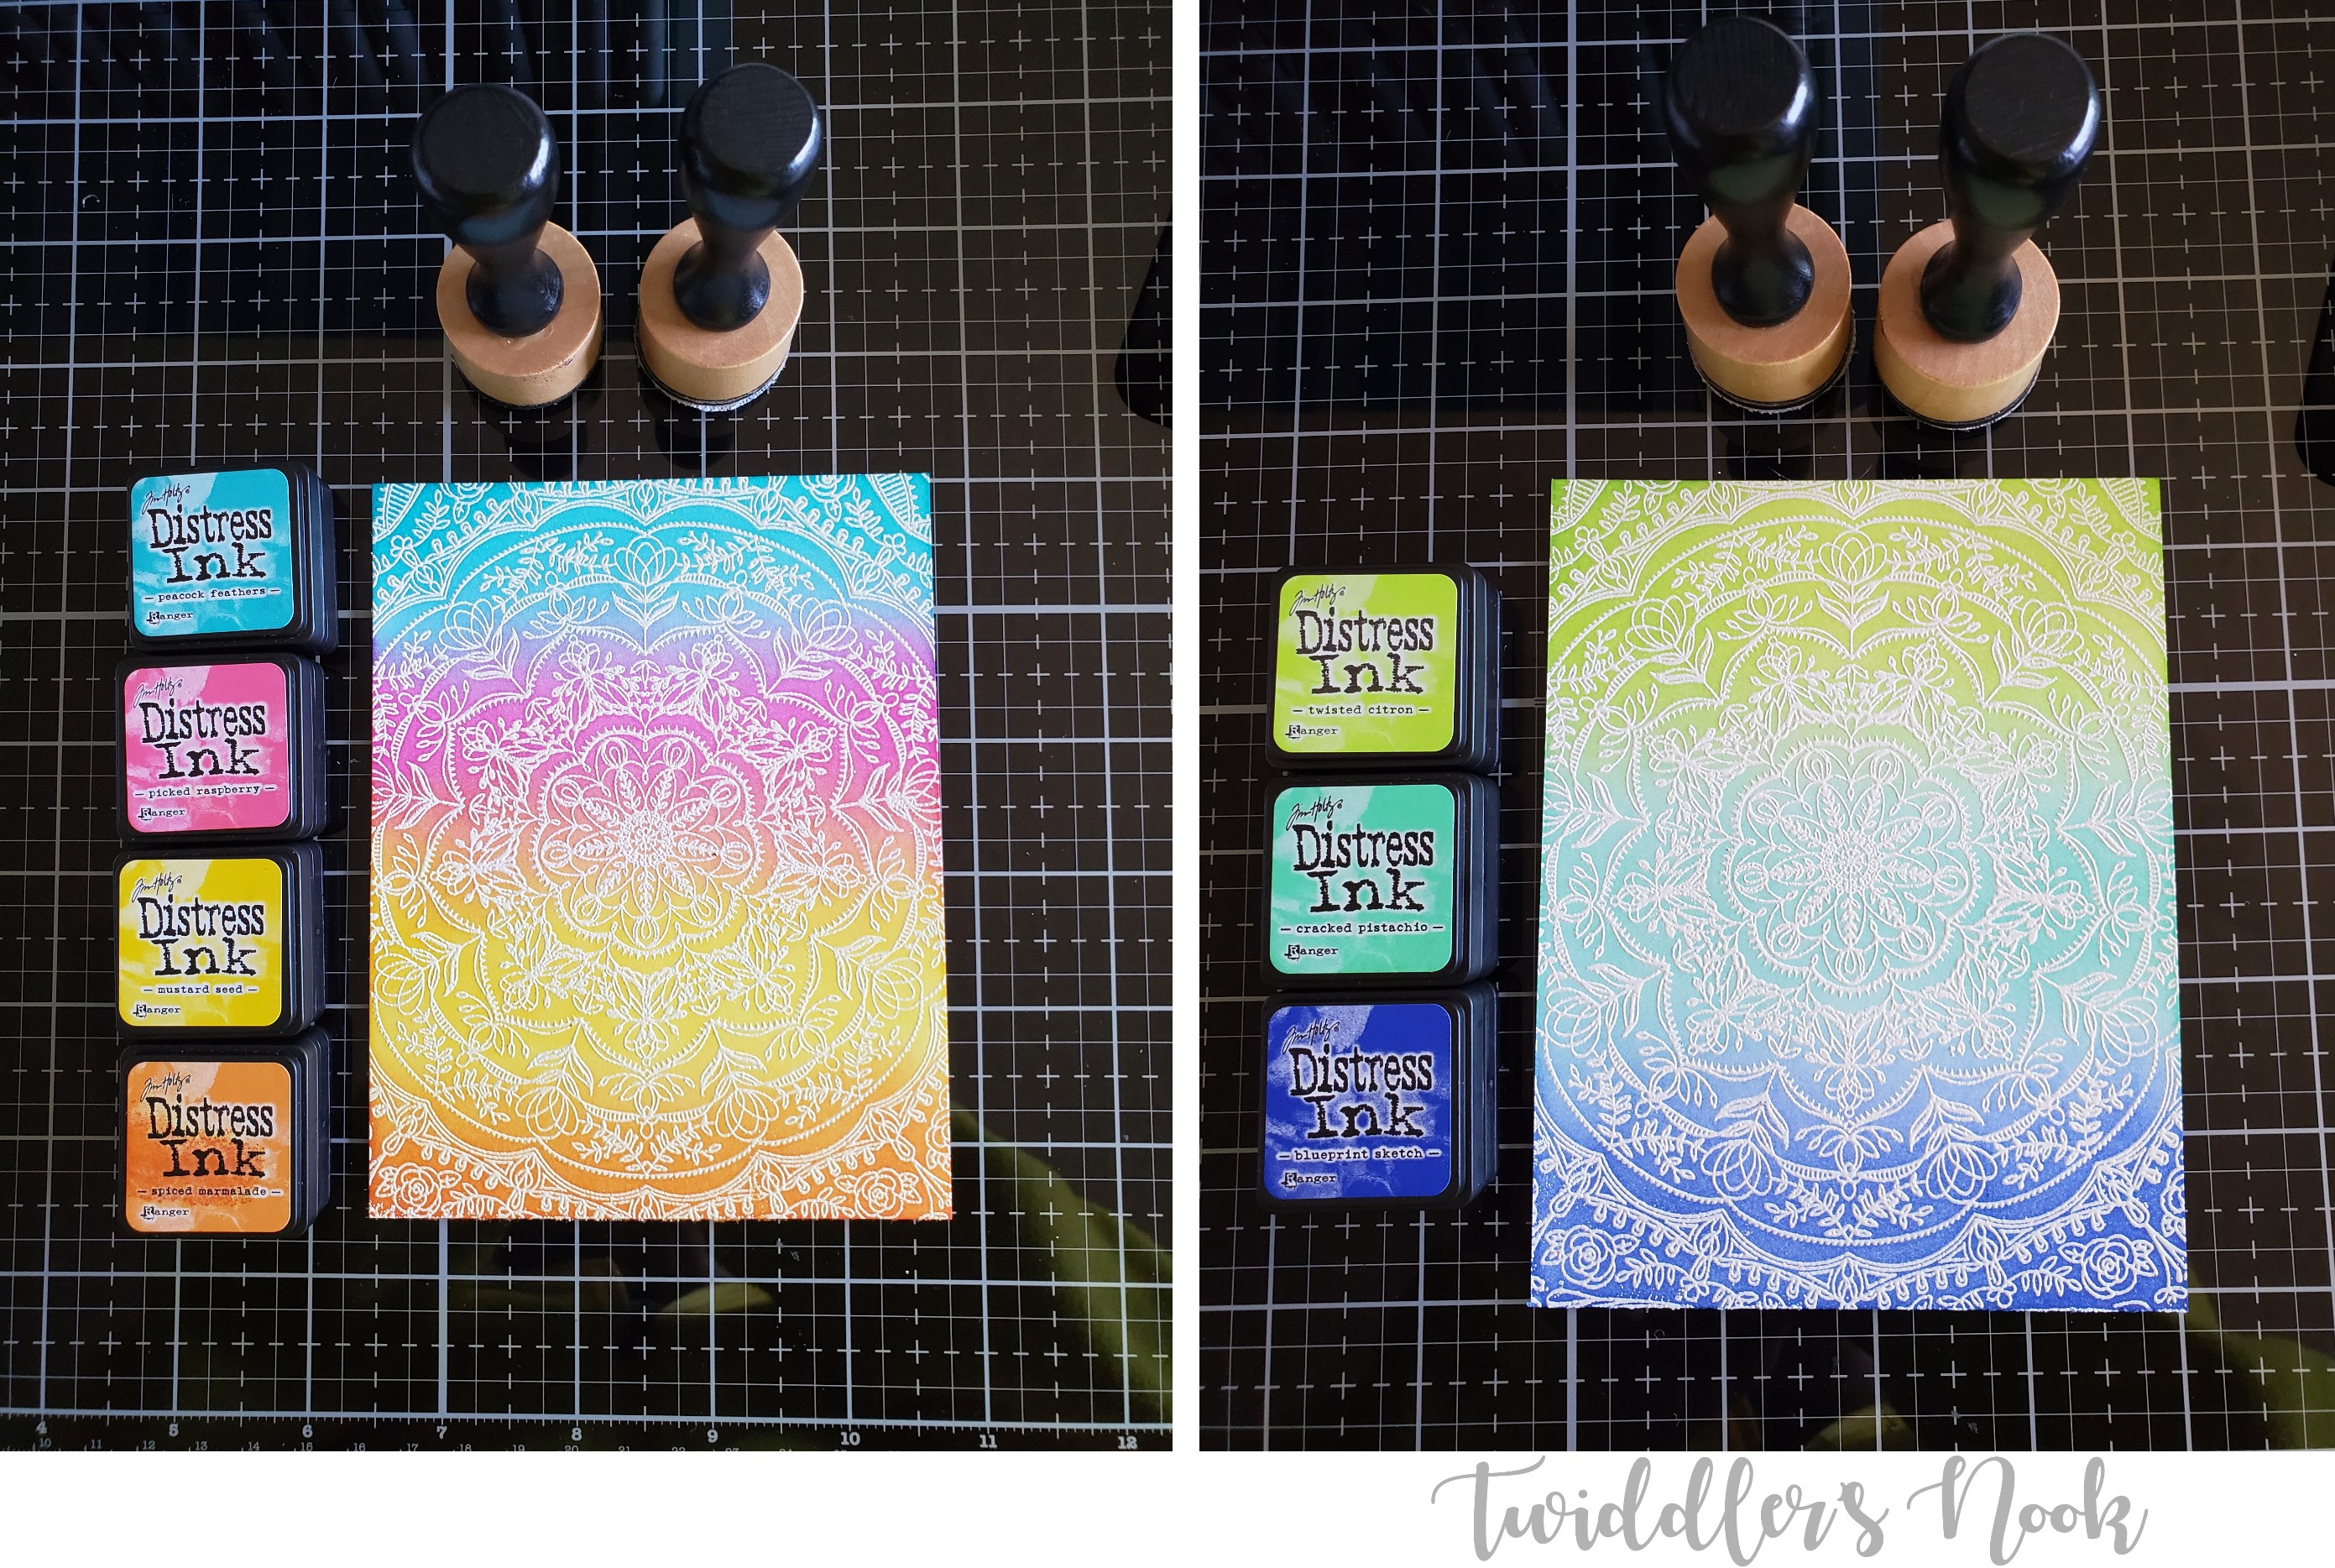
Hi there and thanks for stopping by! Today I’m going to share a simple and very impactful technique – distress ink resist. You can use this with any stamps you have, heat embossing supplies and distress inks.
With a large background stamp, like I’ve chosen, or any individual image you choose, stamp with an embossing ink such as VersaMark. Sprinkle with embossing powder and heat set. I almost always use white for this but you can use colored powder if you choose.
Next, choose your distress inks and blend them right over the top of your embossing. Once it’s blended how you want, take a clean cloth or paper towel and buff off any ink that’s sitting in top of the embossing. Now you have this fabulous background that on its own is beautiful!
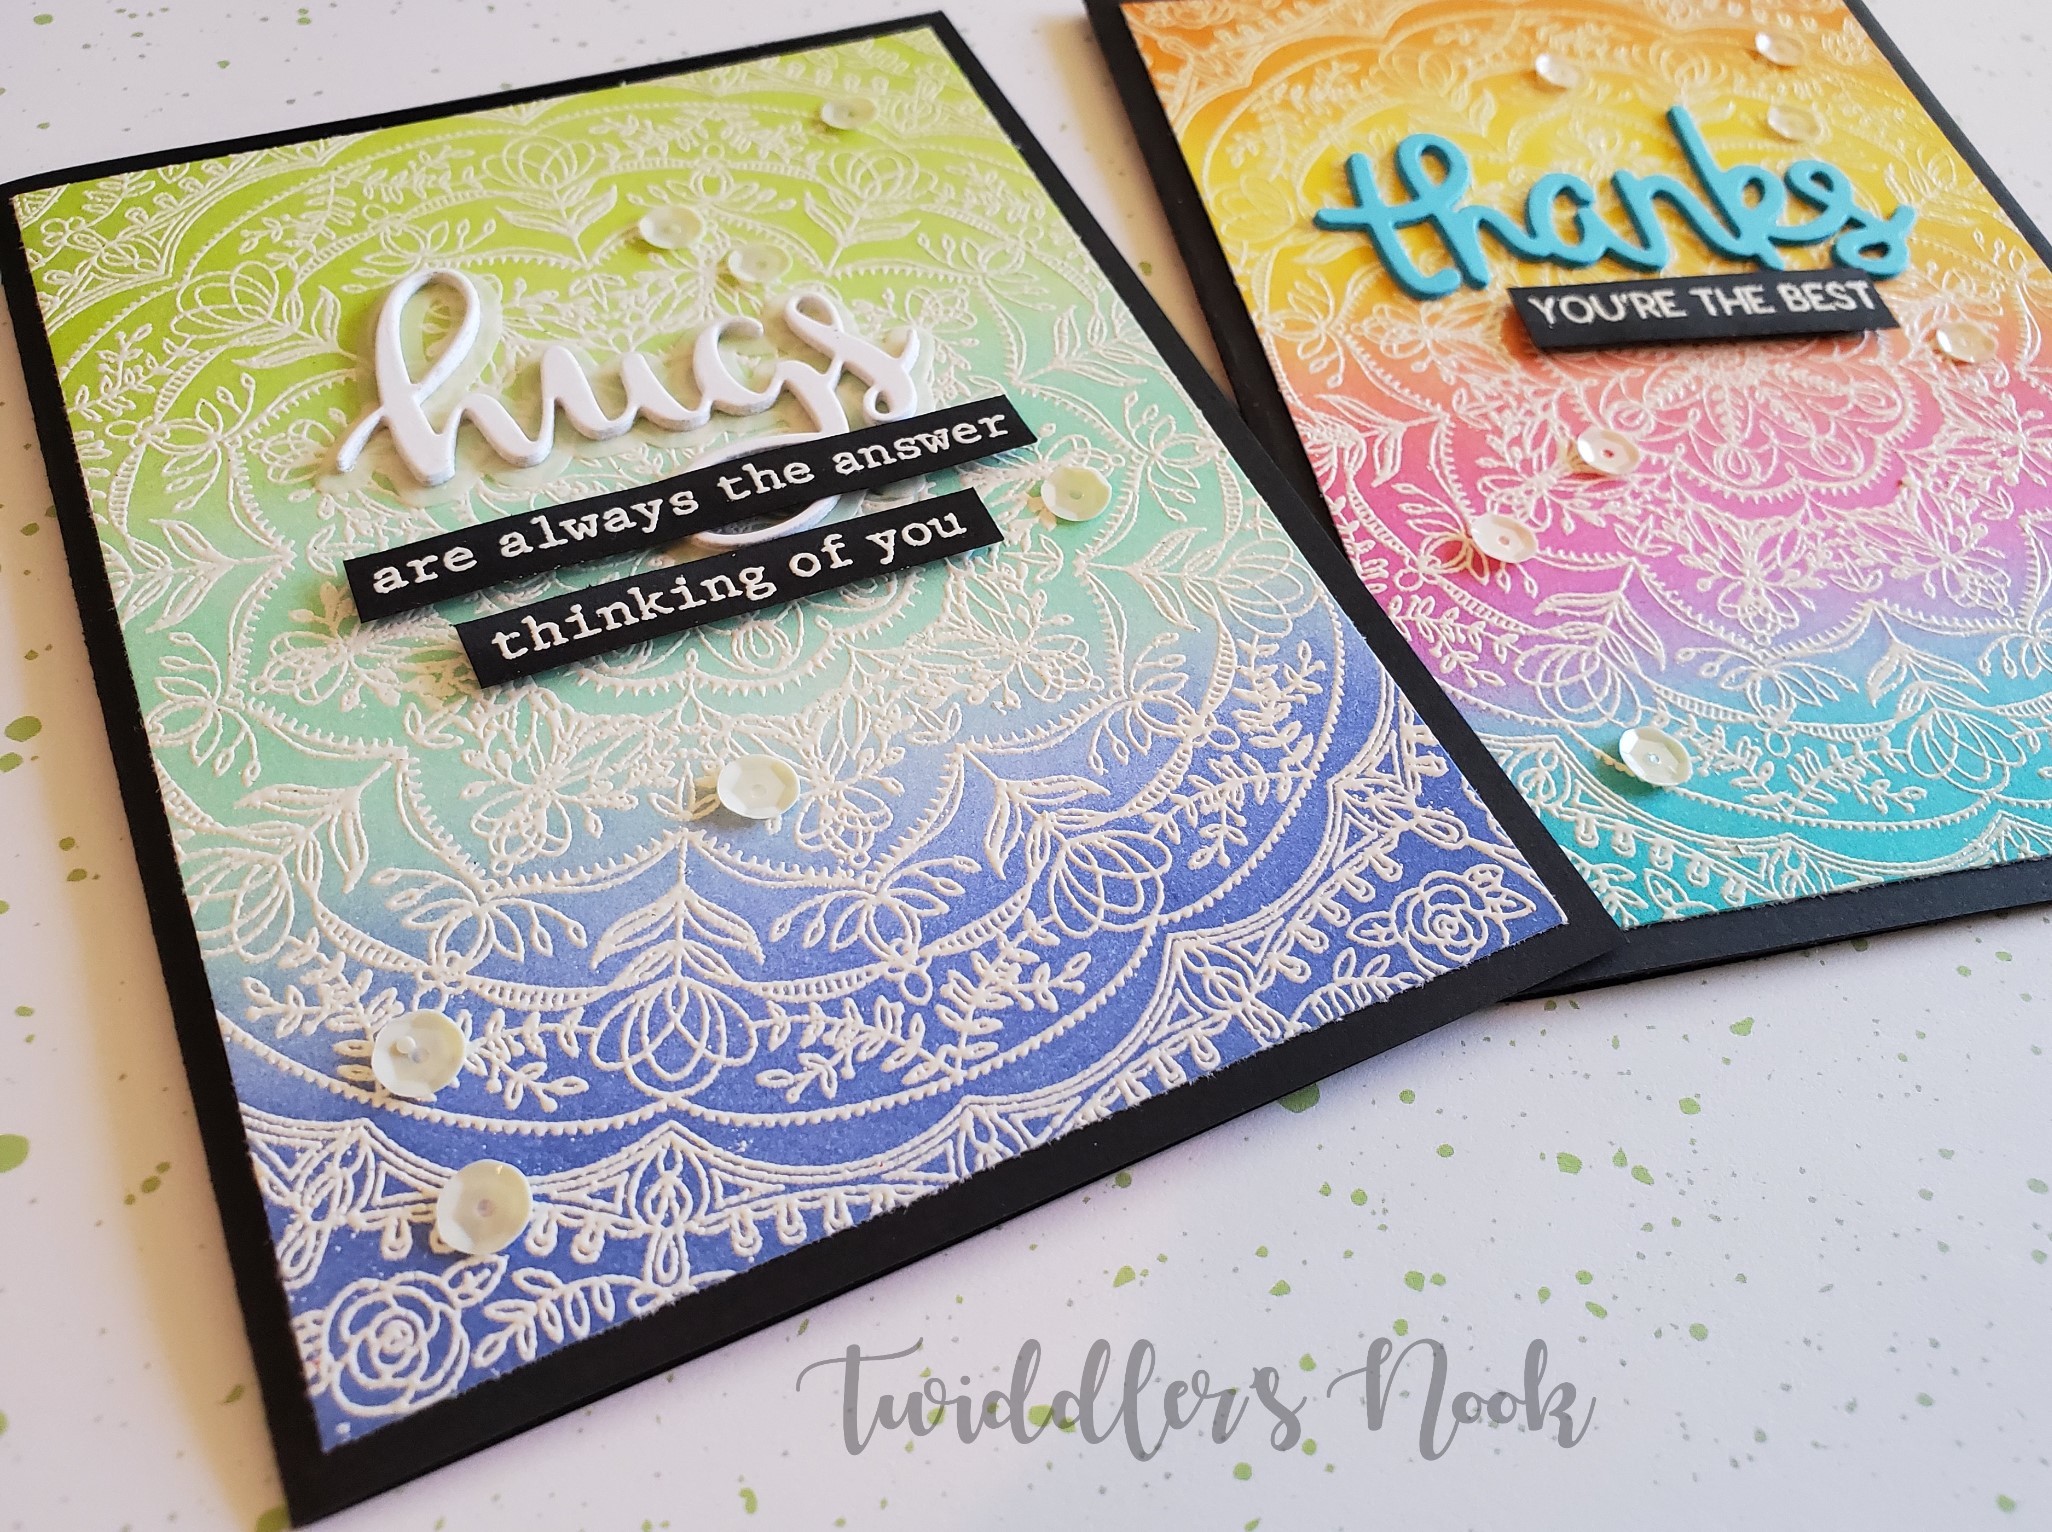
With these two, I trimmed them down to 4×5.25 and glued them to a black card base.
For the green/blue one, I die cut the hugs sentiment from the Avery Elle Simply Said Hugs 4 times from white cardstock and glued them together. Then I glued that to a vellum die cut of the shadow that comes in that same set. I adhered that to the card front. Next, I stamp and heat embossed the other sentiments from the same set, trimmed them into thin strips and popped them up with foam squares.
For the rainbow card, I die cut the Lawn Fawn scripty thanks sentiment 4 times from a teal cardstock and glued them all together. After adhering that to the card front, I stamped and heat embossed the small sentiment underneath from the Avery Elle Peek-a-boo Pals stamp set and popped it up with foam squares.
To finish both of these cards off I scattered sequins randomly from the bottom left to the top right corner.
I hope you’ll give this technique a try. I know you’ll love it!
I appreciate you sharing your time with me. Have a fabulous day!
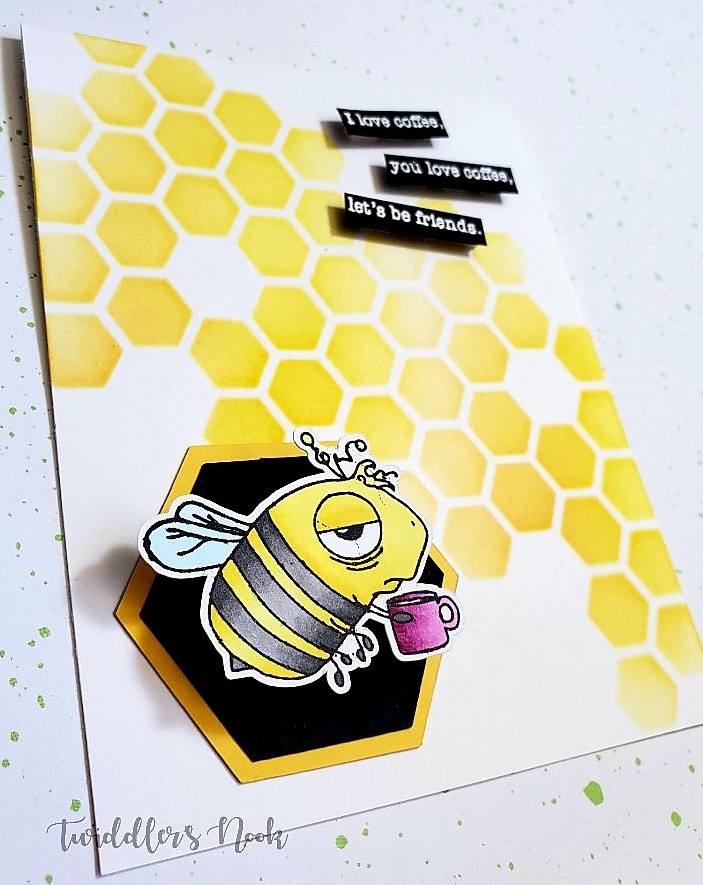
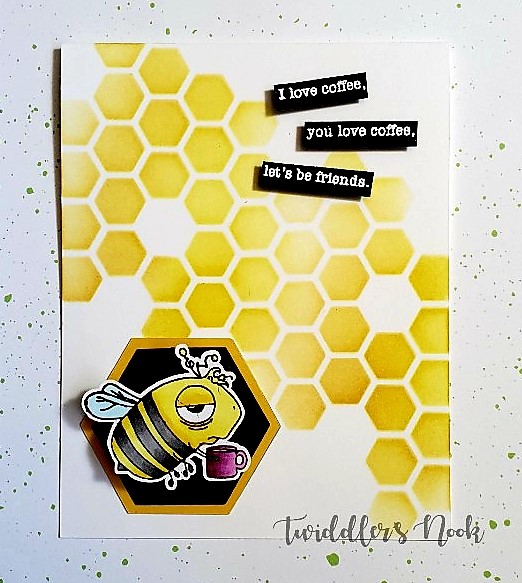
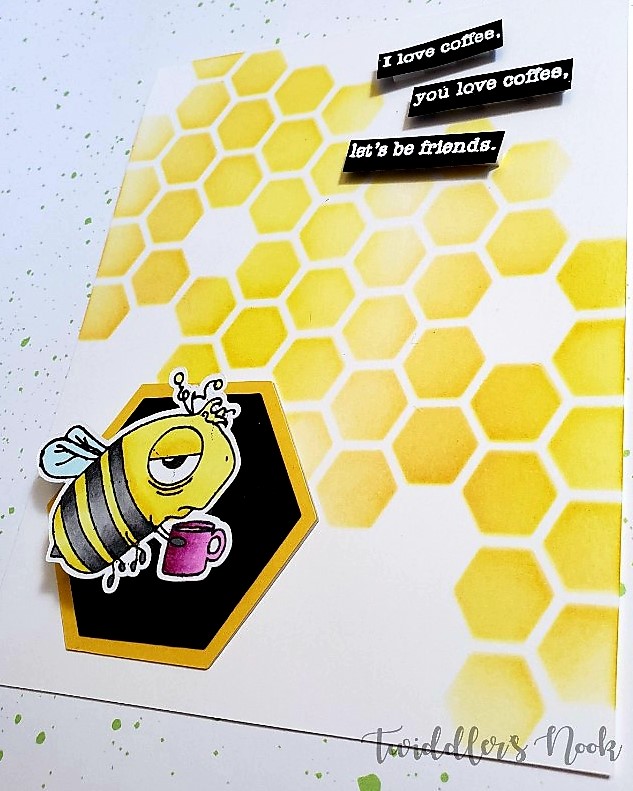
Hi there! I’m popping in today with a simple and SO FUN interactive card using The Rabbit Hole Designs Caffeinated Bee and an action wobbler to make things interesting.
To make this card I started with the background using a hexagon stencil and two yellow distress inks for varied color – scattered straw and mustard seed.
Then I used my Cricut to cut a 2 inch hexagon out of black cardstock and a 2.25 inch hexagon out of yellow cardstock. I layered them together and glued them to the card front.
I stamped, cut and colored my bee with copic markers. Then added the action wobbler mechanism to the middle of the hexagon and attached the bee to the center of it.
To finish the card off, I stamped and heat embossed the sentiment from The Rabbit Hole Designs Perfectly Blended stamp set. This is a really long sentiment so I just cut it apart and attached it to the card front with foam squares.
This was a really quick card to put together and I absolutely love it! The wobbly bee is so fun to play with!
I appreciate you sharing your time with me. Have a fabulous day!
Hi there! I hope everyone’s week is going well. I wanted to stop in today with a concept in card design that is very foreign to my brain…CAS – Clean and Simple – cards. These typically have a lot of white space, not a ton of dimension and would be great for mass producing if you needed to. My brain does NOT work this way.
Don’t get me wrong, I see them on Instagram or Pinterest and immediately fall in love with them all the time. I’ve even tried to copy the design a few times and was so uncomfortable with all the white space that the design gets totally changed and I fill it in one way or another.
Honey Bee Stamps has a Facebook page dedicated to their challenges. They hold two a month – 1-15 of the month and 16-end of the month. I hadn’t really been interested in them until lately when all these different challenges were starting to get my wheels turning. For the second half of May, the Honey Bee Stamps challenge is CAS cards with any Honey Bee Stamps you have.
After a car ride with my family Saturday morning and some serious brain storming, I came home to the craft room and set out with one mission…be okay with white space. LOL!!! And…here’s what I came up with.
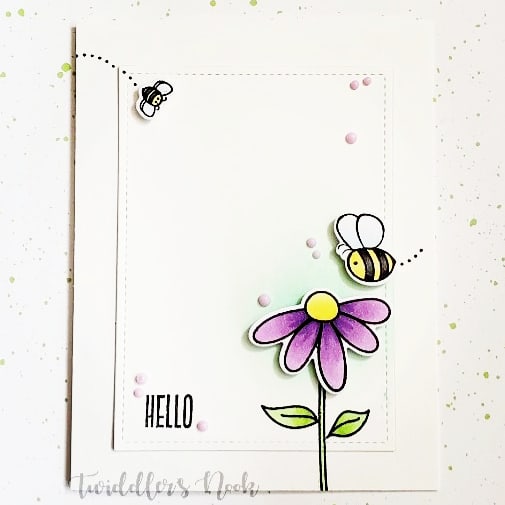
For this first one, I stamped and colored my bees and flower with copic markers and die cut everything. Then, I stamped the flower stem, leaves, buzzing trails and HELLO directly on the background. Next, I took a stitched rectangle and cut it out from the middle. At this point I thought a little burst of color would be great behind the flower so I took out my distress ink in cracked pistachio and blended an area a little bigger than the flower itself. I added two additional rectangles underneath the original to pop the middle up just a bit and glued it all to the card front. I adhered the flower and bees with foam squares and finished it all off with some lavender Nuvo Crystal Drops. I really do love it!
While I was working on the first one, I wanted to see what the same concept would look like in landscape format instead.
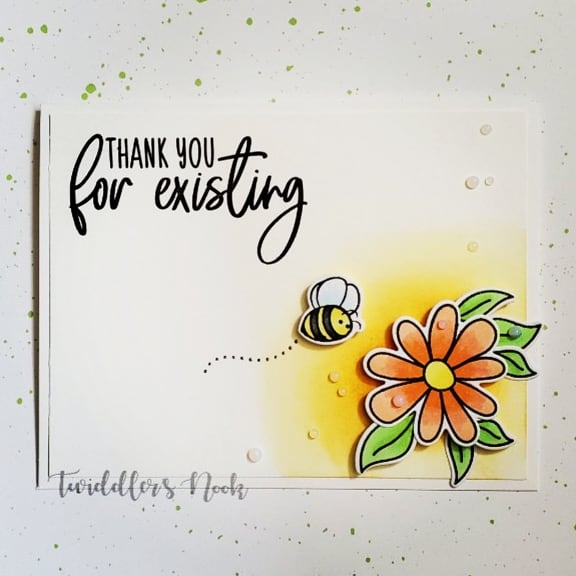
This time I trimmed the panel down to 4×5.25 inches, and used wild honey distress ink in the corner. I stamped my flower, leaves and bee and colored them all with copic markers. I die cut everything and started to assemble. I popped up the flower and bee with foam squares and then alternated popping up and gluing leaves to the panel itself. I stamped the sentiment and buzzing trail directly to the panel. Next, I glued the panel directly to the card front and added some clear Crystal Nuvo Drops for a finishing touch.
I love both of these cards so much! It has inspired me to be okay with white space a little at a time and to think outside the box in uses for some of my other stamps. Have you created CAS cards? Do you like them? Leave a comment below and let me know.
I appreciate you sharing your time with me. Have a fabulous day!
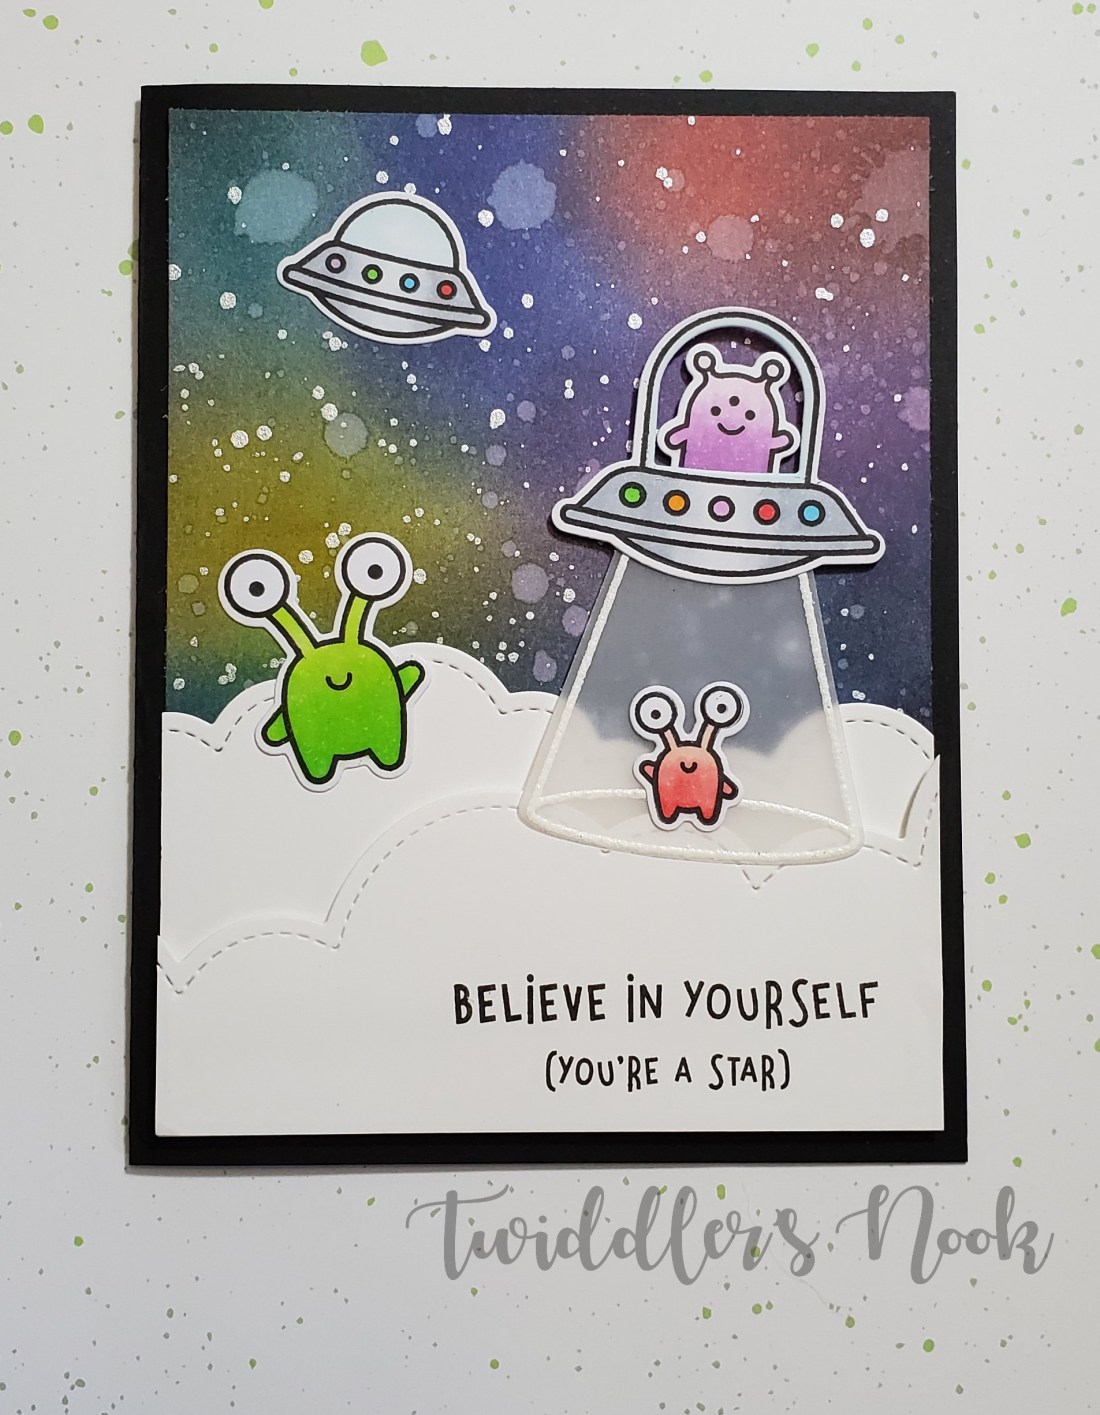
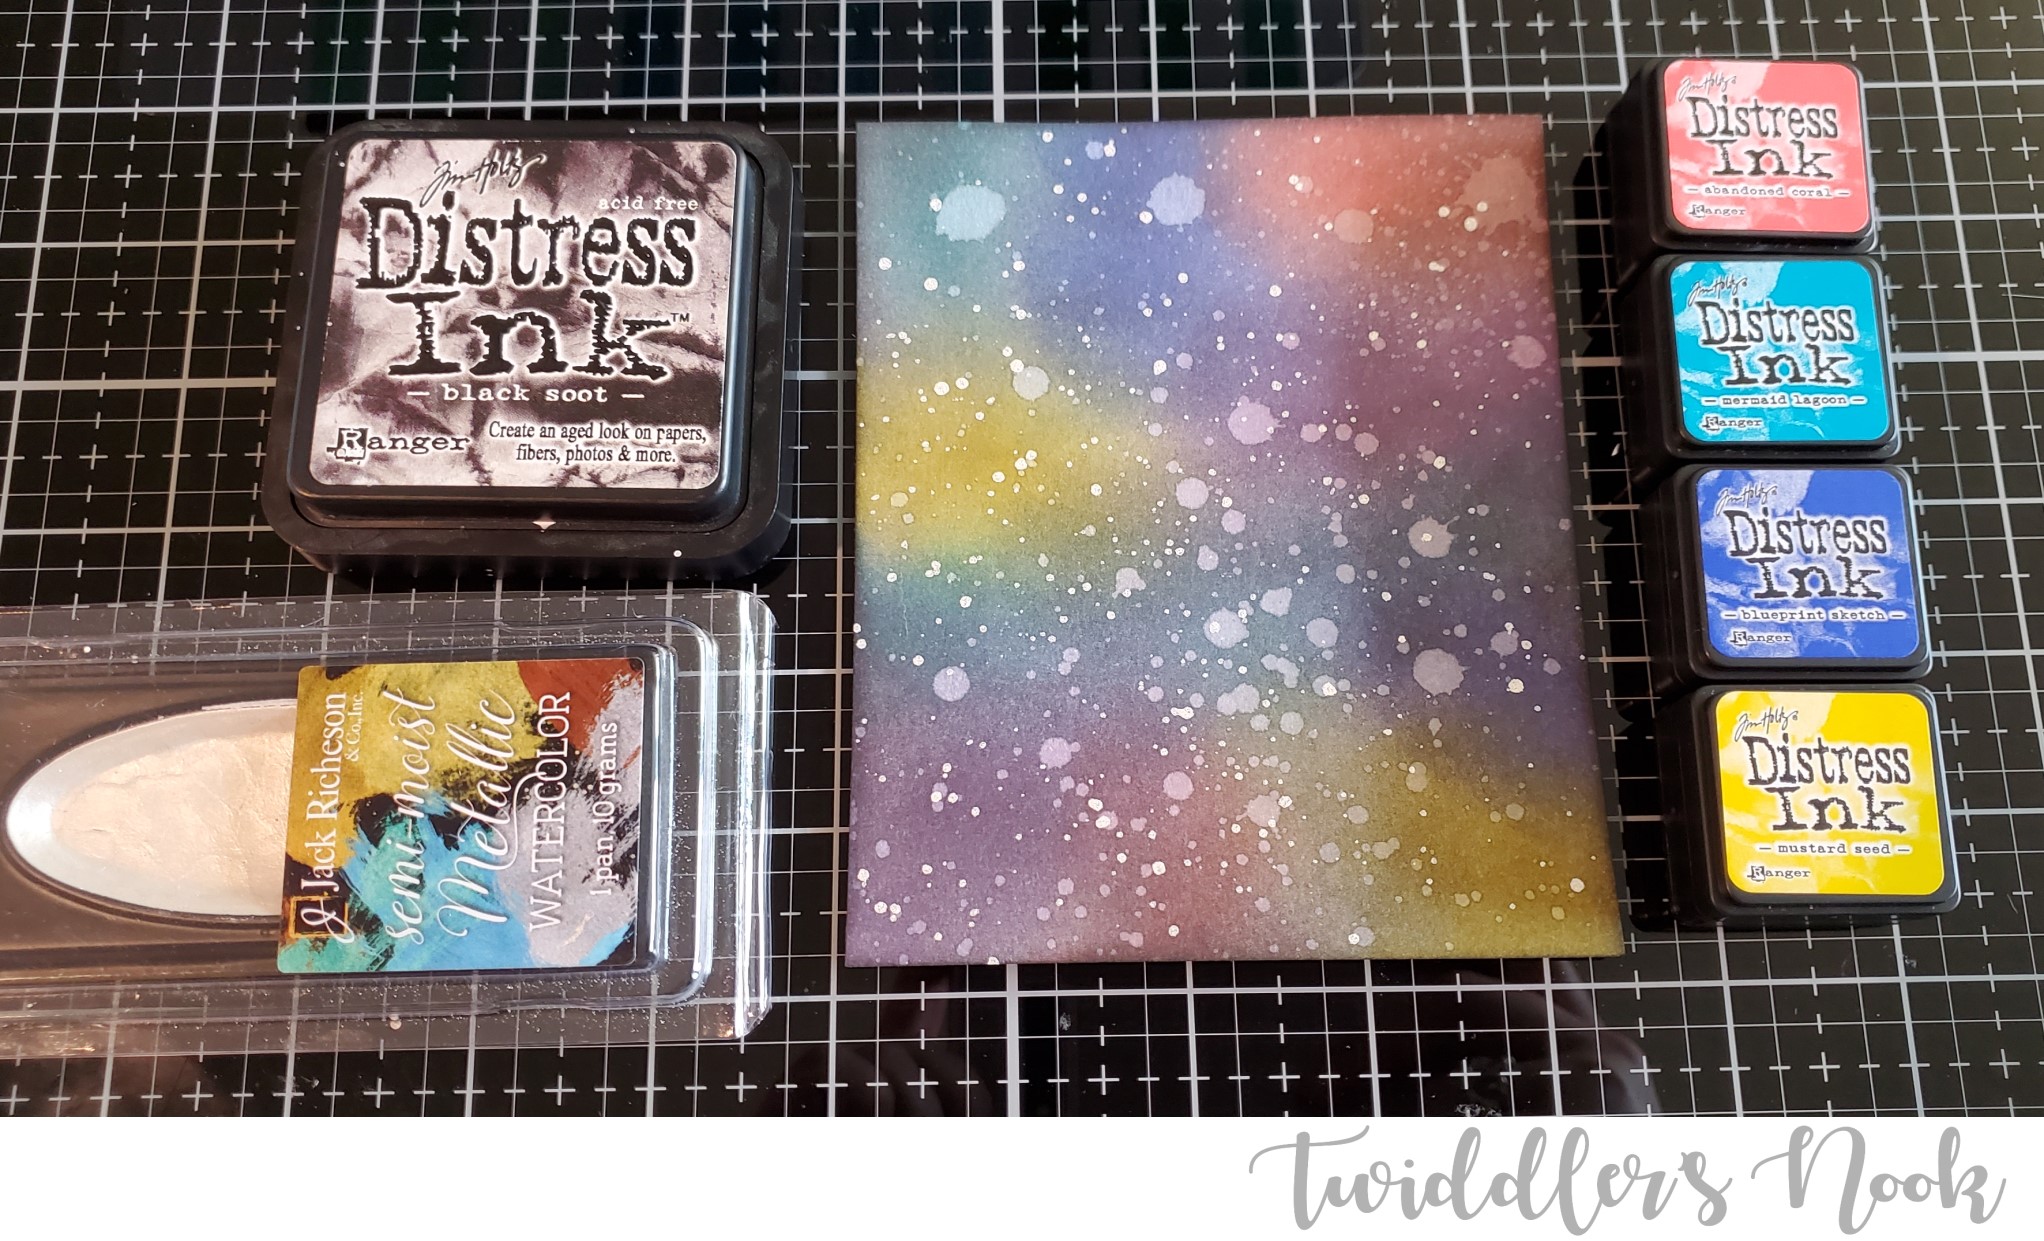
Happy Sunday! I’ve had so much fun in the craft room lately. Busy trying new ideas. The other night I decided to get messy again, in a new way. This time I cut a bunch of cardstock to A2 size (4.25X5.5 inches) for backgrounds and got out my distress inks and blending tools. I almost always make a bunch of these at a time when I’m doing them just like the ink smooshing idea. After I had done a couple that were just simple ink blending across the paper I decided to try out a galaxy idea.
To do this, I used the four colors on the right and covered the background. The colors are Abandoned Coral, Mermaid Lagoon, Blueprint Sketch, Mustard Seed and *not pictured, oops* Dusty Concord. After I covered the whole background randomly with each color, I took my Black Soot and went over the whole piece with a light hand. After I did it once, I went around the edge a second time to add another layer of color. Then I spritzed it with a water sprayer and dabbed up the water drops with a paper towel. Once I liked how much distressing I had with the water, I got out my silver watercolor and flicked it all over the paper. This is the key to a really cool galaxy background. It’s amazing how much dimension the metallic watercolor gives the whole thing. Stars everywhere!
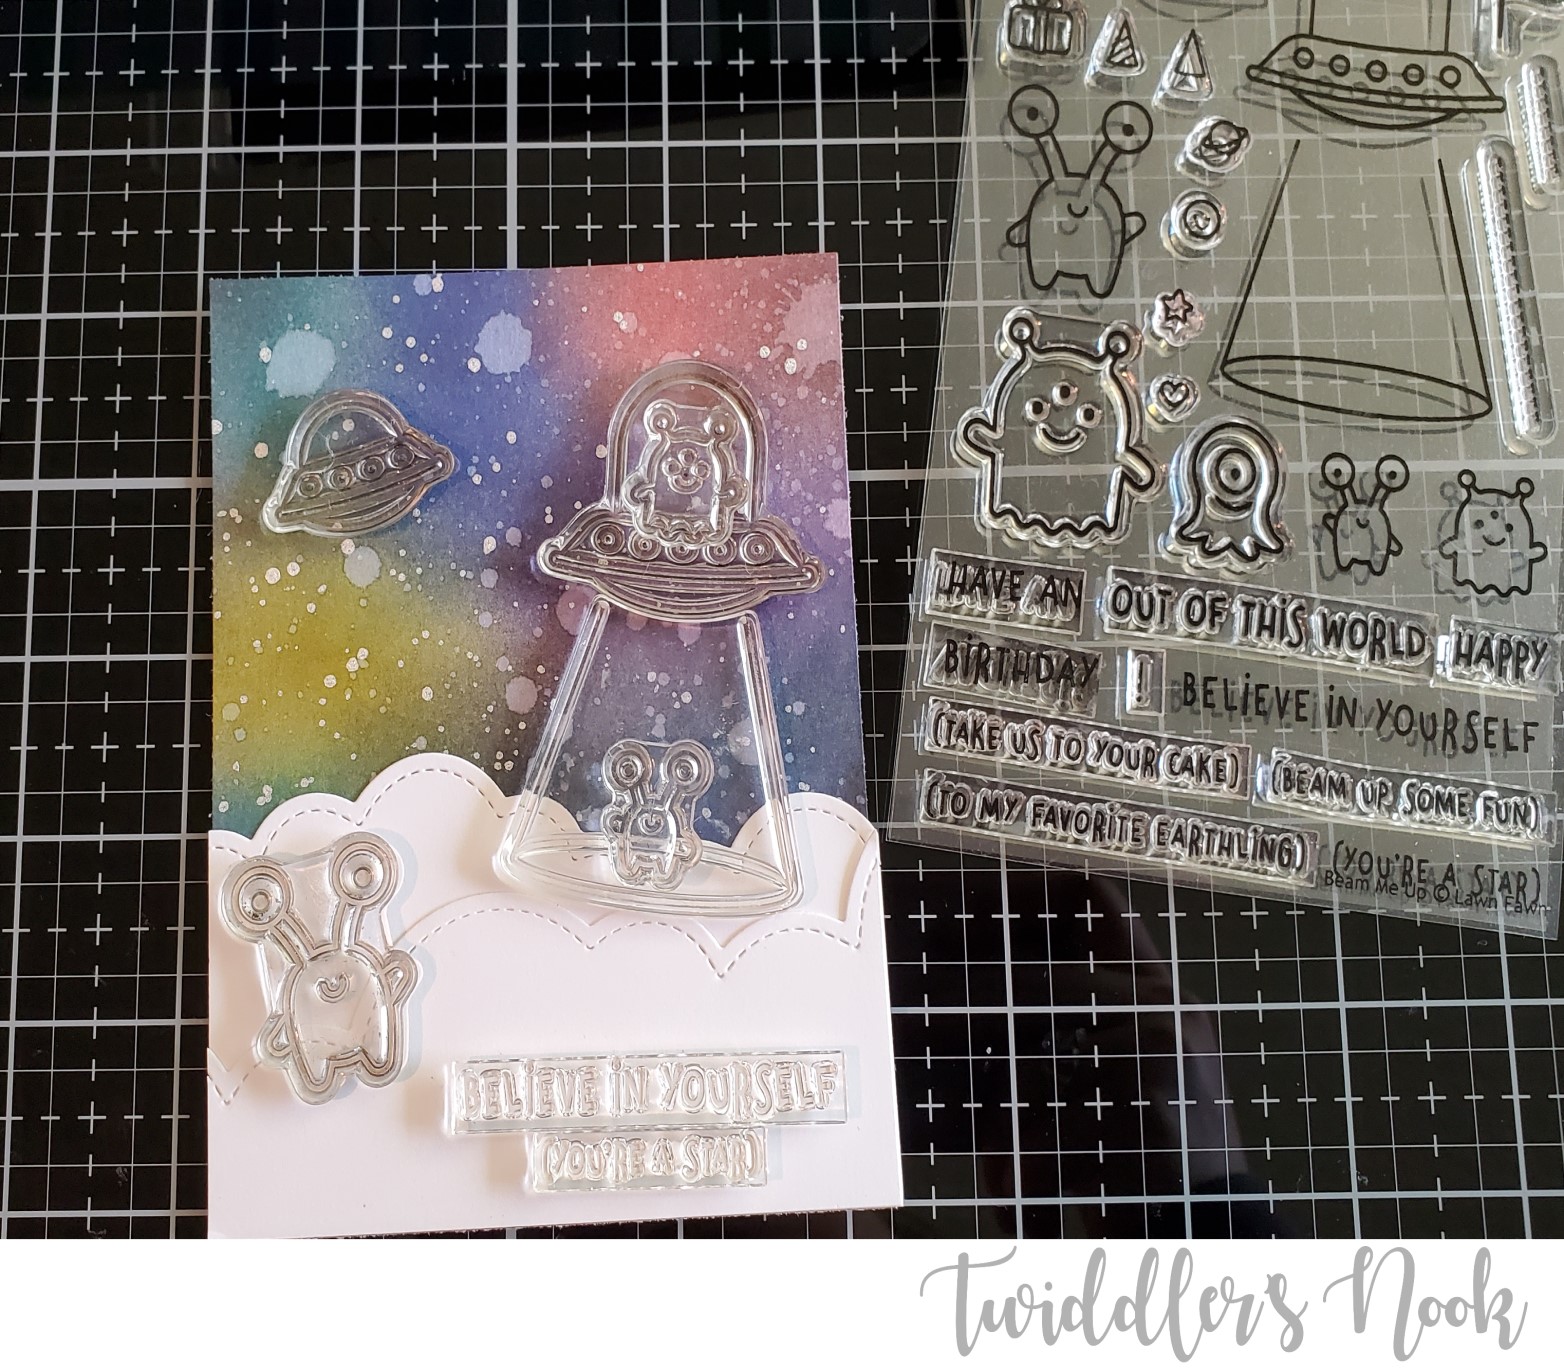
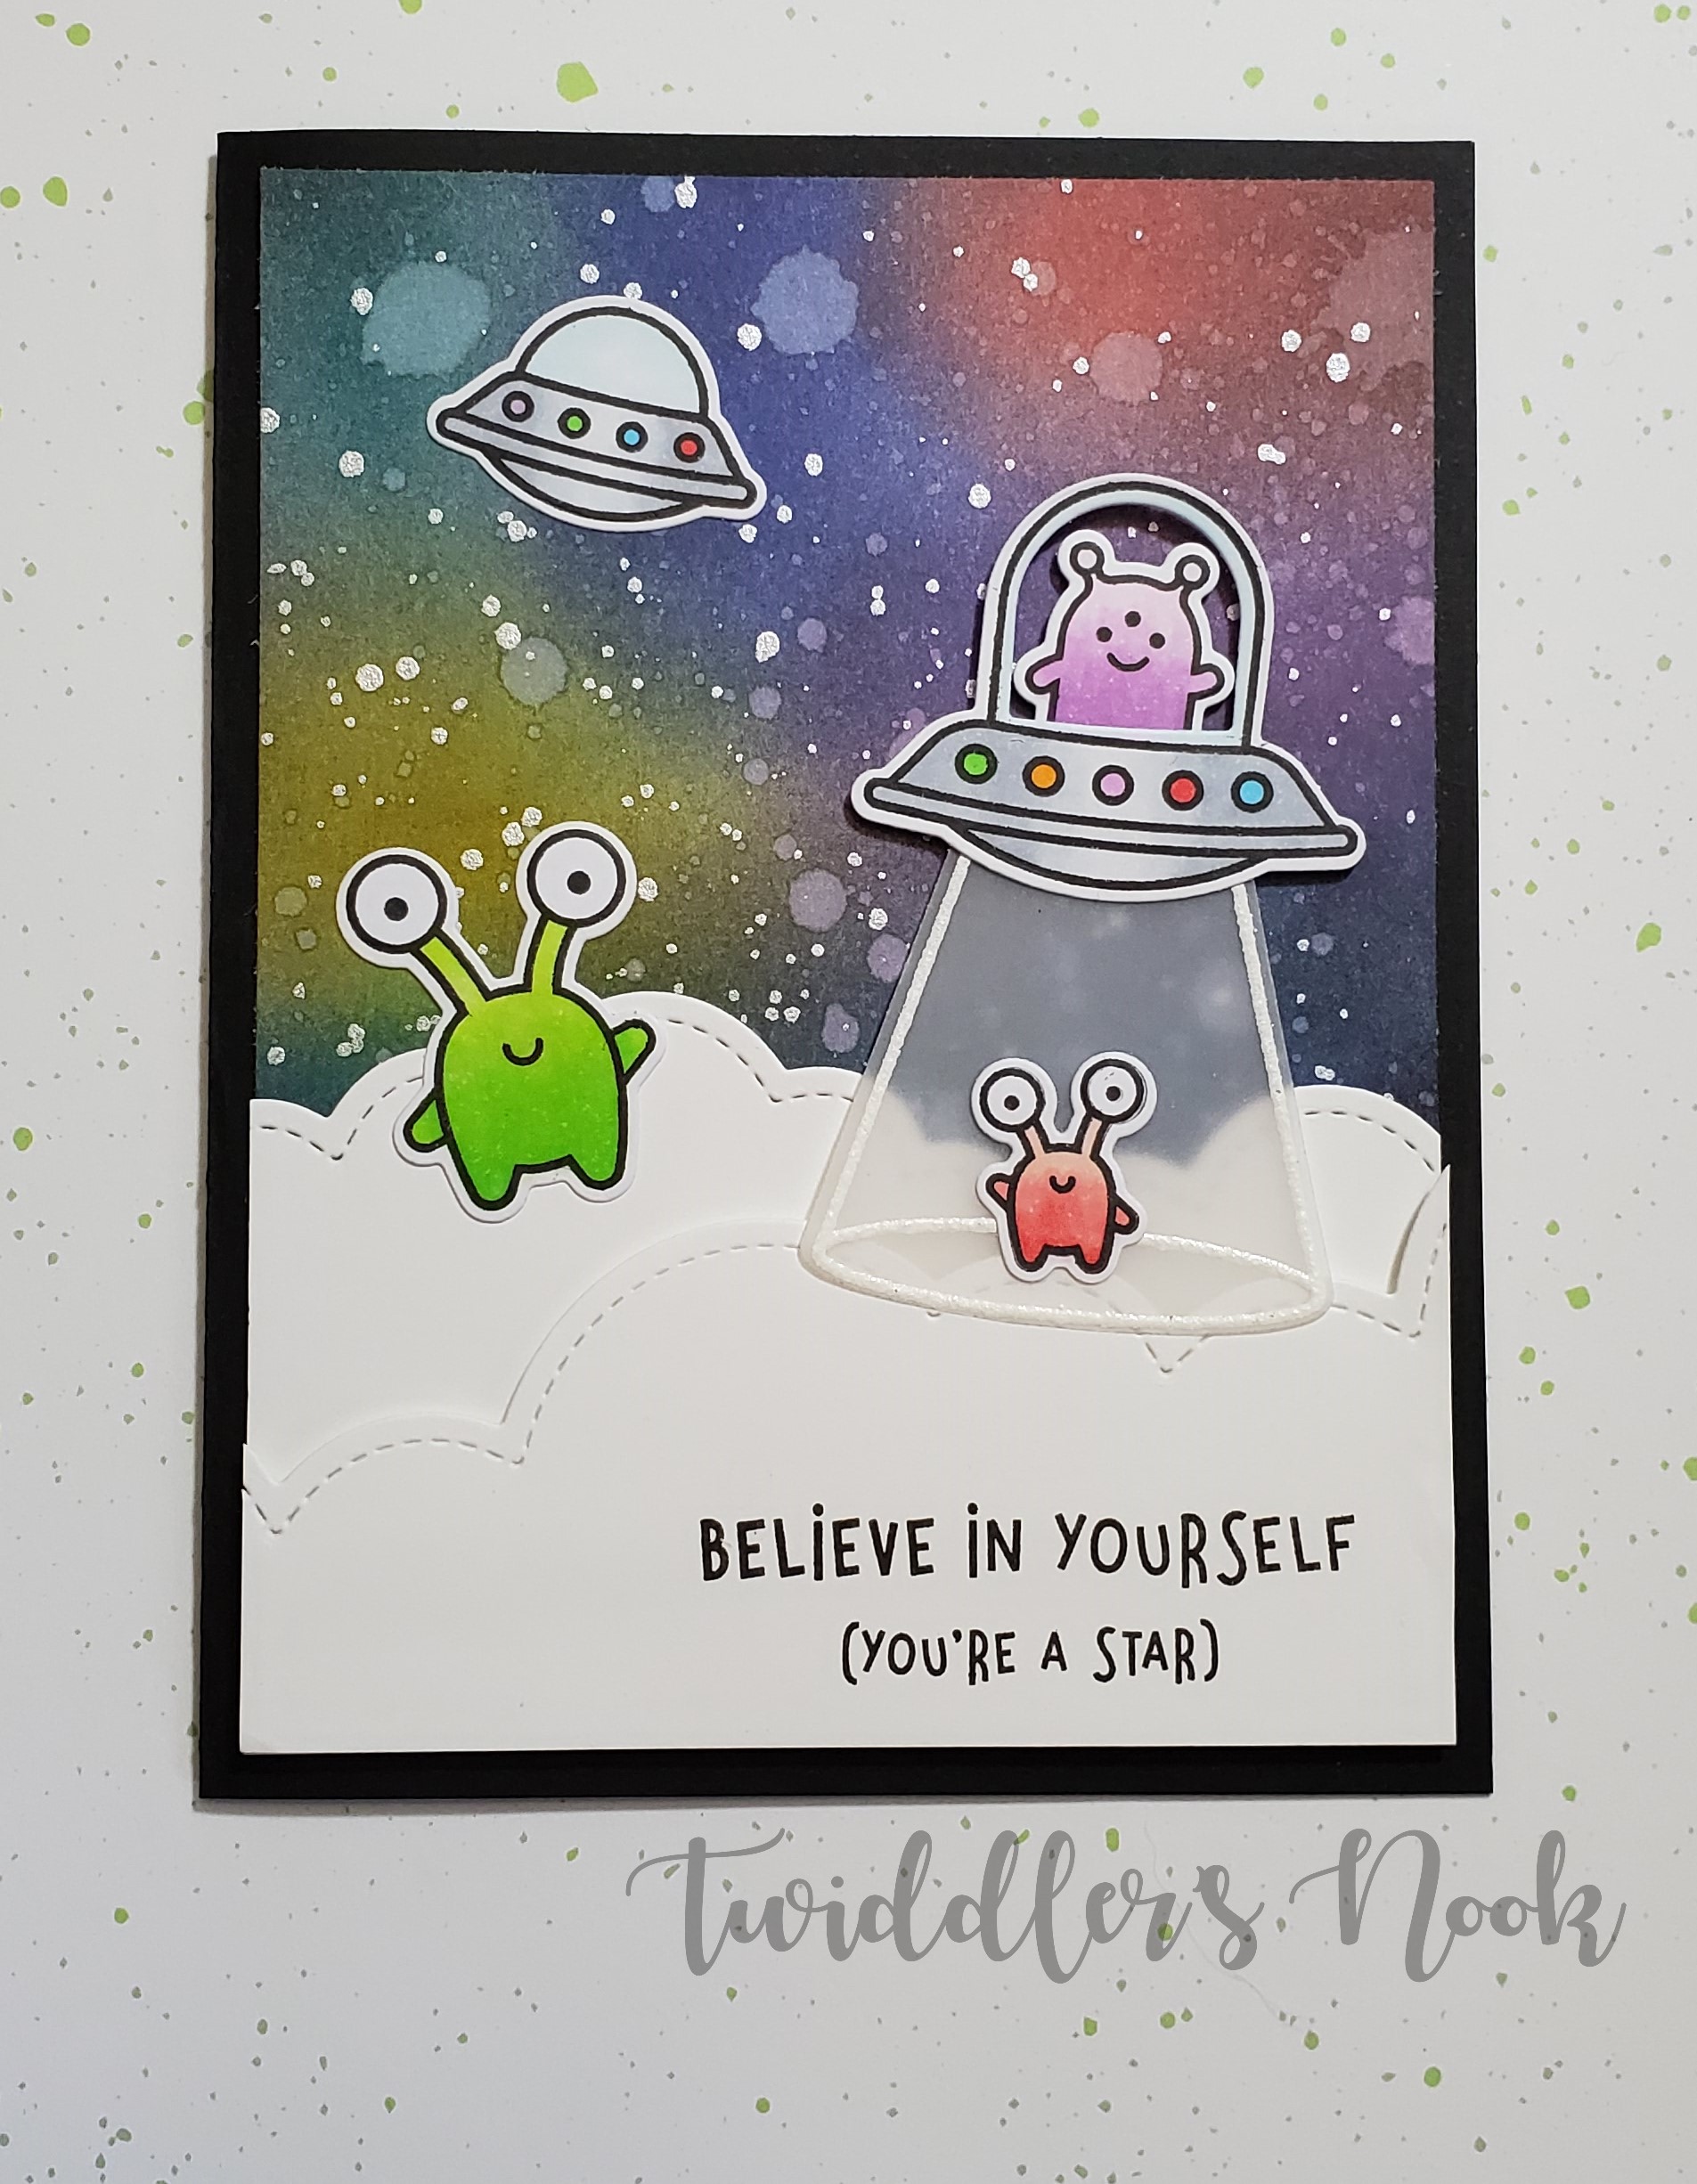
While that was drying I got out my Lawn Fawn Stiched Puffy Cloud Borders and cut two different layers of those out of white cardstock. I also reached for my Lawn Fawn Beam Me Up stamp set to figure out what characters I was going to use. I stamped the aliens and space ships out on Copic XPress cardstock and colored them with copic markers. I stamped and heat embossed the “beam” from the spaceship on velum with white embossing powder and then die cut everything.
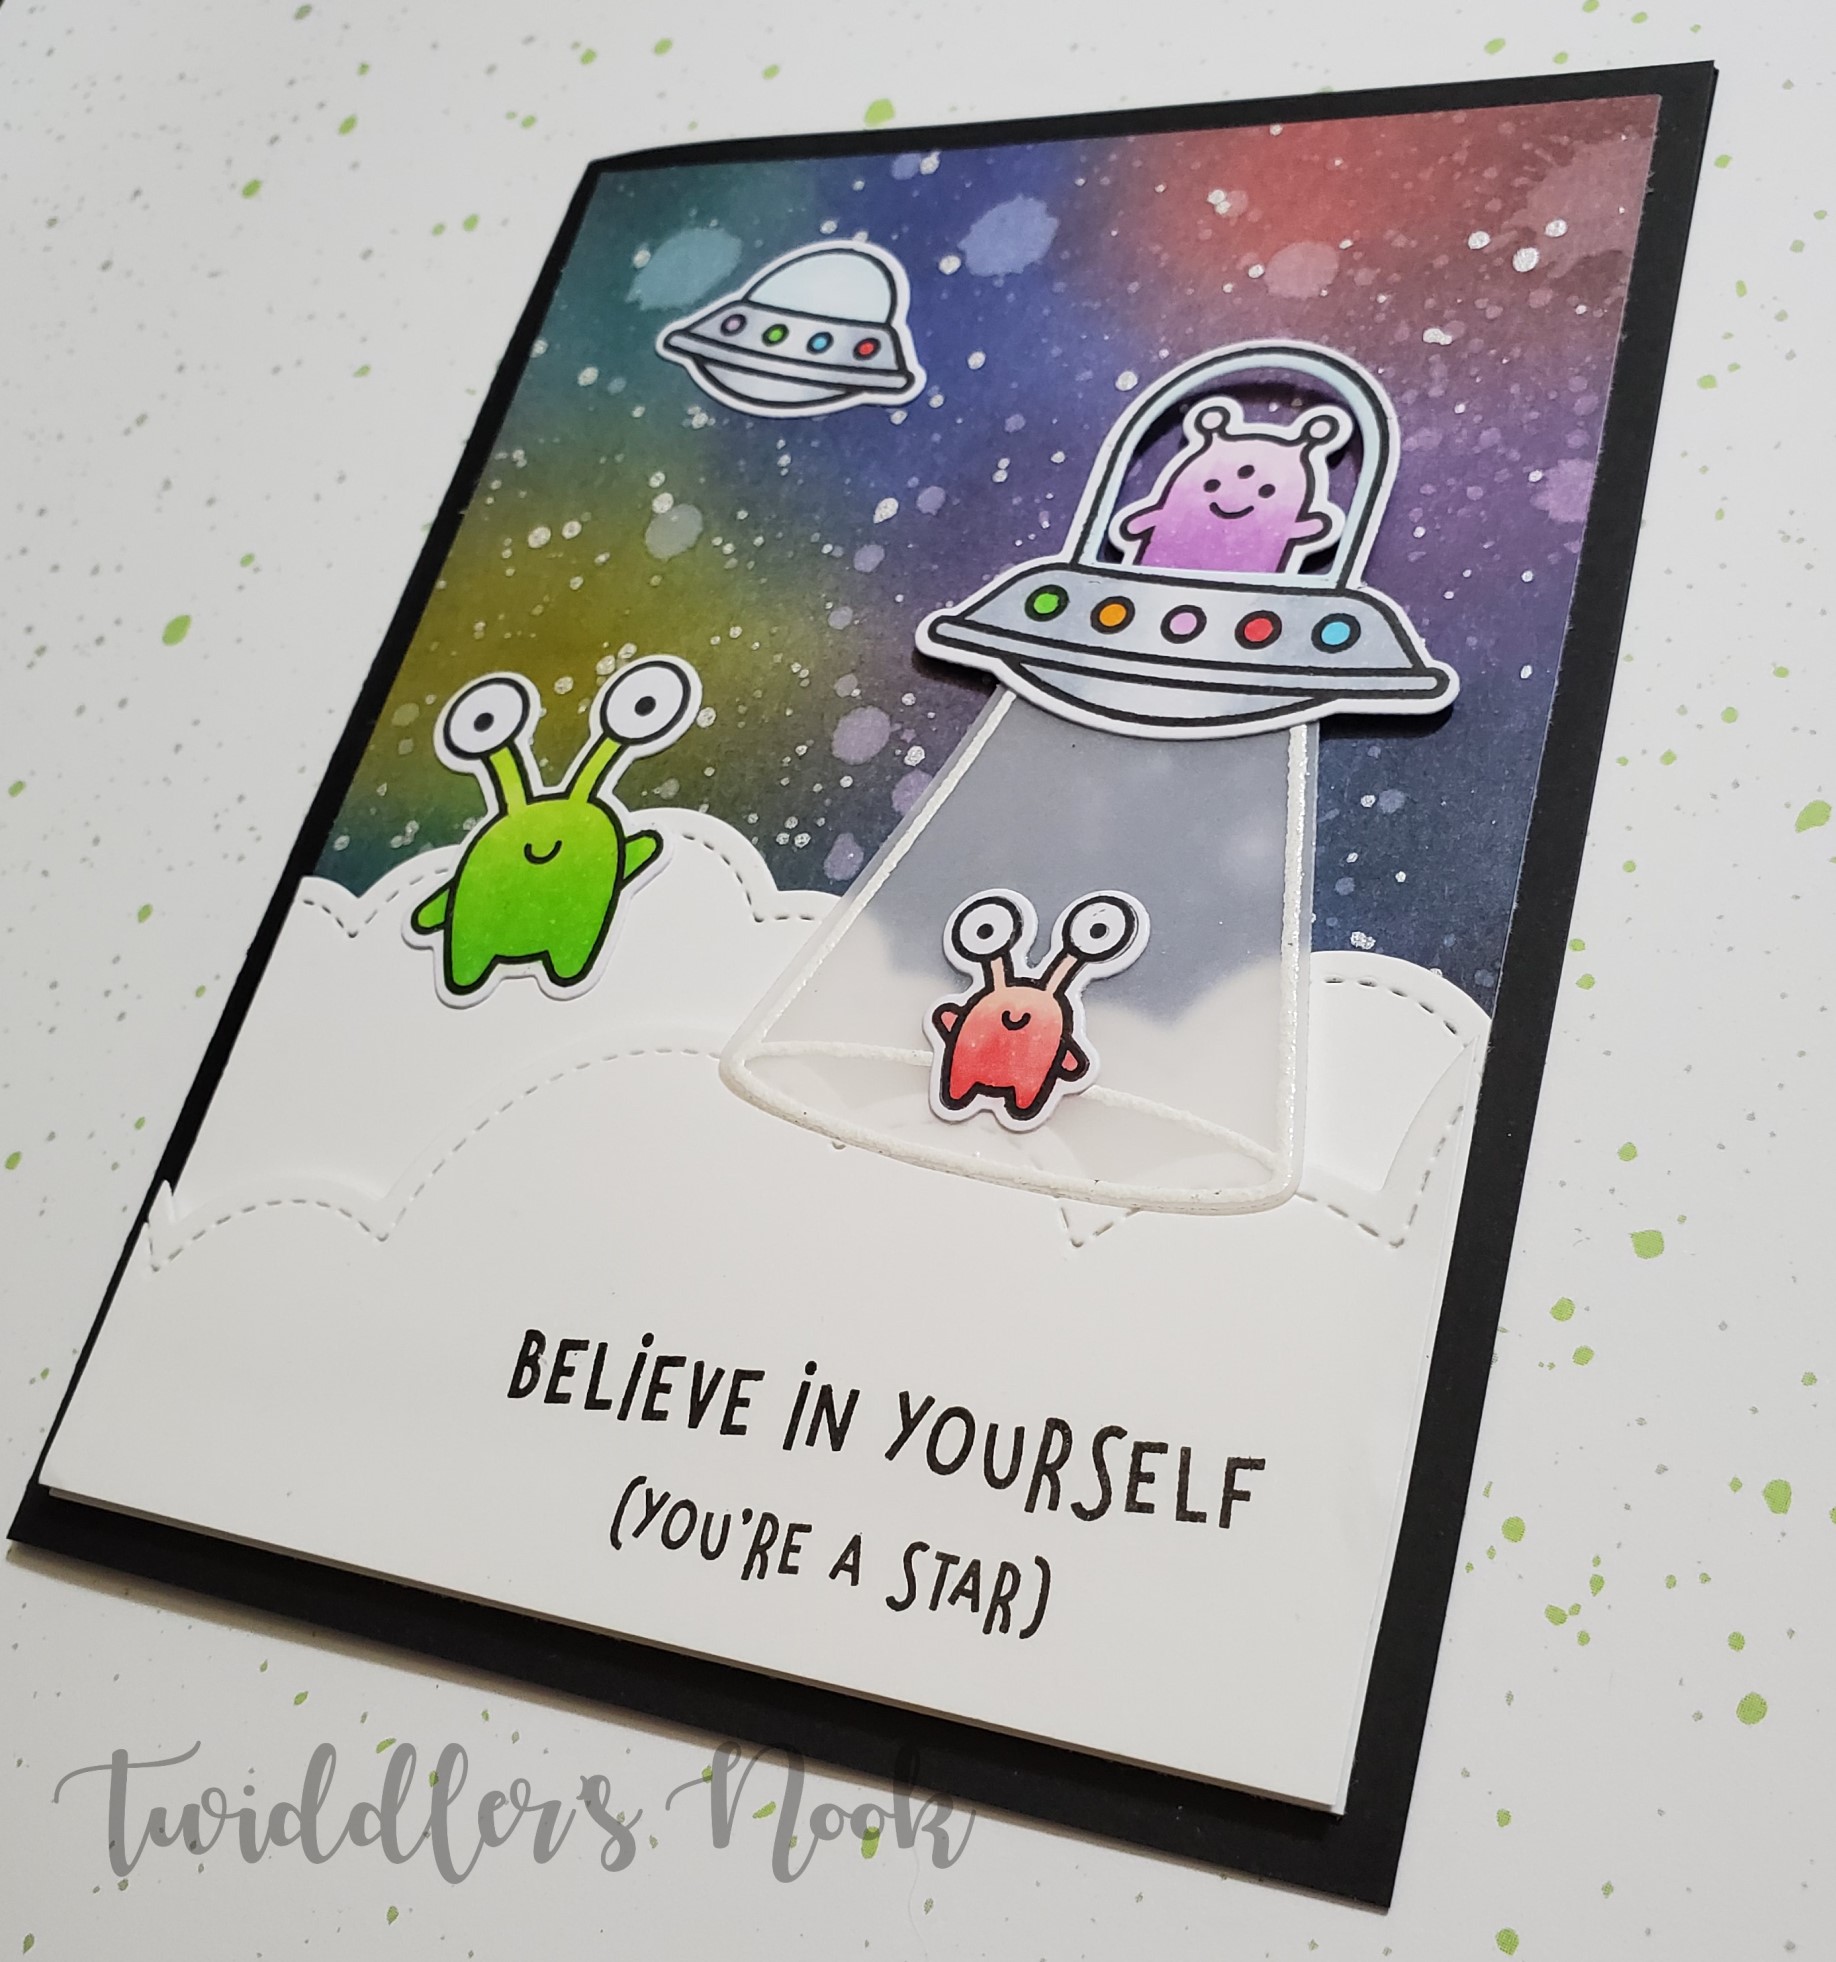
I adhered the galaxy background to a black card base and then the bottom layer of clouds directly onto the background. I stamped my sentiment on the second layer of clouds and popped it up with foam tape. The big spaceship, alien and beam are also popped up so they meet the level of the clouds the red alien is standing on. The large alien and small spaceship are glued directly to the card front.
And just like that, this super cute encouragement card is all finished and ready to be mailed. I love these aliens. They are sure to make the recipient smile.
I hope you enjoyed today’s card and will give the galaxy background a try. They always come out different and are so fun to make over and over again.
I appreciate you sharing your time with me. Have a fabulous day!













 twiddlersnook.blog