Avery Elle Cocoa Stand

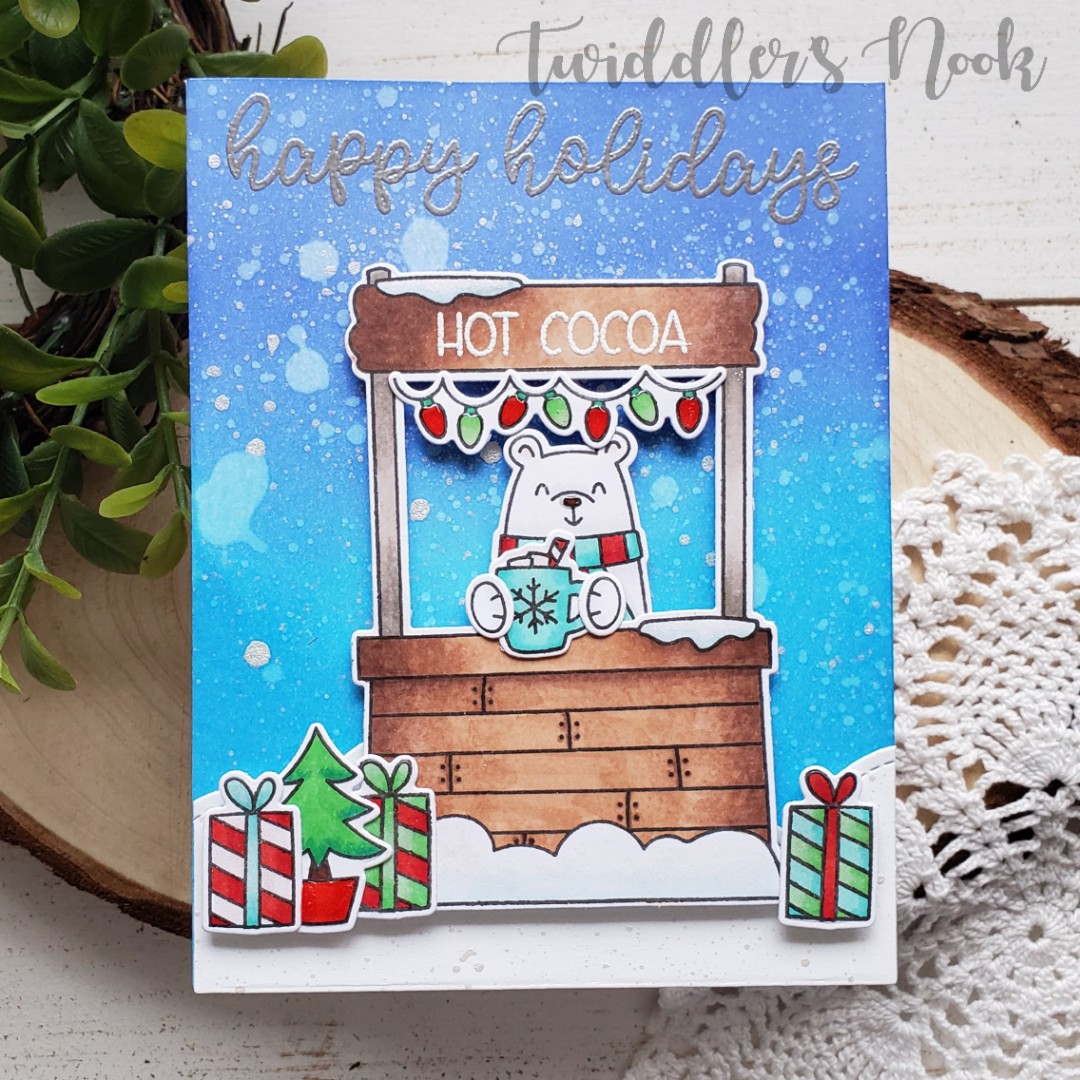
Let’s start this week off right…with cocoa and a cute bear to run the stand!

Today’s card features Avery Elle’s Cocoa Stand, some fun ink blending and lots of sparkle!
Here’s how I did it:

  • Blend salty ocean and blueprint sketch distress inks on a 4.25×5.5 inch panel. Spritz with water and then also splatter with pearl watercolor.
  • Die cut a white border with Lawn Fawn Puffy Cloud Border and splatter with pearl watercolor too.
  • Stamp, color and die cut images from Avery Elle’s Cocoa Stand.
  • Heat emboss stand sentiment on the top with white embossing powder.
  • Glue background panel and “snow” border to card front. 
  • All of the images are popped then up with foam squares.
  • Last, I stamped and heat embossed the sentiment from Avery Elle’s Christmas Kids in silver embossing powder.
  • Finishing touches are Wink of Stella Glitter Brush pen on the mug and presents and glossy accents on the lights, Christmas tree base and the bear’s nose.

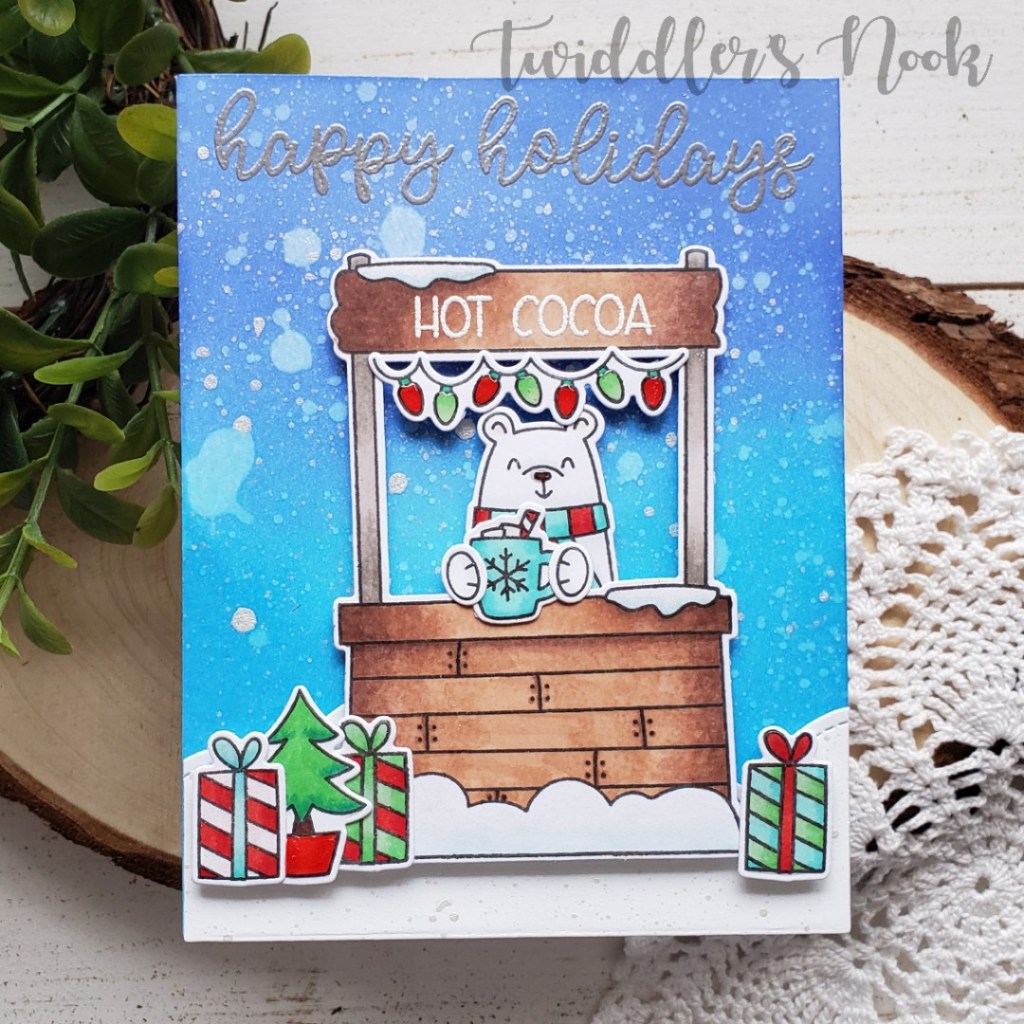
Here’s a closer look at the details. It’s so fun and whimsical! I hope you enjoy it as much as I did making it!

I appreciate you sharing your time with me. Have a fabulous day!
Avery Elle Penguin Wreath

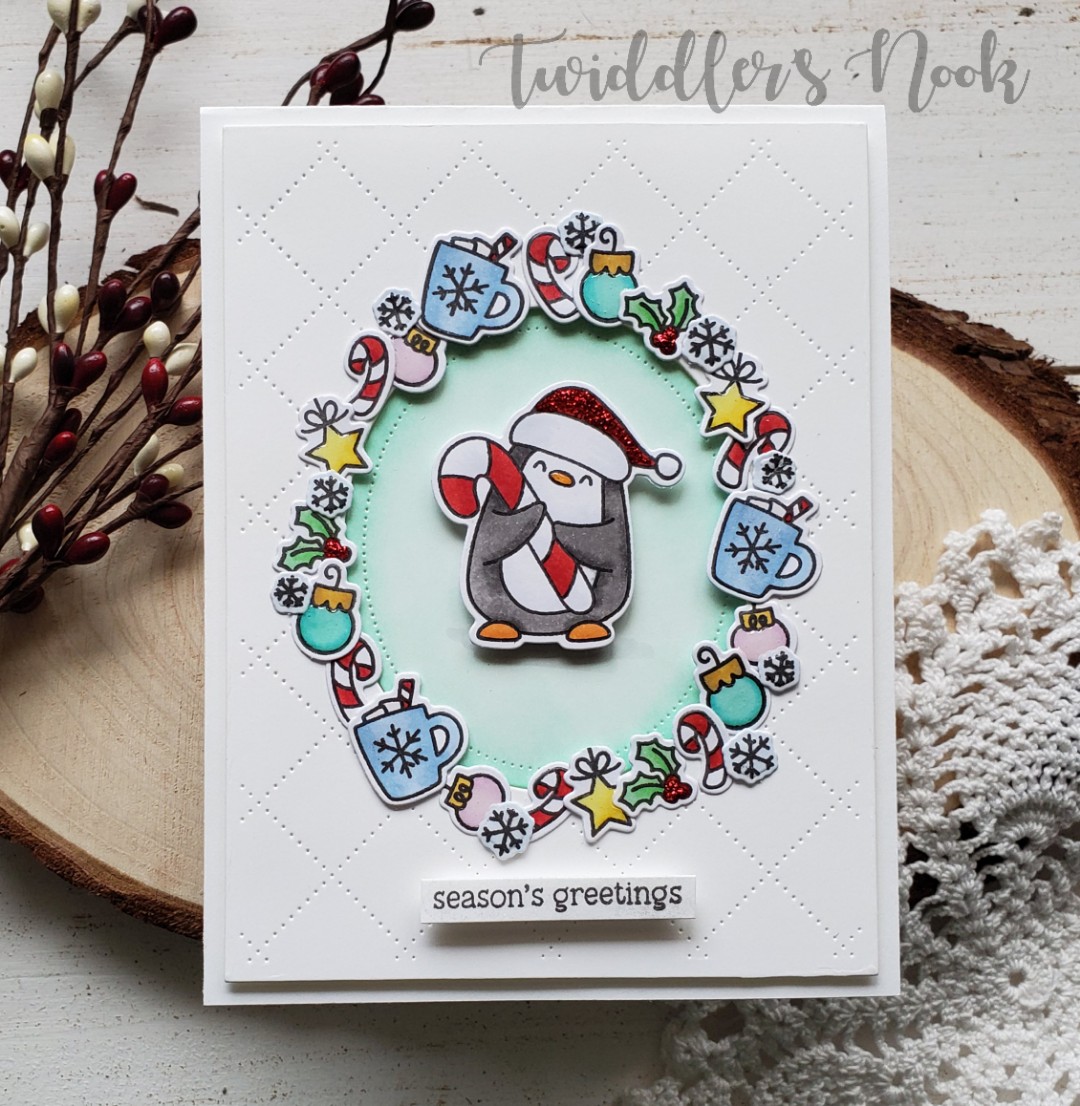
Thanks so much for stopping by today! I’m super excited to share this card today. It was inspired by a Trinity Stamps Design Team Member Jenn Bena. Her Youtube video is here in case you want to check it out. ❤

I had this cute little penguin sitting on my desk from a previous craft session just waiting for inspiration to hit. As soon as I saw that video it made me think of the smaller images the awesome Avery Elle sets have in them and if I paired a few together I could make a cool Christmas wreath. Voila! Here it is and I love it!

The general gist is to die cut the quilted frame and pop it up, ink the inner circle and glue it down. Then stamp, color and die cut smaller images from lots of sets (Christmas Magic, Cocoa Stand, Polar Playtime) and layer them around the outside of the oval creating a wreath around our adorable penguin. Then I added a bunch of fun finishing touches like glossy accents, Stickles and Wink of Stella glitter brush pen. I also stamped and popped up a sentiment at the bottom which is totally glitterfied!

Do you love it? I totally do! I wish pictures really did it justice…but they don’t. All the shiny and glittery cuteness is just perfect!

I appreciate you sharing your time with me. Have a fabulous day!

The Rabbit Hole Designs Watercolor Pumpkin Friends

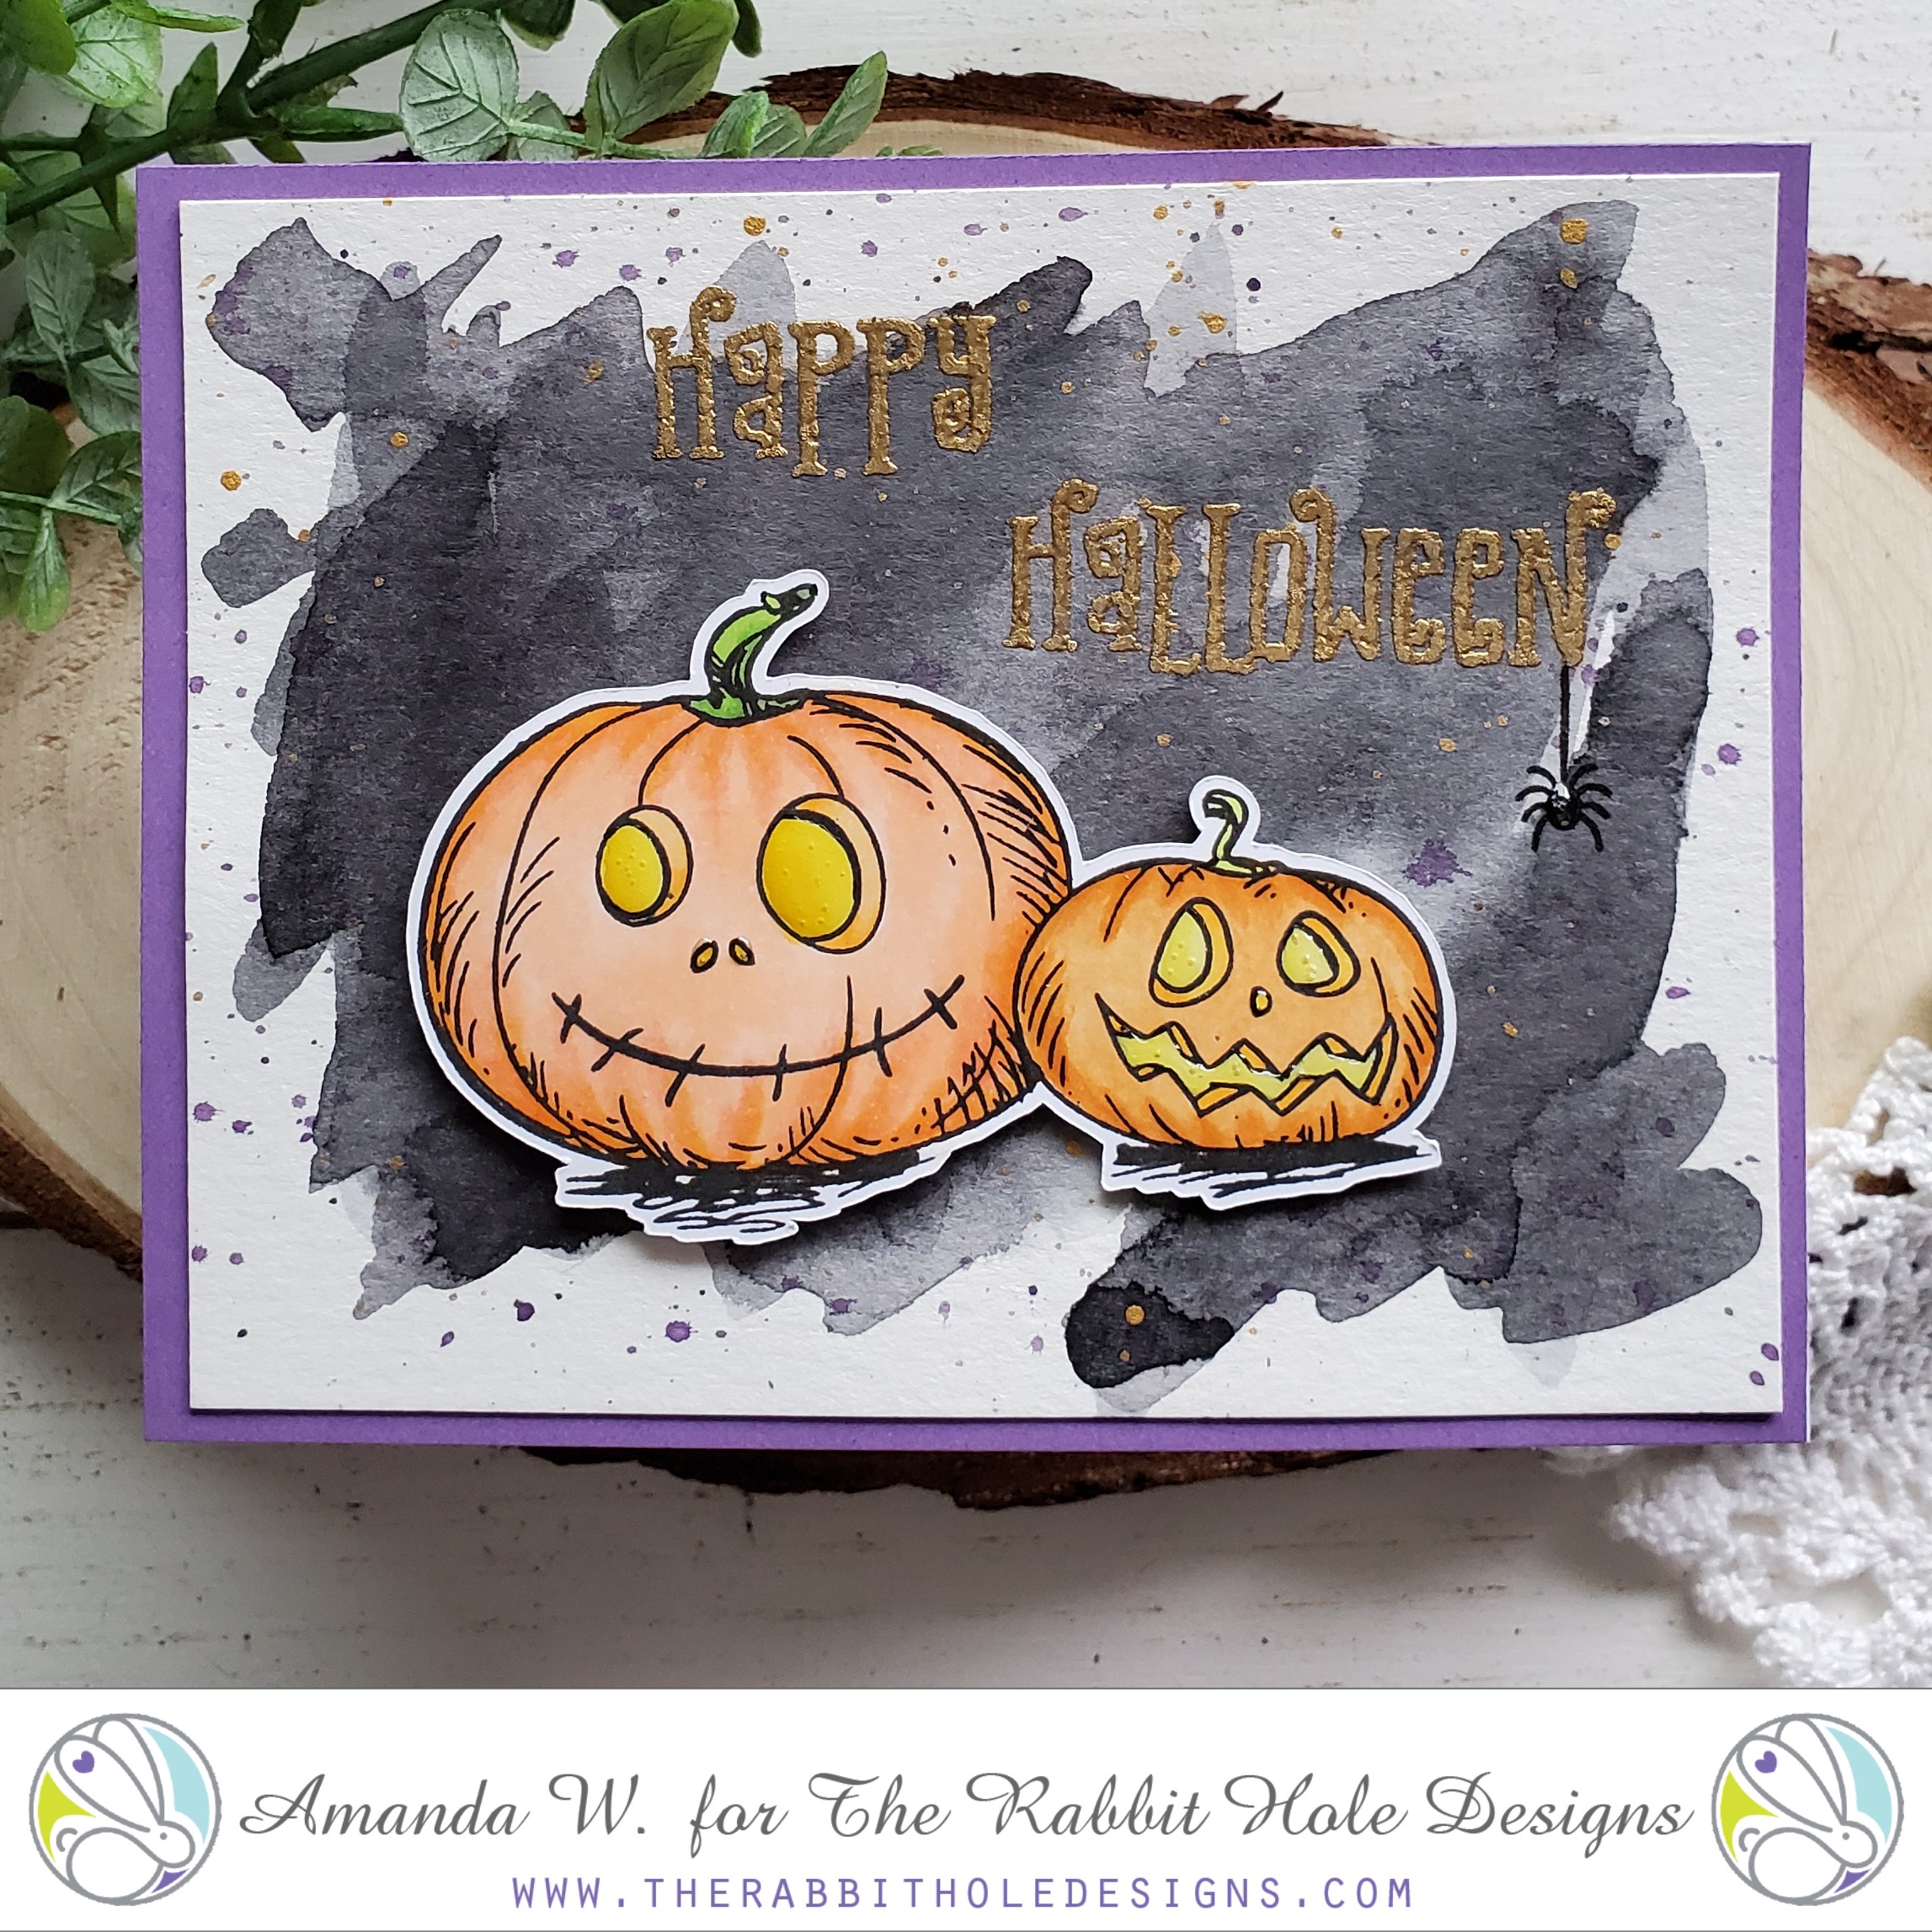
Hey there! I’m up on The Rabbit Hole Designs blog today sharing this great pumpkin friends watercolor card. I love all things Halloween and these cards have been so fun to make! I love it all!

Today I decided to get messy with watercolor. Let’s be real, I’m rarely a clean crafter but when you add paint I’m an extra mess.

  • Today I used watercolor paper for the background panel and just did multiple layers of black watercolor, drying the paper in between to add texture and dimension to the paint. Then I splattered that with gold and purple watercolor and set it aside to dry.
  • I stamped, colored and cut my pumpkins and popped them up with foam squares.
  • I stamped and heat embossed the sentiment in gold and then stamped a spider hanging down from the bottom of it for an extra spooky look.
  • For finishing touches I added glossy accents to the pumpkin’s eyes, noses and mouths and the spider’s body.
  • This whole thing was glued onto a purple card base for a little pop of extra color around the edge.

Look at the light shine off the glossy accents. It really gives it a whole different look. I love it!

Here are the stamp sets I used.

Pumpkin Friends

Boo to You

For more inspiration, updates and news be sure to check these places:

I appreciate you sharing your time with me. Have a fabulous day!

Avery Elle Penguin Friends

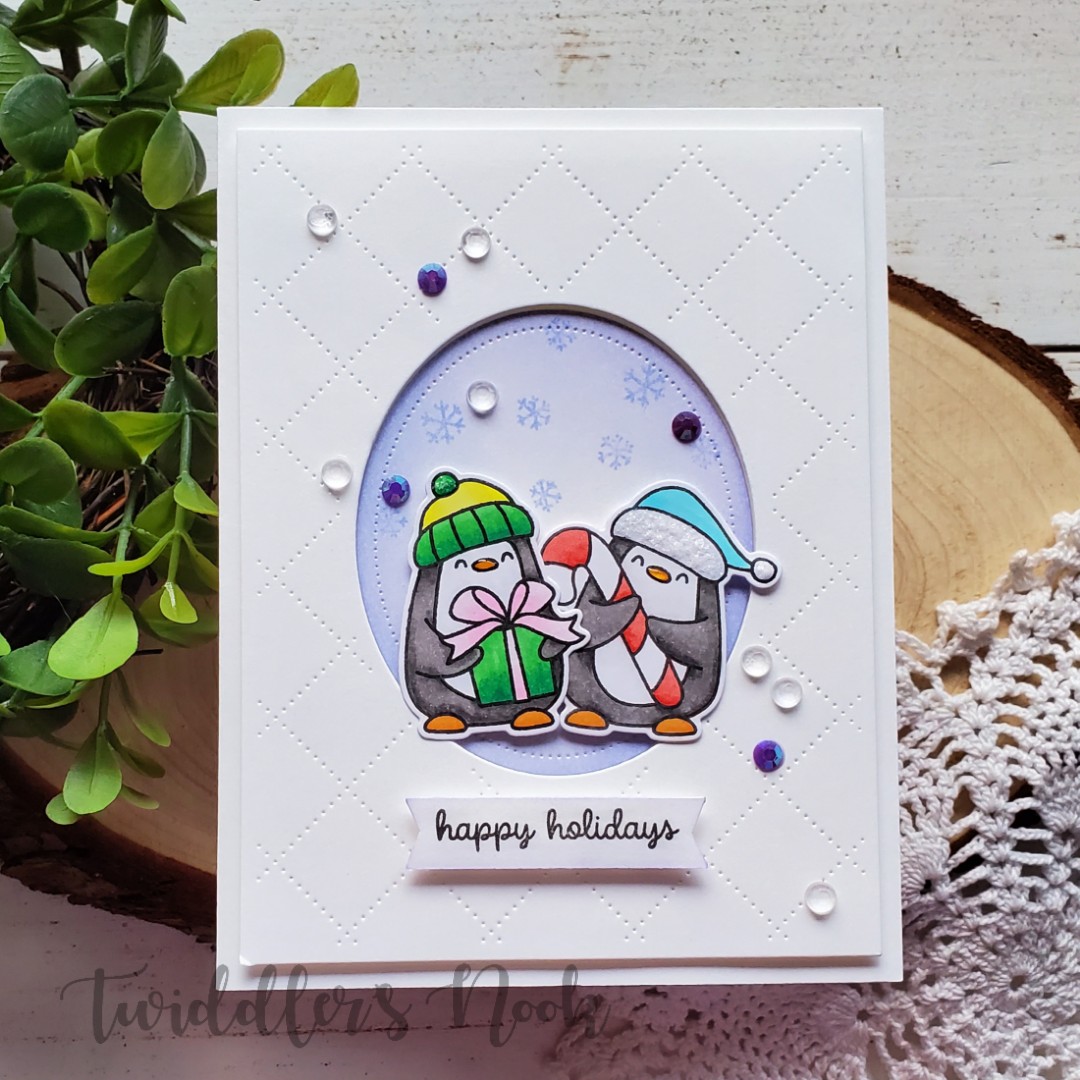
Hello again! I’m still playing with the new Avery Elle Polar Playtime stamp set. It’s adorable and has so many possibilities. Today I’m sharing a Christmas card with a more non-traditional color palette. I hope you like it!

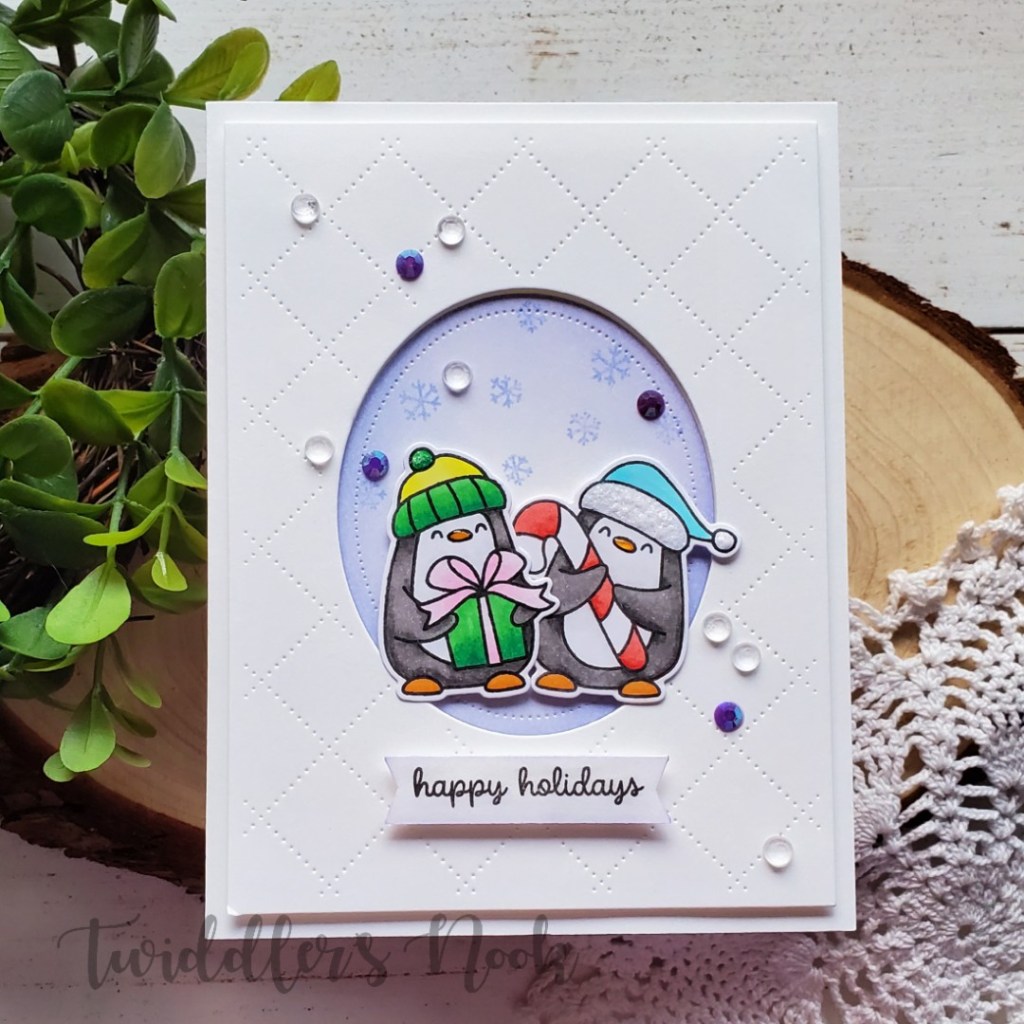
These little penguins look like best buddies sharing candy canes and gifts. I love it! I used the Avery Elle quilted frame die, popping the outside frame up with foam tape and inking the center piece with shaded lilac distress ink and stamping snowflakes in the stamp ink but gluing it directly to the card front. I stamped, colored and die cut my penguins and popped them up with foam squares. My sentiment banner is inked on the edged to go with the inner oval and is also popped up. Then I scattered clear and purple gems throughout the design. I also added sprinkled sugar Stickles to the hats, Glossy Accents to the beaks and Wink of Stella glitter brush to the gift bow and sentiment banner.

Here’s a closer look at these cute penguins! I love them and can’t wait to make more cards and treat bags with them. I am also really loving the awesome Avery Elle backdrop/frame dies. They are so beautiful and versatile!

I appreciate you sharing your time with me. Have a fabulous day!

Avery Elle Polar Playtime Slider Card

Welcome back! I’ve been slowly getting bits and pieces from the new Avery Elle holiday release and I finally got a chance to play with the Polar Playtime set. As soon as I saw the set I knew I wanted to make a slider card with it. That sled was just asking for it! 🙂

Here’s how I made it:

  • Stamped, colored and die cut my images from Polar Playtime.
  • I stamped the sky from Starry Scene on the card front.
  • Using my images for reference I die cut a stitched hill and then cut the slider track from that.
  • I inked the top of the hill with distress ink to set it apart from the background and popped it up with double layer foam tape leaving room for my slider penny to slide freely. If you’re not sure how to make a slider card here’s a video to show you.
  • I added my images to the background and popped my sled on the slider penny.
  • Last I used my Misti to stamp my sentiment on the bottom left in the same ink I used for the sky.
  • For finishing touches I used white gel pen on all of the images, glossy accents on the penguin beak and bear nose, and Wink of Stella glitter brush pen on the top of the snow hill and the snow caps on the mountains.

Here’s a closer look at the cuteness! This set is a fabulous addition to the Avery Elle collection and I can’t wait to use the other images on cards coming up soon!

I appreciate you sharing your time with me. Have a fabulous day!
Lawn Fawn Fortune Teller Tabby

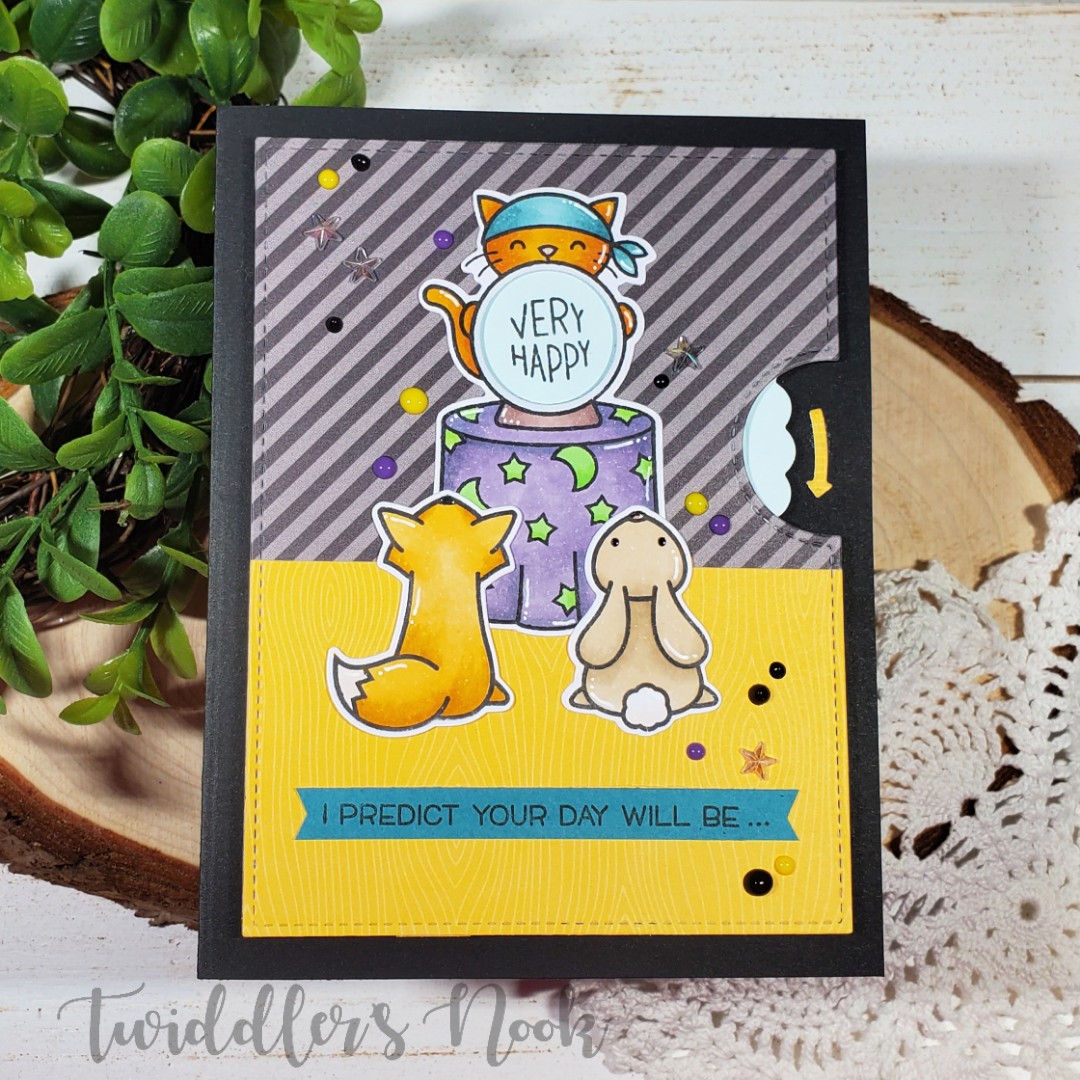
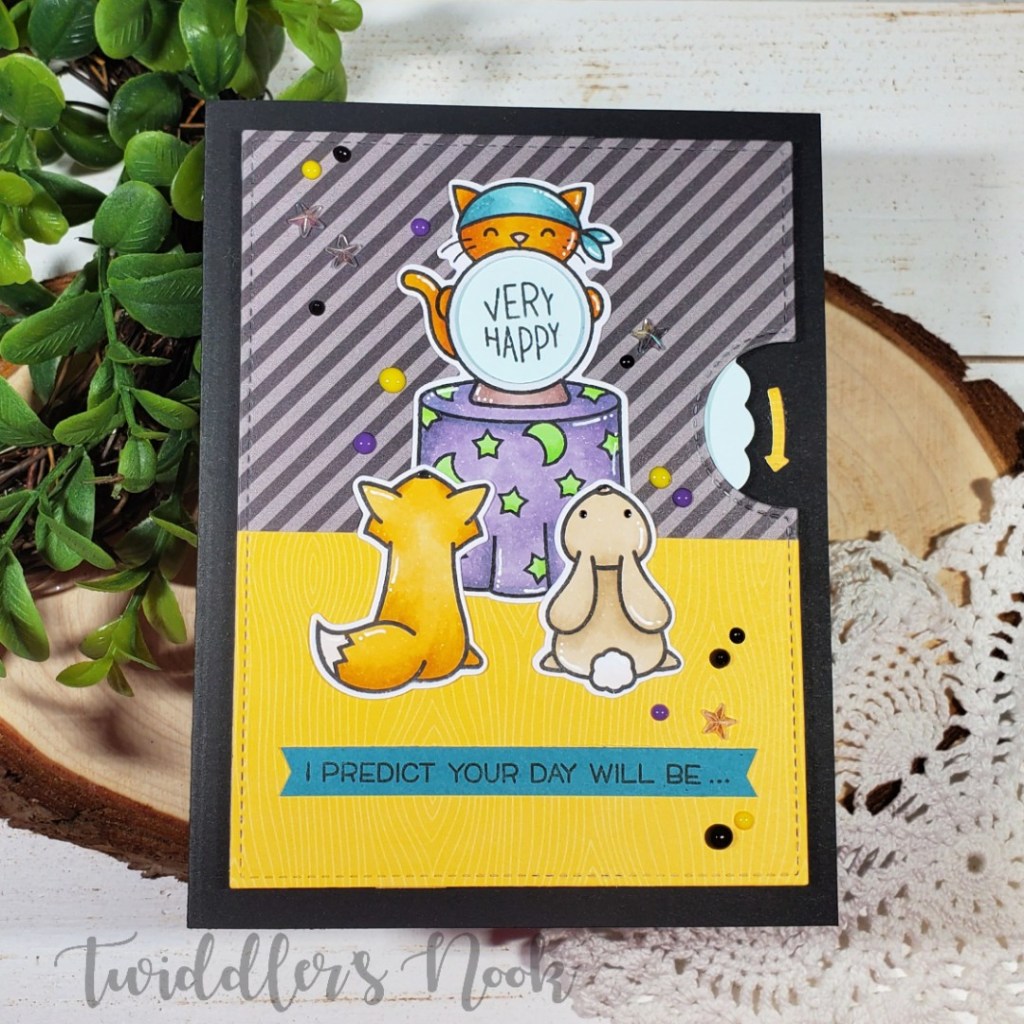
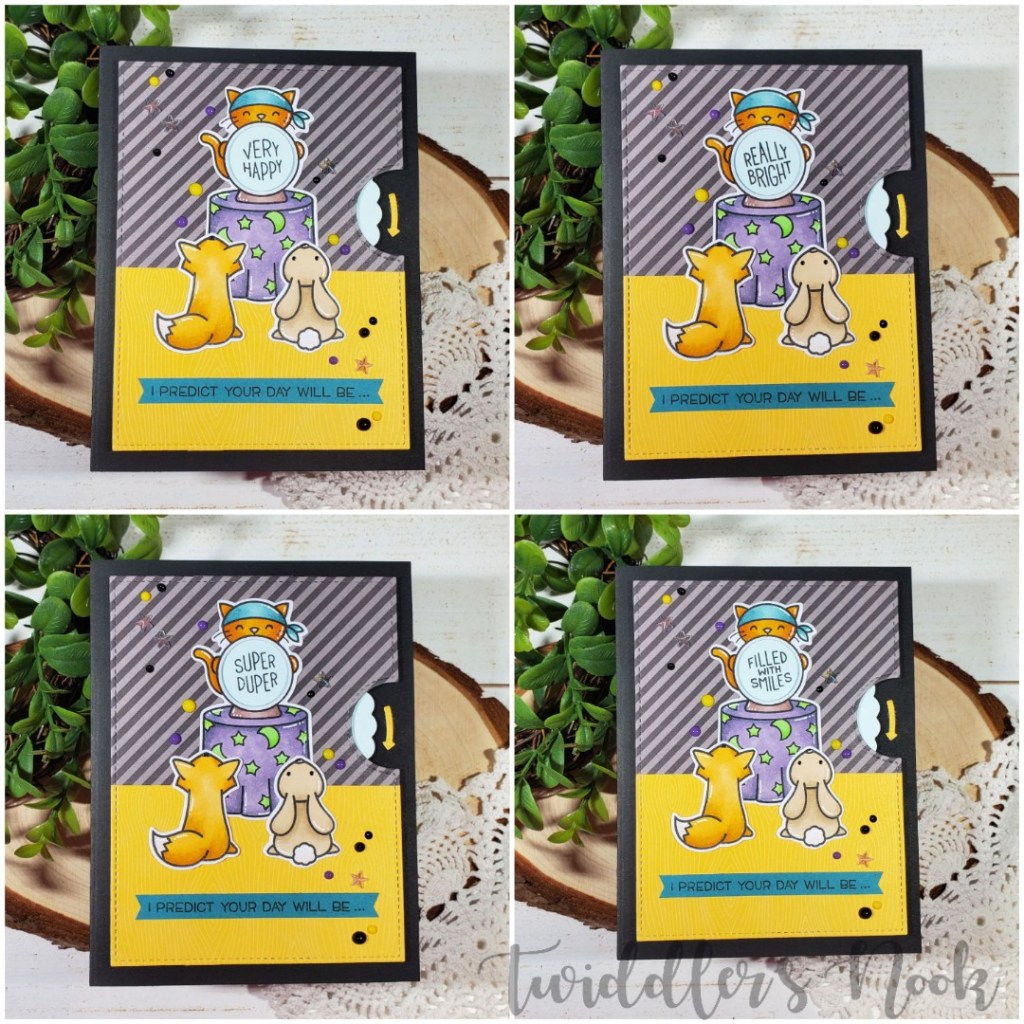
Thanks for stopping by again! Today I’m excited to share a fun card using the new Fortune Teller Tabby from Lawn Fawn. My daughter really wanted this stamp set and while I was home sick with her yesterday I made this fun card to surprise her with.

If you’ve never made a reveal wheel card before you should watch this video to get the gist. After that you’ll see that I just stamped, colored and die cut my images, stamped my sentiments on my wheel and adhered it all together. I kept this a one layer card (minus the foam squares to help the reveal wheel spin) because I’m planning to put it in my daughter’s lunch for a fun surprise.

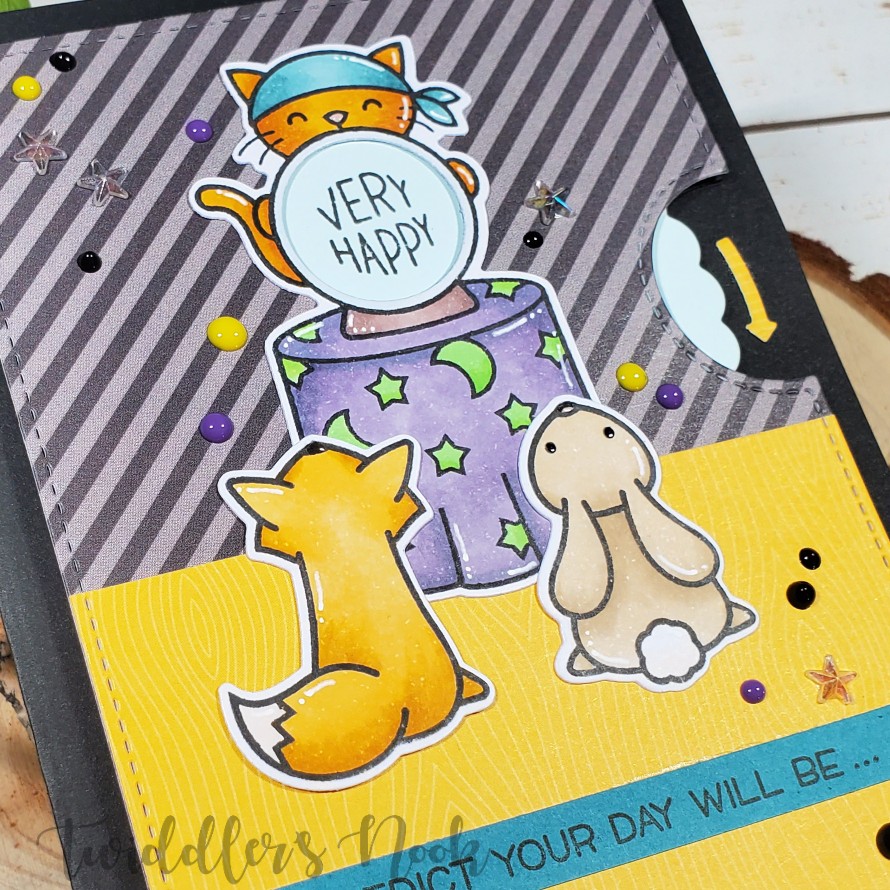
For finishing touches on this card I added glossy accents to all the animal’s noses, white gel pen accents to the images, black glaze pen to the bunny’s eyes and scattered Nuvo Crystal Drops and some star gems I had in my stash across the card.

Here’s a look at each sentiment on the wheel. I chose the 4-up version so I could use each sentiment from the stamp set.

I’m really excited to make this in a Halloween style card and put candy in the crystal ball and the Costume Party kids watching. I think that idea is so absolutely cute!

I love interactive cards, don’t you? Do you ever make them? Let me know in the comments.

I appreciate you sharing your time with me. Have a fabulous day!

Newton’s Nook – Witchy Newton

Good morning everyone. Thanks for stopping by again. Today I’m sharing my final entry into the current Newton’s Nook Inky Paws Challenge.

I finally got my hands on a Halloween Newton stamp at one of my local craft stores. I’m not going to lie, it involved begging and pleading. They were on reserve for a class they have scheduled but I convinced them I really needed it. 🙂

The card design is bright and fun which is my favorite for Halloween. Here are some more details how I made it.

  • Started with a dark gray card base, 3 3/4 in square green panel, 2 3/4 inch circle from patterned paper and some banners in varying widths.
  • I stamped the bats from the set on the green panel in gray ink to make my own patterned paper.
  • Then I stamped, colored and cut out my images from the Witchy Newton set.
  • Using all the pieces loosely laid out to help with placement, I stamped and heat embossed my sentiment.
  • Now for assembly, I glued the green panel and banners directly to the card front. The circle is popped up with foam tape and so are the bats. However, Newton is popped up with an action wobbler so it shakes around when you flick it. I love these things! They are so fun!
  • For finishing touches I added glossy accents to Newton’s nose, Nuvo Crystal Drops to the shoe buttons and around the background of the card.

Such a fun card! I can’t wait to share it with someone at Halloween-time. I loved coloring this image and have so many other ideas in mind. I’m thinking a shaker tag for a fun treat box would be awesome! Stay tuned at the beginning of October for some extra fun I have in store along those lines!

I appreciate you sharing your time with me. Have a fabulous day!

Newton’s Nook – Pumpkin Spice

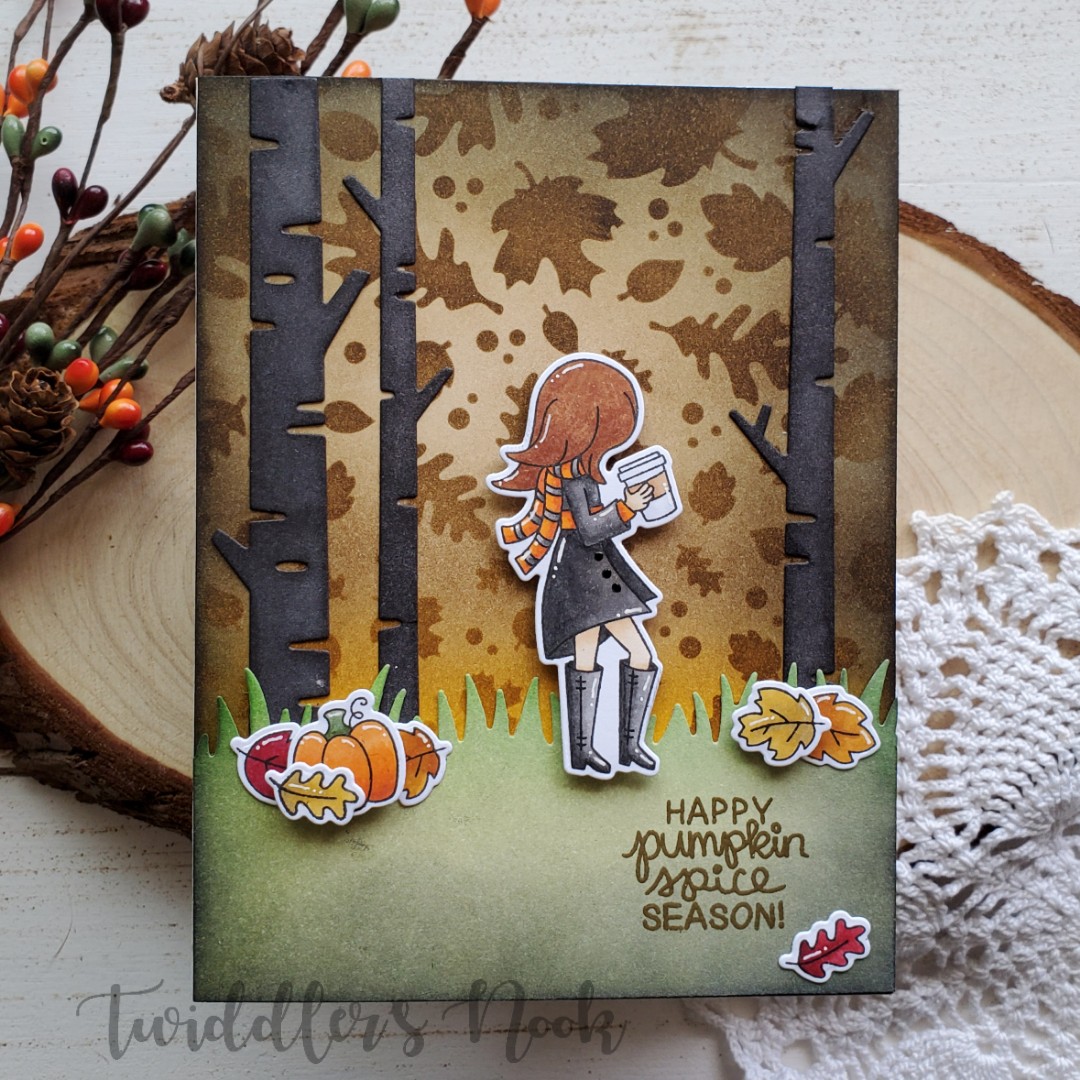
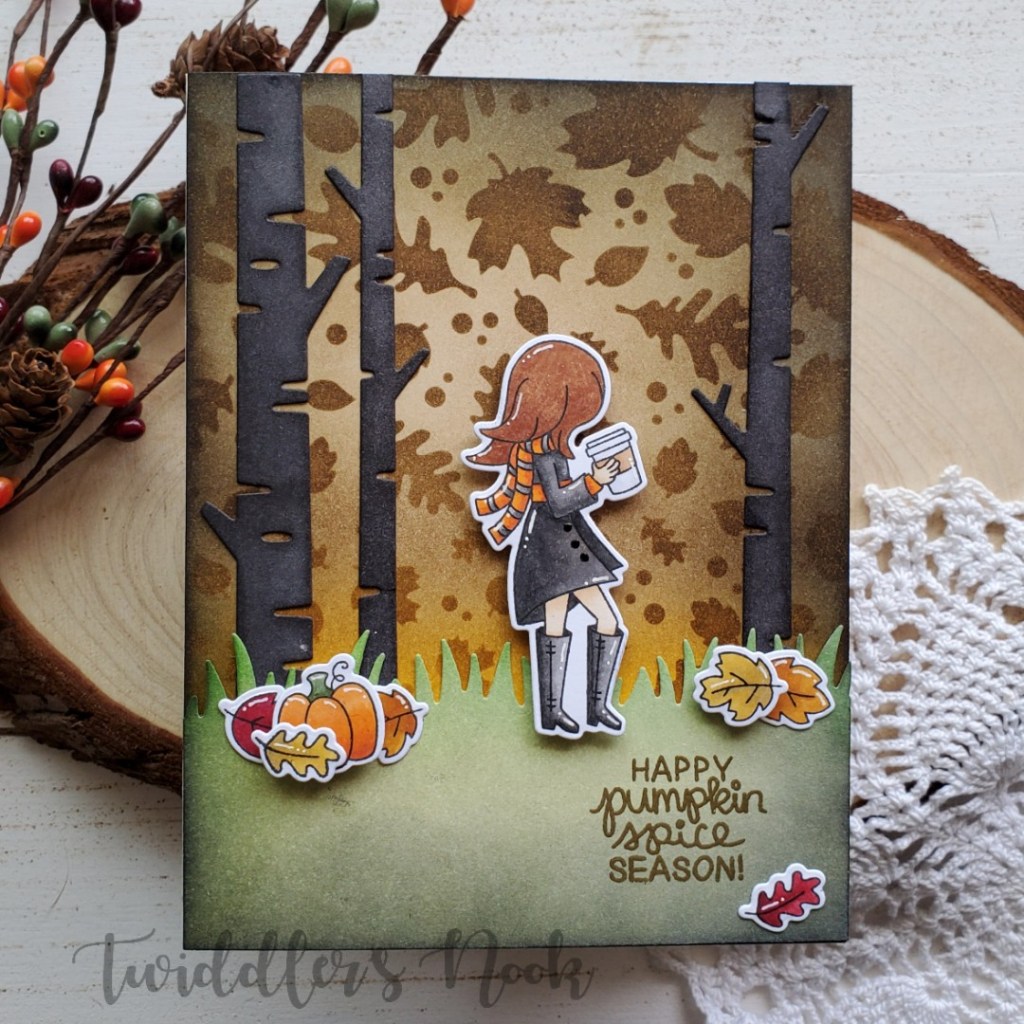
Happy Sunday everyone! I hope your weekend is moving along nicely. We’ve got fabulously stormy weather today and I love it! Today I’m sharing another Newton’s Nook card for the Inky Paws Challenge. It’s a little bit of a twist on this set but not a total stretch.

Here’s how I made it:

  • Inked a background with walnut satin and fossilized amber distress inks and then went over the edges with black soot. Next, I took the walnut satin over the falling leaves stencil for a spooky background.
  • I die cut a grassy border and inked it with mowed lawn and old paper, taking the black soot to the edges again.
  • I die cut the tree trunks and inked them just with black soot.
  • I stamped, colored and die cut my images from pumpkin latte and laid out my card to start assembling.
  • The trees and grass are adhered with liquid glue because I find that holds better on the distress inked panels.
  • Using the images for placement I stamped and heat embossed my sentiment in gold.
  • For the images, all but three leaves are popped up with foam squares.
  • Finishing touches on this card are black glaze pen for the coat buttons and white gel pen accents throughout.

I’m super happy with how this fun card turned out. A great sentiment, for the best time of year and a little spooky feel for Halloween.

I appreciate you sharing your time with me. Have a fabulous day!

Newton’s Nook – Inky Paws Challenge: Halloween

The newest Inky Paws Challenge from Newton’s Nook is a Halloween theme. Fabulous, right?!? Well, yes and bummer. I’m still growing my Newton’s collection so I don’t have Halloween stamps yet. I bought all fall from the last release. So, I decided to get a little creative with the adorable autumn mice.

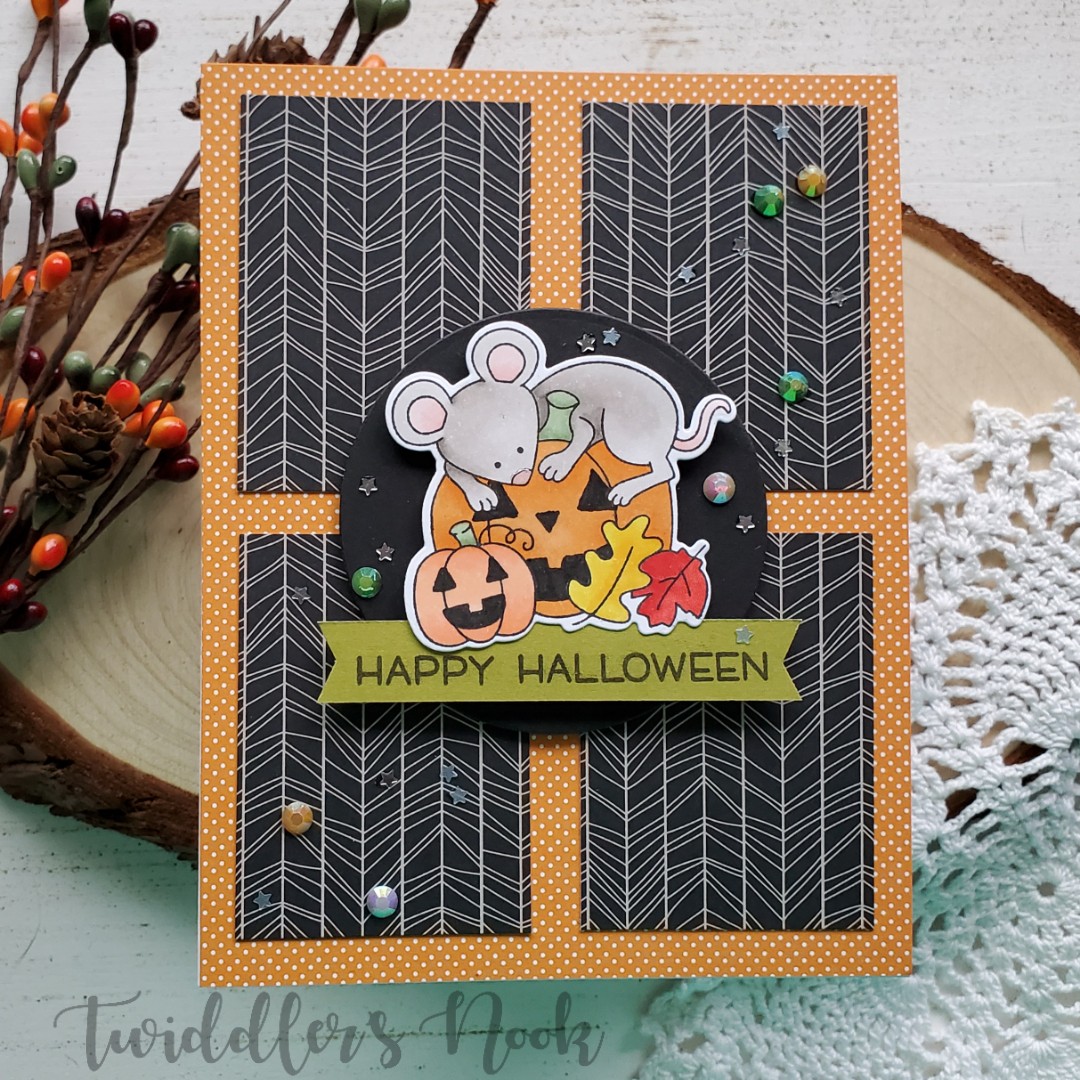
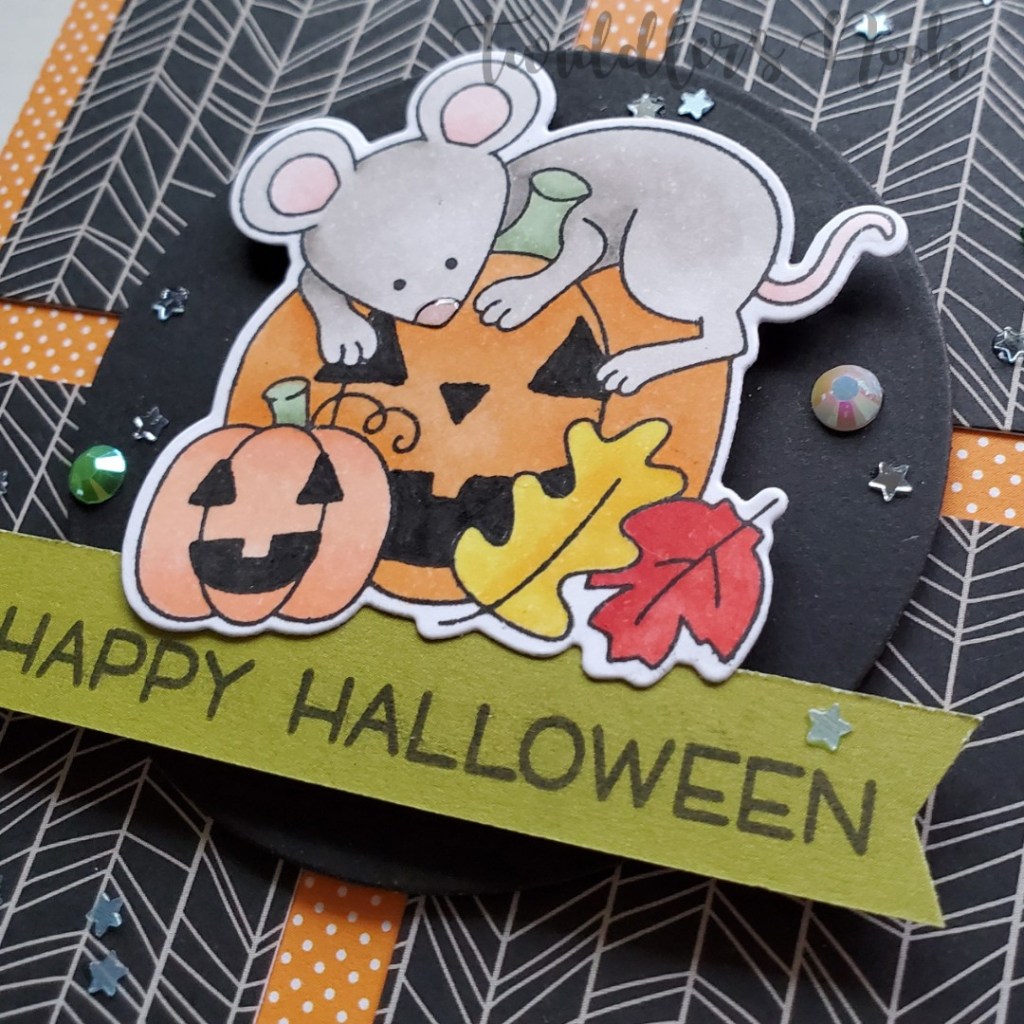
I love these mice so much and as soon as I looked at all my sets, I knew I wanted to try making jack-o-lanterns out of the pumpkins in this image. Here are the details:

  • Cut 4.25×5 inch panel from orange patterned paper. Then 1 3/4×2 3/8 rectangles from black patterned paper and adhered them down.
  • Die cut a black circle and a green banner, stamping my sentiment on my banner.
  • Stamped, colored and die cut my image, drawing in the pumpkin faces.
  • The black circle is popped up with foam tape on the background, the mouse and banner are popped up with foam squares on that.
  • Then for finishing touches I added a scattering of gems and star sequins from my stash across the background of the card. I also added glossy accents to the mouse’s nose.

Here’s a closer look at the shiny little mouse nose and some of the other details I added. I’m a bit of a perfectionist so I can tell that I drew the pumpkin faces in but overall I think this is a pretty cute card!

It was fun to stretch my stamps and try to look at them differently to get extra use out of them. Have you ever used your stamps for a completely different purpose? Let me know in the comments. Sharing ideas is the best way to spur creativity!

I appreciate you sharing your time with me. Have a fabulous day!
2019 Oregon State Fair Card Entries

So, a few weeks back I decided to do a thing and entered 14 of my recent cards into the Oregon State Fair Creative Living Competition. It was totally on a whim and I had zero expectations but thought it would be fun.

To my astonishment and surprise, I ribboned 10 out of the 14 cards.

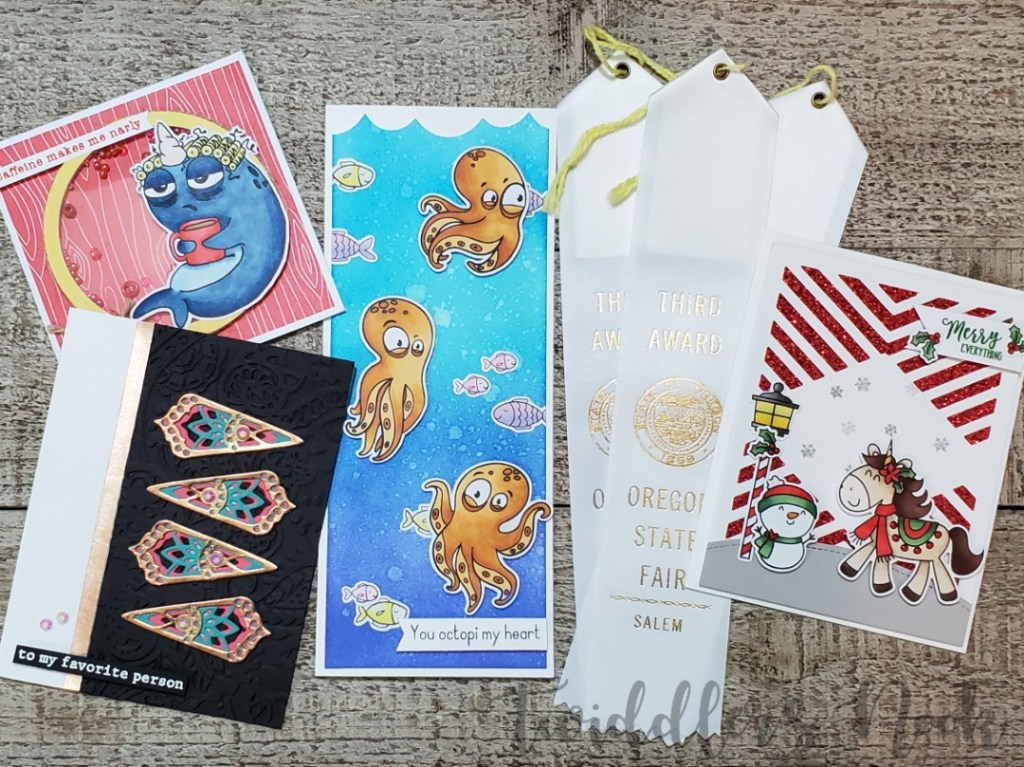
Let’s start with the third place (white) ribbons.

From left, The Rabbit Hole Designs Caffeinated Narwhal was entered in the “card with movement” category, below that using Spellbinders dies went into “die cuts,” Inky from The Rabbit Hole Designs was entered in “coloring with alcohol inks” and the Avery Elle Christmas Magic card was entered in “Christmas.”

For the second place (red) ribbons we have…

The Lawn Fawn Costume Party card was entered into “Halloween,” and the Lawn Fawn Fairy Friends were in the “thank you/thinking of you” division.

And for the first place (blue) ribbons… Drum roll please…

Ta-da!!! The Lawn Fawn Fairy Friends were in “Halloween,” The Rabbit Hole Designs Pretty in Peony was in “thank you/thinking of you,” Newton’s Nook Scuba Newton was in the “birthday” division and finally The Rabbit Hole Designs Mermaid Hair was in the “coloring with alcohol inks” division.

I’m still flabbergasted and honored to have been recognized so many times over and in so many different categories. This was a really fun experience and plan to do it again next year.

Have you ever entered anything into your state fair? I think it would be fun to try my hand at other crafts and see how they do too.

I appreciate you sharing your time with me. Have a fabulous day!