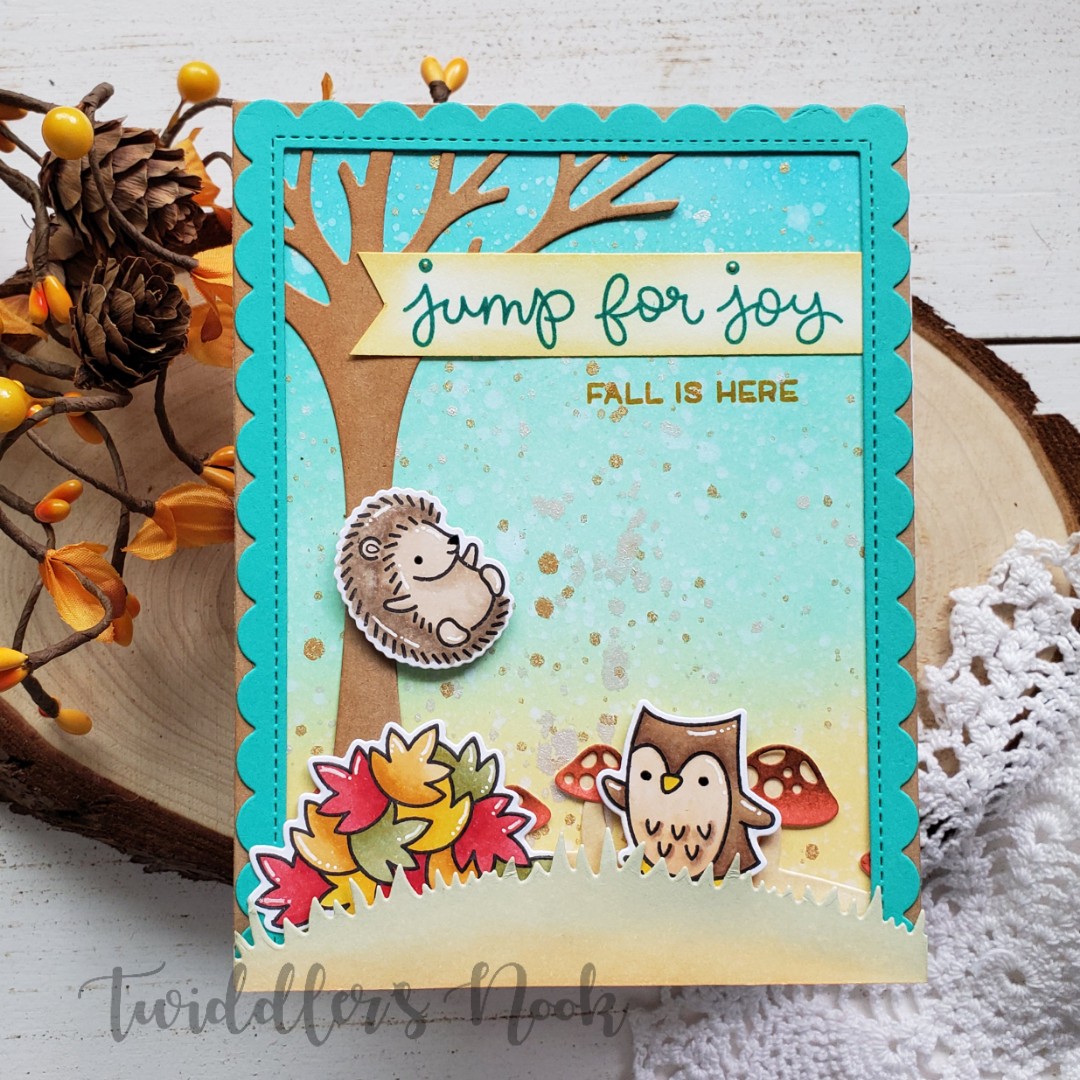
Lawn Fawn Jump for Joy Card

I have been so inspired by the recent fall weather at home and I love every bit of it!!! Today I’m sharing a card with Lawn Fawn’s leafy tree backdrop die, mushroom house dies, largest scalloped frame and jump for joy stamps. This card took a lot of process but it was so worth it in the end!

Teal is my favorite color and it’s such a great non-traditional fall color! I love it!

Here’s how I made my card:

  • Ink blended a panel with scattered straw, cracked pistachio and peacock feathers and spritzed it with water. Then I took gold and silver watercolors and flicked that on there too.
  • Die cut the scalloped frame and leafy tree backdrop and inked it with tea dye distress ink.
  • Die cut the grass and mushroom borders from the mushroom house sets and inked them. Grass – scattered straw and shabby shutters. Mushroom border – antique linen. Mushroom caps – die cut from red cardstock and inked with walnut stain.
  • Stamped, colored and die cut my images.
  • Now for assembly. I assembled this in layers – background panel, mushroom border, leafy tree backdrop, scalloped frame, popped grass up with foam tape. Then I adhered the leaves directly down and the hedgehog and owl with foam squares.
  • Then I stamped my sentiment in a teal ink to match and inked the banner with scattered straw to tone down the bright white. Then I stamped the second part of the sentiment below the banner with a mustard colored ink.
  • For finishing touches I added black glaze pen to the eyes and noses, white gel pen accents to the images and a drop of antique gold Nuvo Crystal Drops on the dots of the sentiment banner.

Here’s a closer look at the sparkle in the background and the cute images! This card was kind of a process but it was so fun to just create!

I hope you enjoyed today’s card.

I appreciate you sharing your time with me. Have a fabulous day!
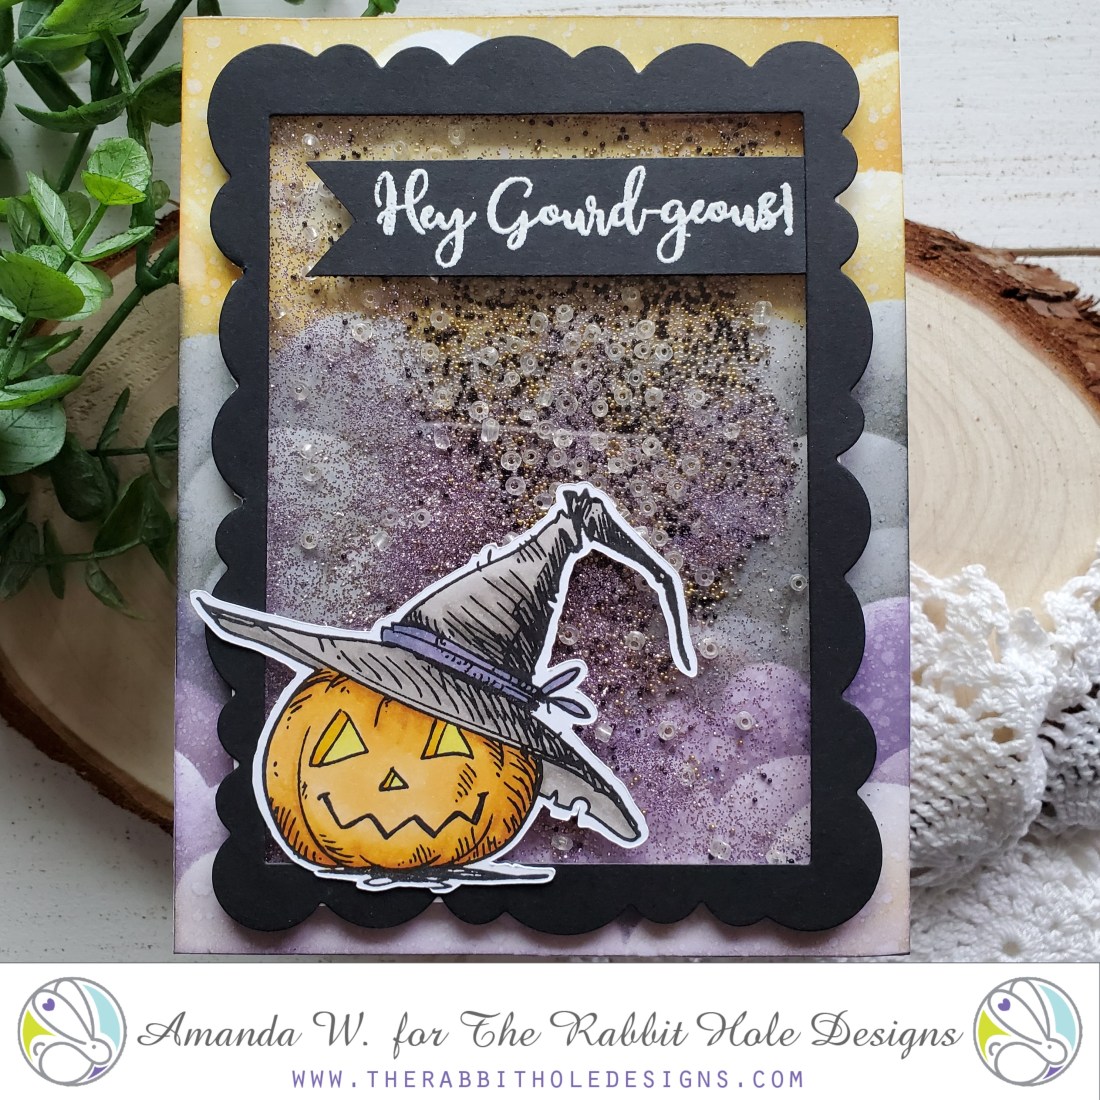
The Rabbit Hole Designs Hey Gourd-geous!

Hey there! I’m up on The Rabbit Hole Designs blog today sharing this fabulous glittery shaker card. I’m having so much fun with all of these awesome Halloween stamps. I can’t get enough of them. I hope you’re enjoying it too.

For today’s card I kept it pretty simple but really fun!

  • I started by using a cloud stencil and distress inks on a white panel for some spooky Halloween clouds.
  • Next I stamped, colored and cut out my pumpkin.
  • Then I cut a wonky frame and a piece of acetate, gluing them together and then adding a double layer of foam tape to create my shaker window.
  • I poured micro beads, seed beads and glitter on the cloud panel and adhered the window piece over the top enclosing the shaker mechanism.
  • Next I adhered that to a card base and added my pumpkin and sentiment to the front of the shaker.

This card is adorable and so fun to play with! The beads give the shaker some weight but the glitter shimmers so nicely in the light. It’s a great balance.

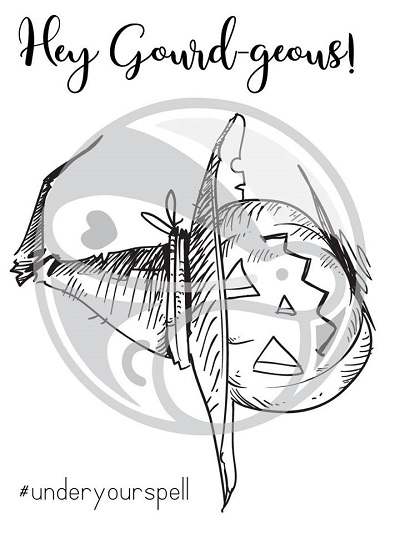
Here is the stamp set I used.

Gourd-geous!

For more inspiration, updates and news be sure to check these places:

I appreciate you sharing your time with me. Have a fabulous day!

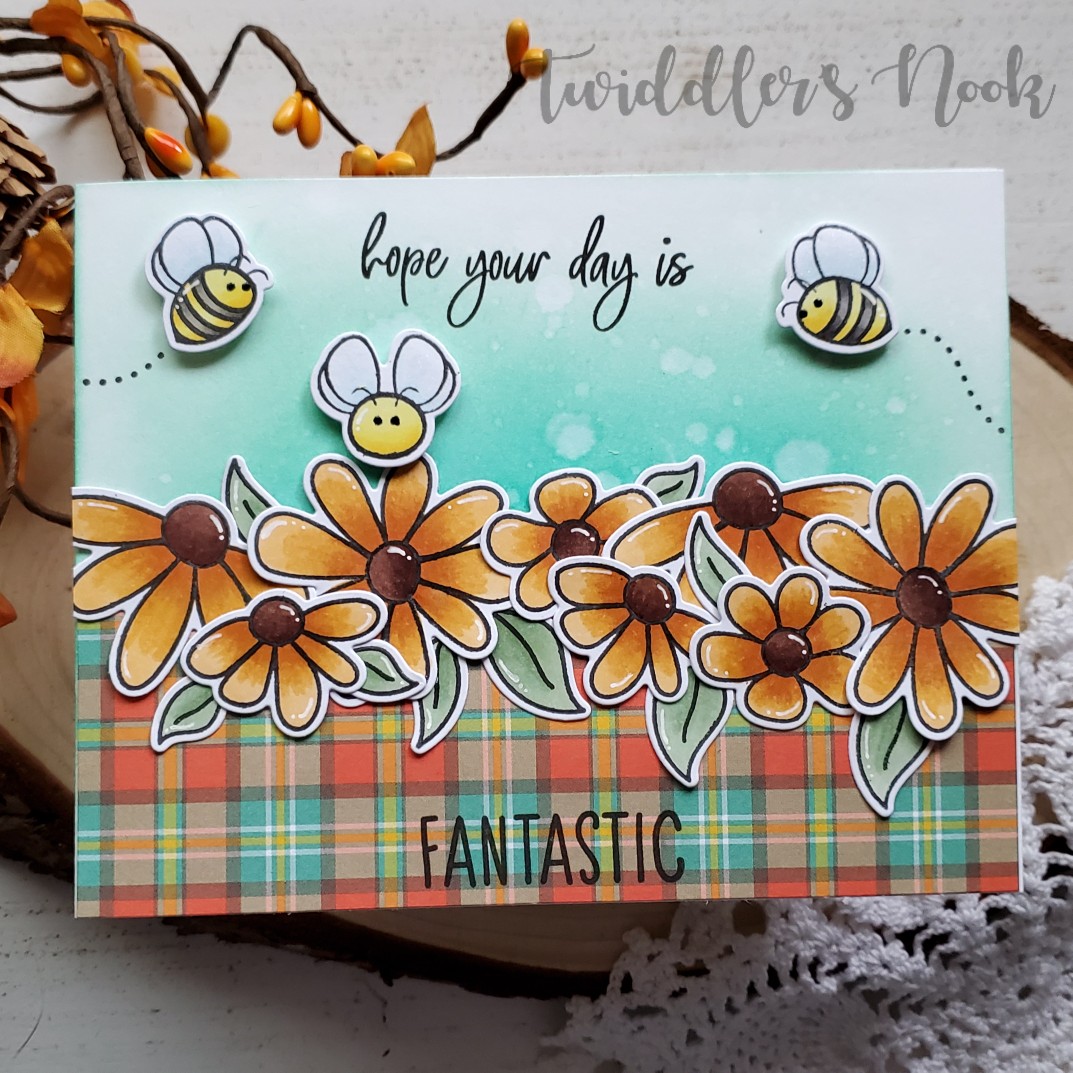
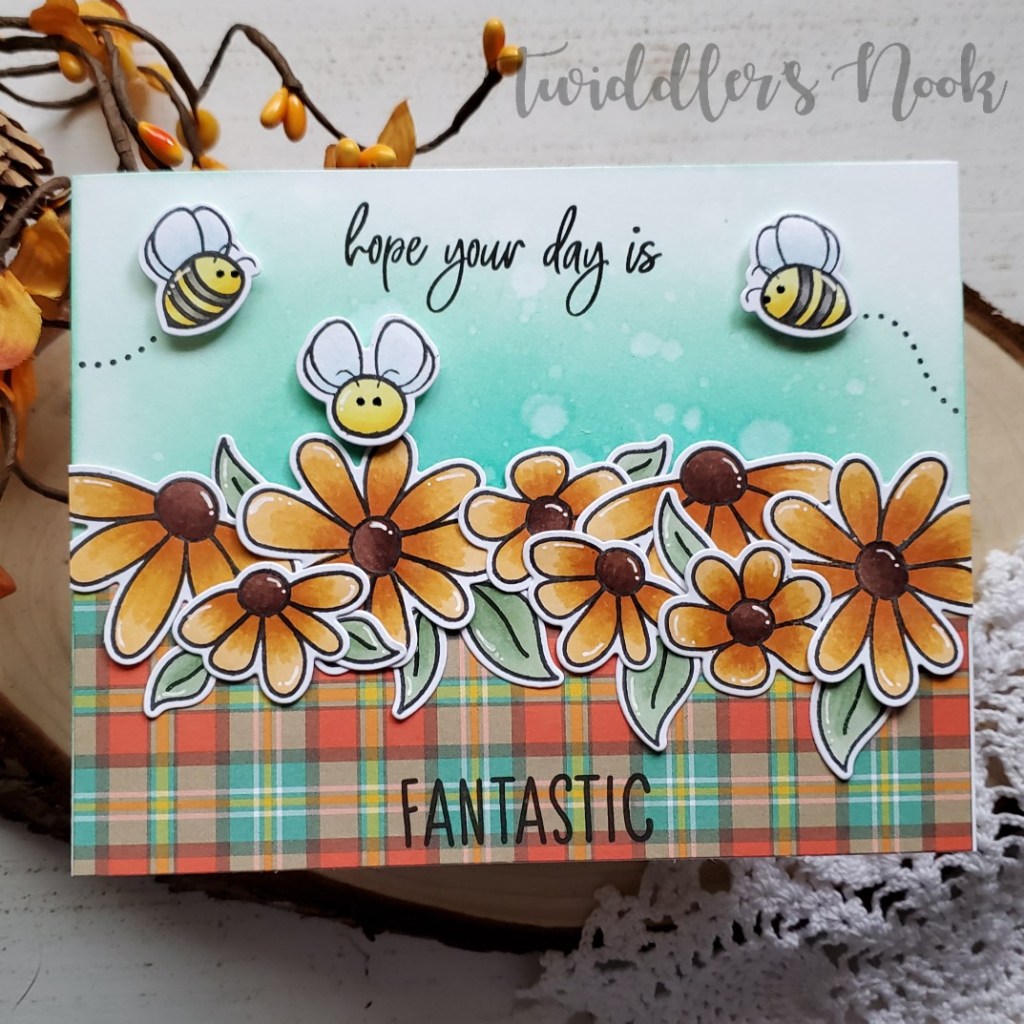
Honey Bee Stamps Fall Busy Bees Card

Hello again! I hope your week is going great! Today I’m excited to share a new spin on an old favorite. This Busy Bees stamp set is my all-time favorite from Honey Bee Stamps. However, I always color it for bright springy cards and today I made a point to turn it into more of a fall look. I hope you enjoy it.

Here’s how I made it:

  • Stamped, colored and die cut my images.
  • Blended Cracked Pistachio and Peacock Feathers distress inks on the card front and spritzed with water.
  • Adhered a strip of Lawn Fawn plaid paper to the bottom and layered my flowers on top.
  • Then, using the bees for reference I stamped the buzzing trails and my sentiments.
  • After that I popped the bees up with foam squares.
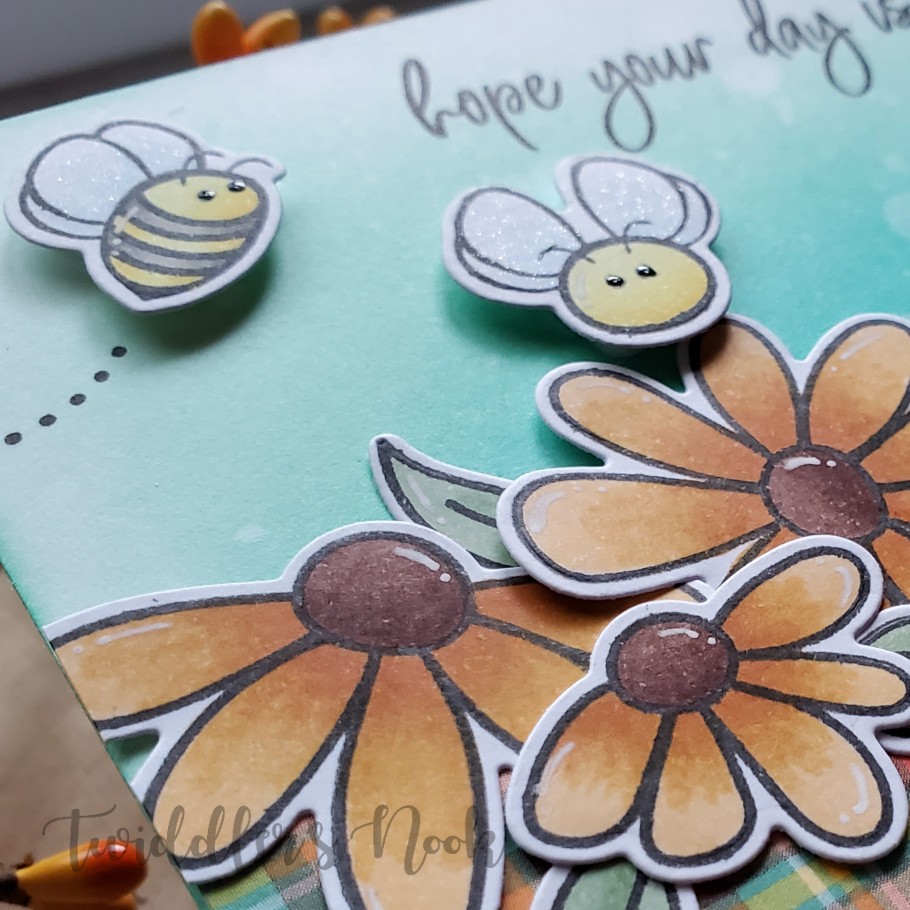
  • For finishing touches I added black glaze pen to the eyes, white gel pen details all over and Wink of Stella glitter brush pen to the bees wings.

Here’s a closer look so you can really see what the glaze pen and glitter brush do for the bees. It’s so cool!!! I also, really love the look of the white gel pen highlights all over. It just adds that little extra to an already fabulous card!

I’m entering this into the current Honey Bee Stamps Buzzworthy Challenge on Facebook. I’m getting into the challenges more and more. I find it super fun to look at my stamps in a different way to further how I use them.

As always, I appreciate you sharing your time with me. Have a fabulous day!

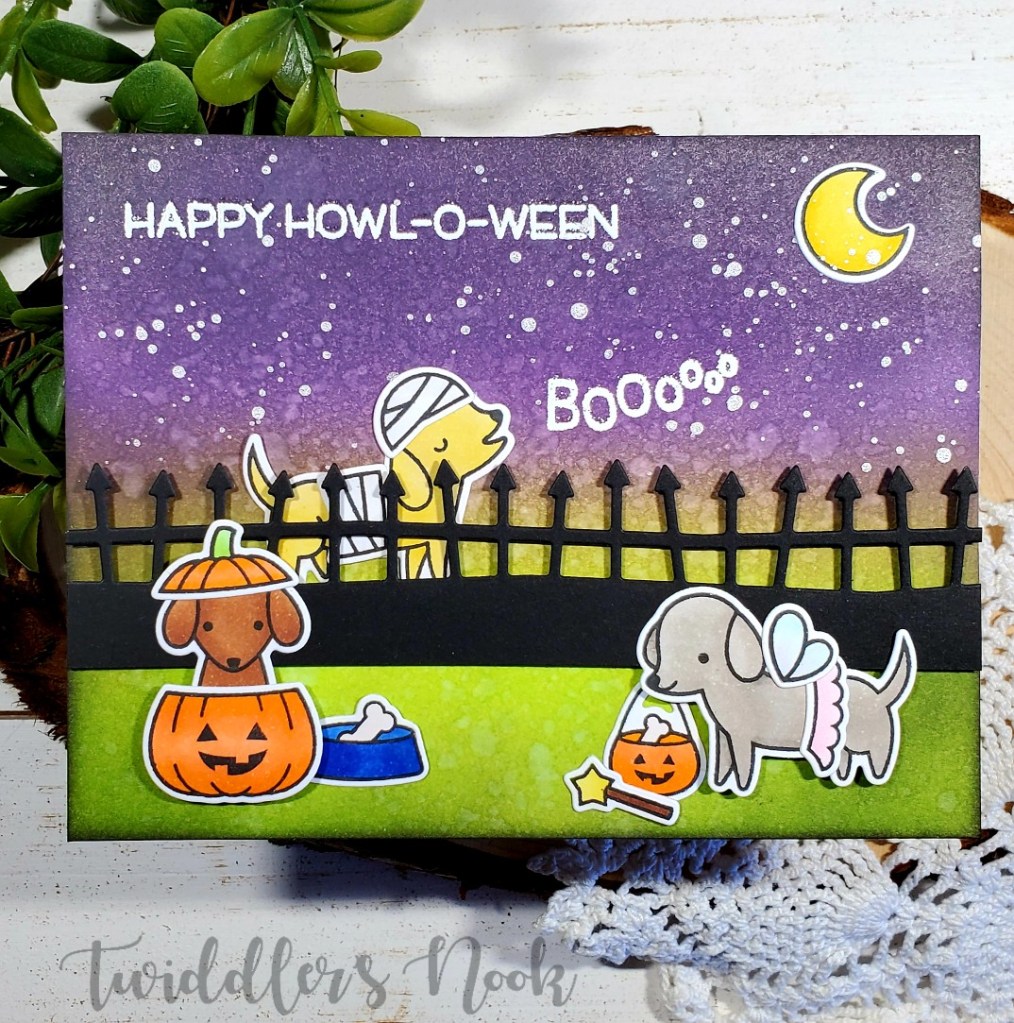
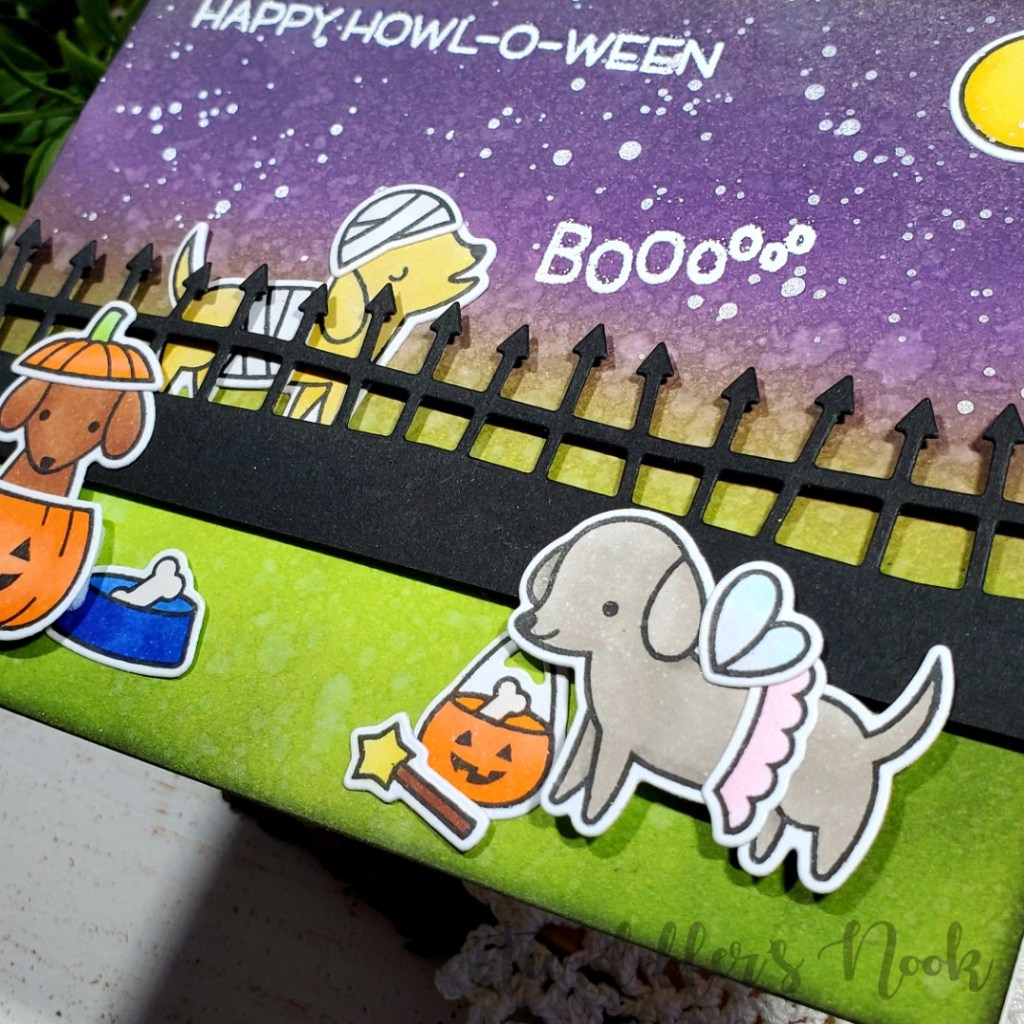
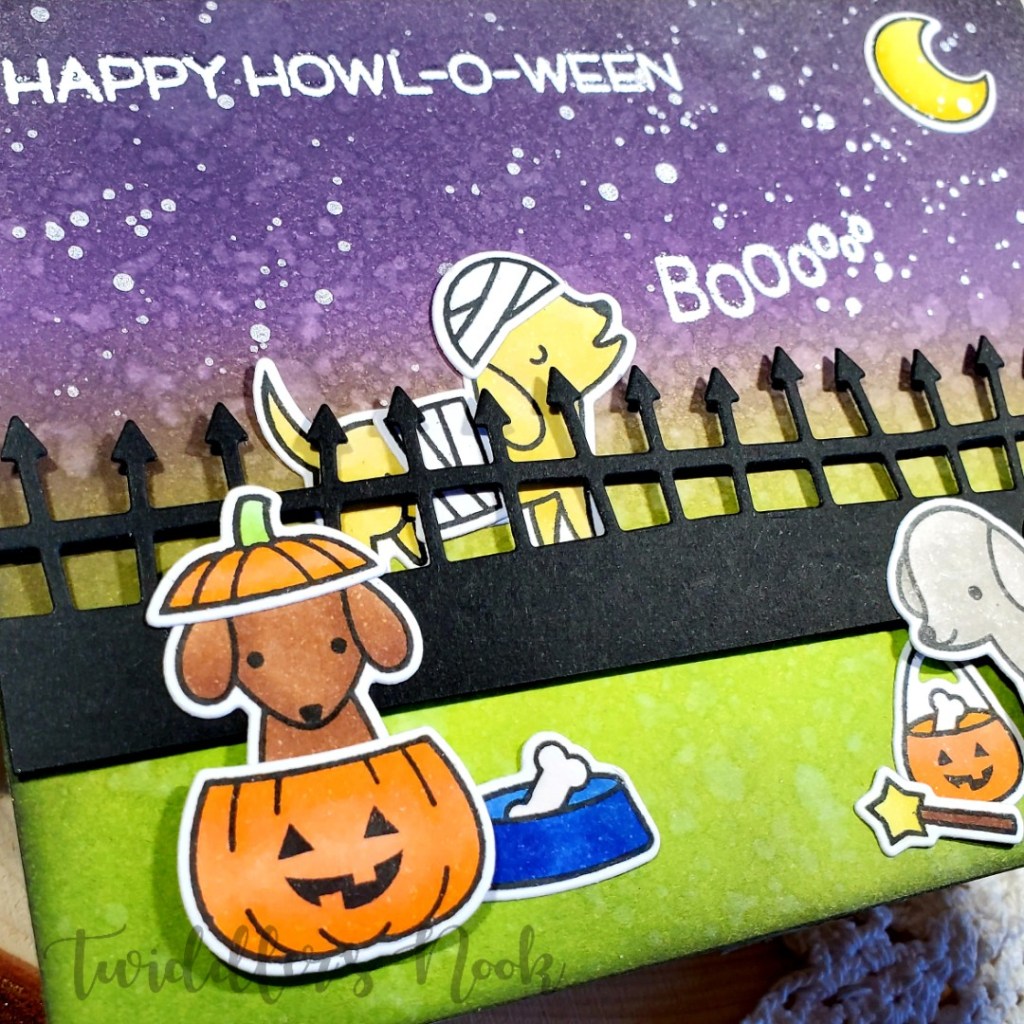
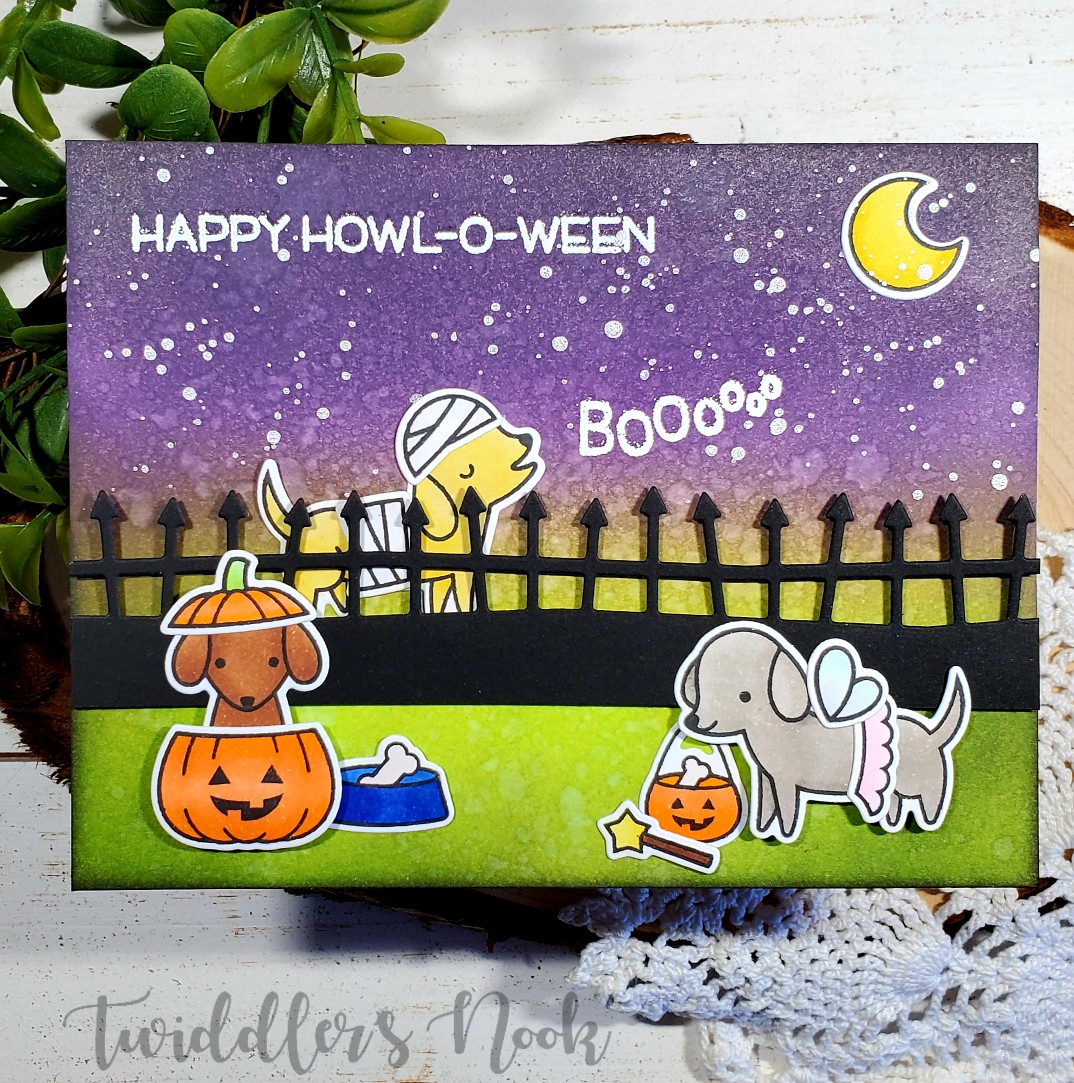
Lawn Fawn Howloween Card

I’ve been having a blast blending uncommon distress ink colors together for backgrounds. This time I tried purple and green. It seemed like a perfect spooky Halloween scene. Once the background was created I decided to add Lawn Fawn Happy Howloween set with it and here’s what I created!

It’s all in the details…

  • Blended distress inks on the background panel, spritzed it with water and adhered it to a card base.
  • Stamped, colored and die cut all my images. Then I tried to figure out placement. At this point I realized I needed another element and that’s when the fence came to mind. So I die cut that and added it to the elements. It almost looks like bordering backyards with dogs talking to each other.
  • The mummy dog, pumpkin bucket, wand, dog bowl and moon are glued directly to the card front and everything else is popped up with foam tape and squares.
  • Then I stamped and heat embossed my sentiments and decided it was a little plain still. At this point I got out my silver watercolor and splattered it across the top of the card. It adds great shimmer in the light.

This is a pretty simple but super cute Halloween card that would be great for any dog lover in your life.

Do you send out Halloween cards or give gifts to anyone? I usually make a mini card for my daughter’s lunchbox and give her something besides candy just for fun. Leave a comment below to tell me what you do.

I appreciate you sharing your time with me. Have a fabulous day.

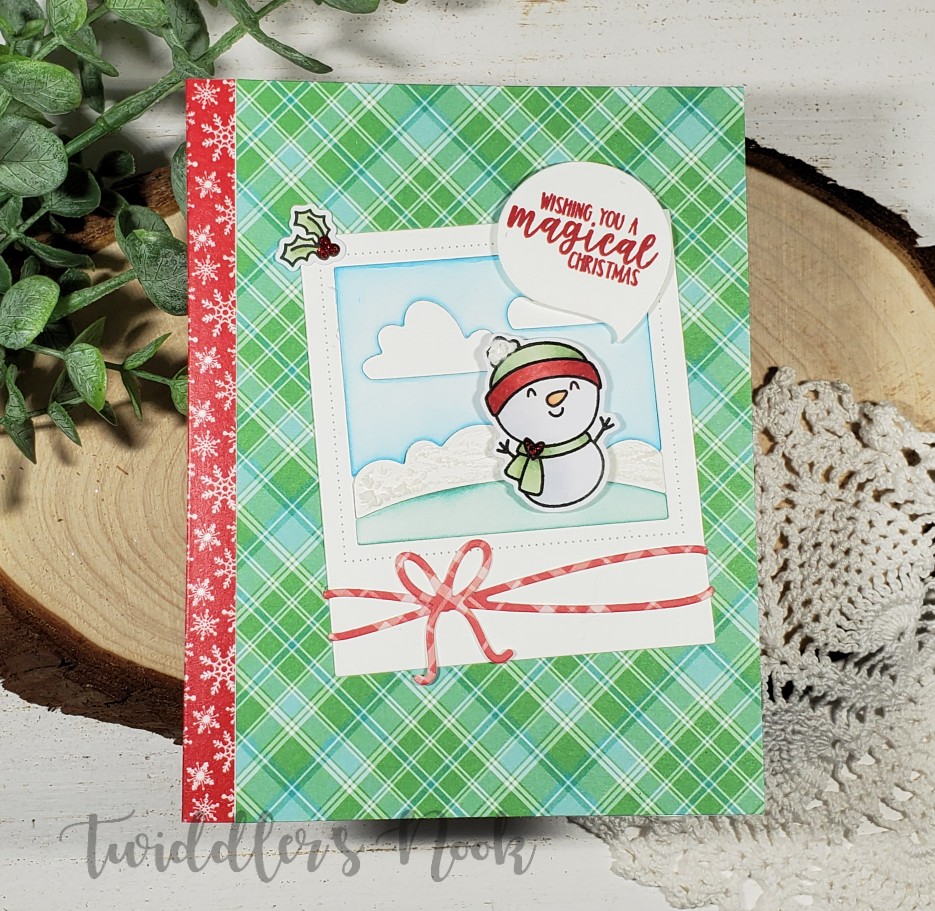
Avery Elle Picture Frame Snowman

Thanks for stopping by again today. I’ve got a super fun Christmas card featuring Avery Elle’s photo mat dies and the Christmas Magic stamp set. It’s got lots of dimension and texture which makes it that much more fun! I hope you like it!

Quick card recipe:

  • I started by die cutting the picture frame from white card stock and then separated the elements so I could ink them. I used Evergreen Bough Distress Ink for the grass hill and Salty Ocean for the sky. Then for the snow mound I used a fun snow pen. You just color the wet ink on the paper, use a heat tool and it puffs up like snow. It’s so awesome!
  • I stamped my snowman and holly, colored and die cut them.
  • Next I cut my plaid panel and adhered it to the card front. To be honest it was a happy accident that a scrap I had was about 1/2 inch too narrow for my card so I got creative. I pulled some washi tape from my stash and put it down on the left side. I love this pop of red on the card. It ties things together nicely.
  • Now for assembly…I adhered the actual picture frame down and then glued the inside down like a puzzle.
  • I stamped my sentiment on a speech bubble from the photo mat set and popped it and my snowman up with foam squares.
  • For finishing touches I decided to add the snow pen to the pom pom of the snowman’s hat and Stickles to the holly berries and snowman’s heart.

Here’s a closer look at the snow and glitter. I didn’t used to add details like this to my cards but I can’t believe how much something so simple and fun adds to the overall look. It’s amazing and I just love doing it!

I appreciate you sharing your time with me. Have a fabulous day!
Therm-o-Web Deco Foil with Heat Embossing

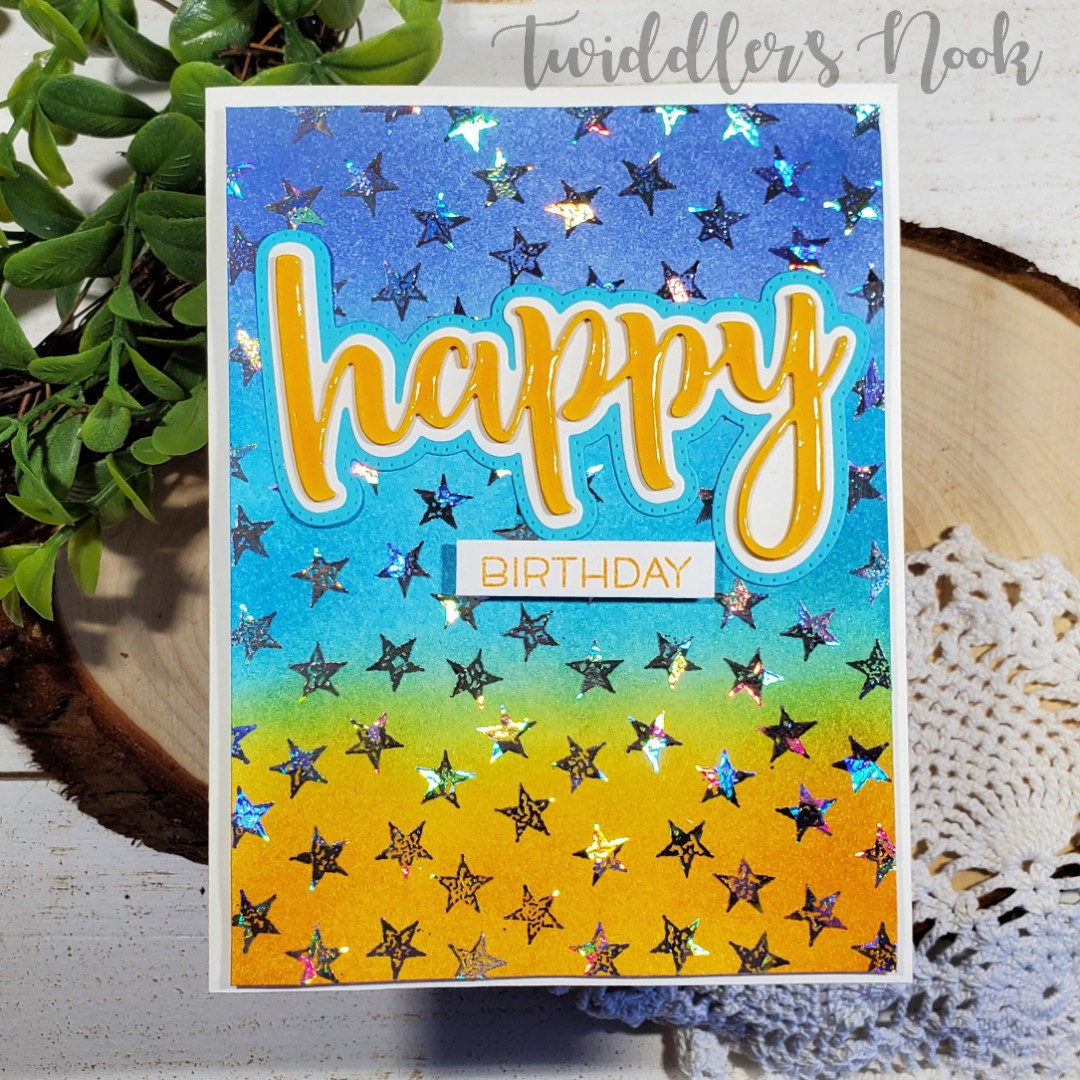
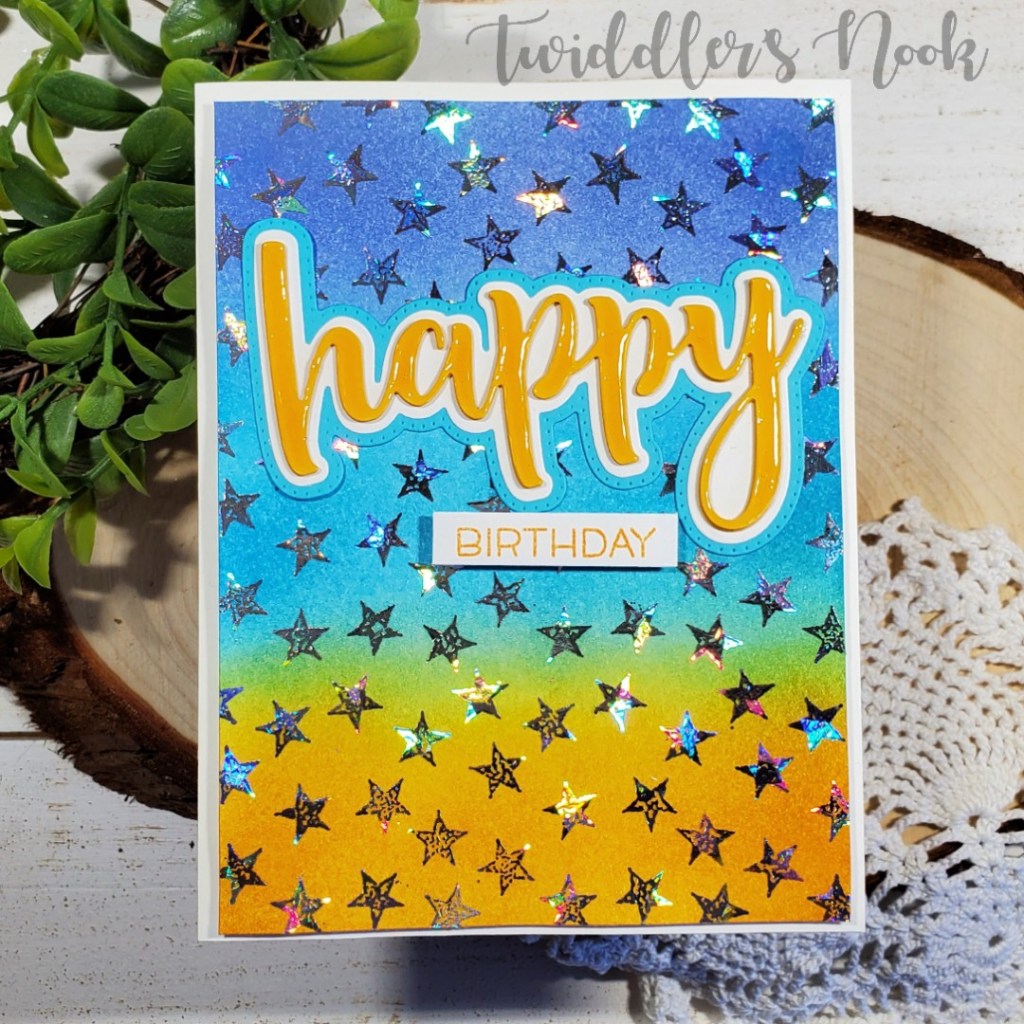
I recently purchased some Deco Foil by Therm-o-Web with no idea how I was going to use it. I intended to pick up transfer gel but that hasn’t happened yet and I was itching to get some shiny on my cards. So off to the land of Pinterest and YouTube I went. I found an older video by Jennifer McGuire (linked here) that showed how to use foil on heat embossing. So I decided to give it a go and here’s what we came up with! 😀

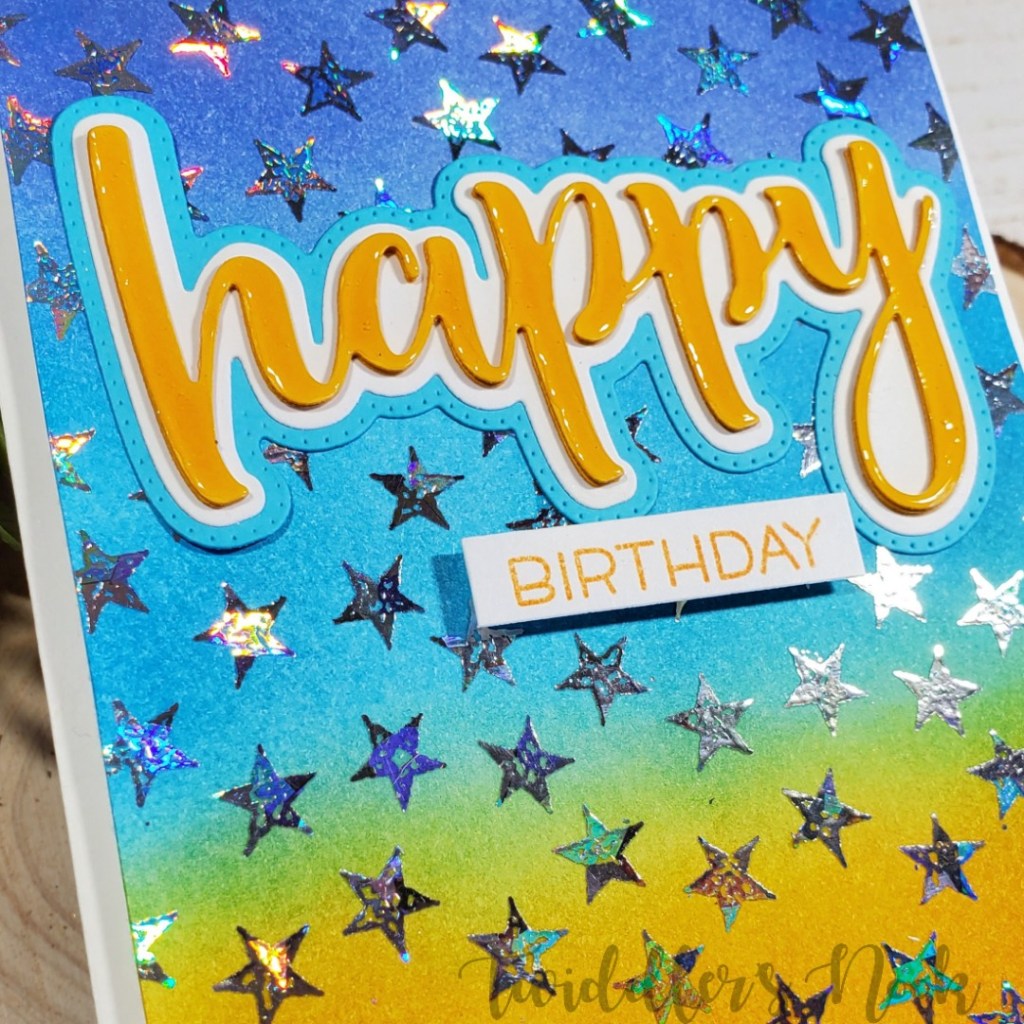
Not too shabby, if I do say so myself. The general idea I used here is distress ink blend the background, stamp and heat emboss a star background stamp. Then lay foil over my panel and run it through my laminator in a copy paper folder. Then I trimmed it down to 4×5.25 and added it to a card base with foam tape.

For my sentiments I used Honey Bee Stamps layered happy die cut. The top layer, in yellow, is die cut three times and then covered in glossy accents. This idea is another one from Jennifer McGuire in a more recent video. (linked here) Then I added birthday from Lawn Fawn Wild for You set and popped it up with foam tape.

Between the glossy words and that awesome Deco Foil background, this card is so eye catching and fun to move around in the light. I can’t wait to play around with more types of Deco Foil and with more techniques.

Have you used Deco Foil before? What techniques have you tried? Any favorites? Leave a comment below. I’d love to know!

I appreciate you sharing your time with me. Have a fabulous day!
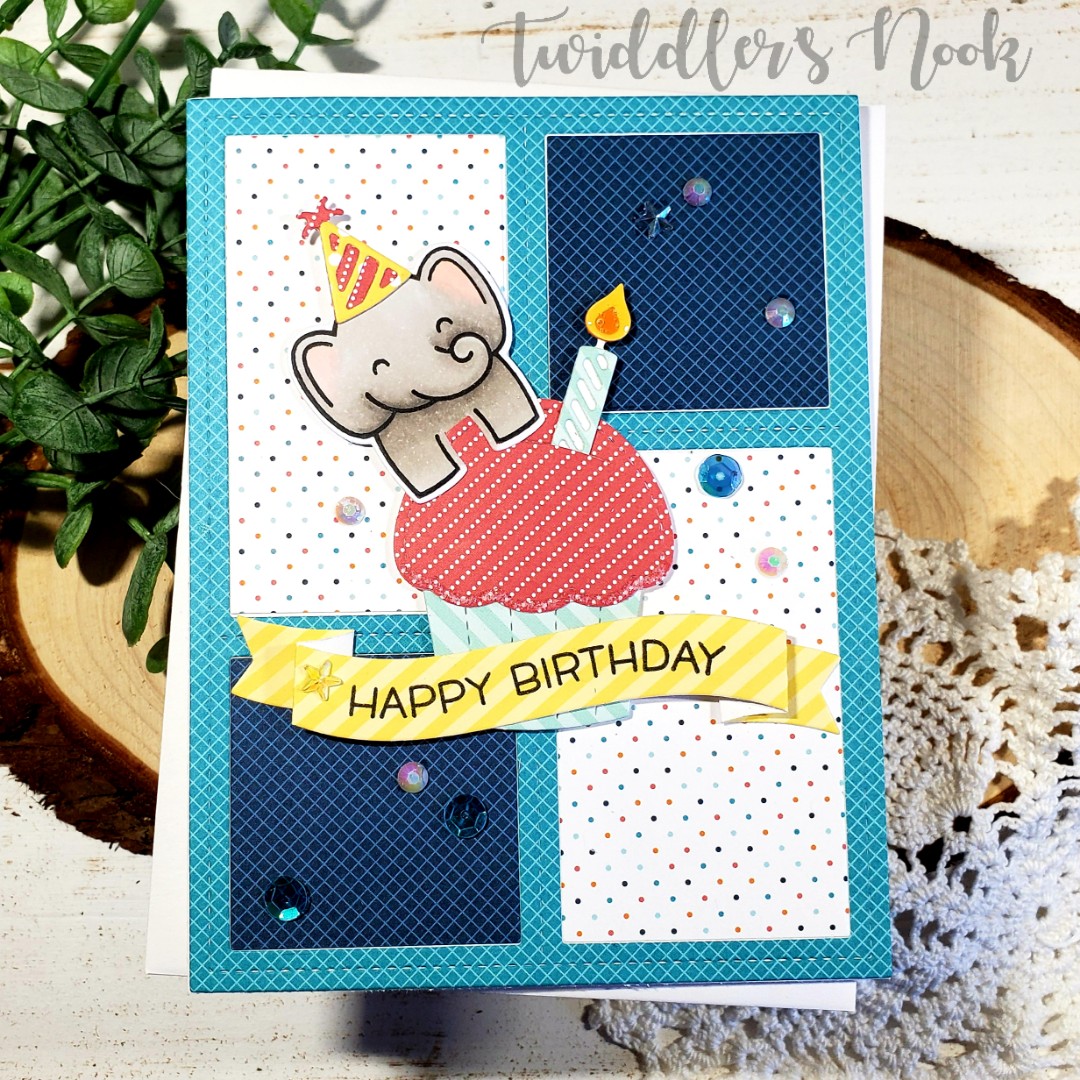
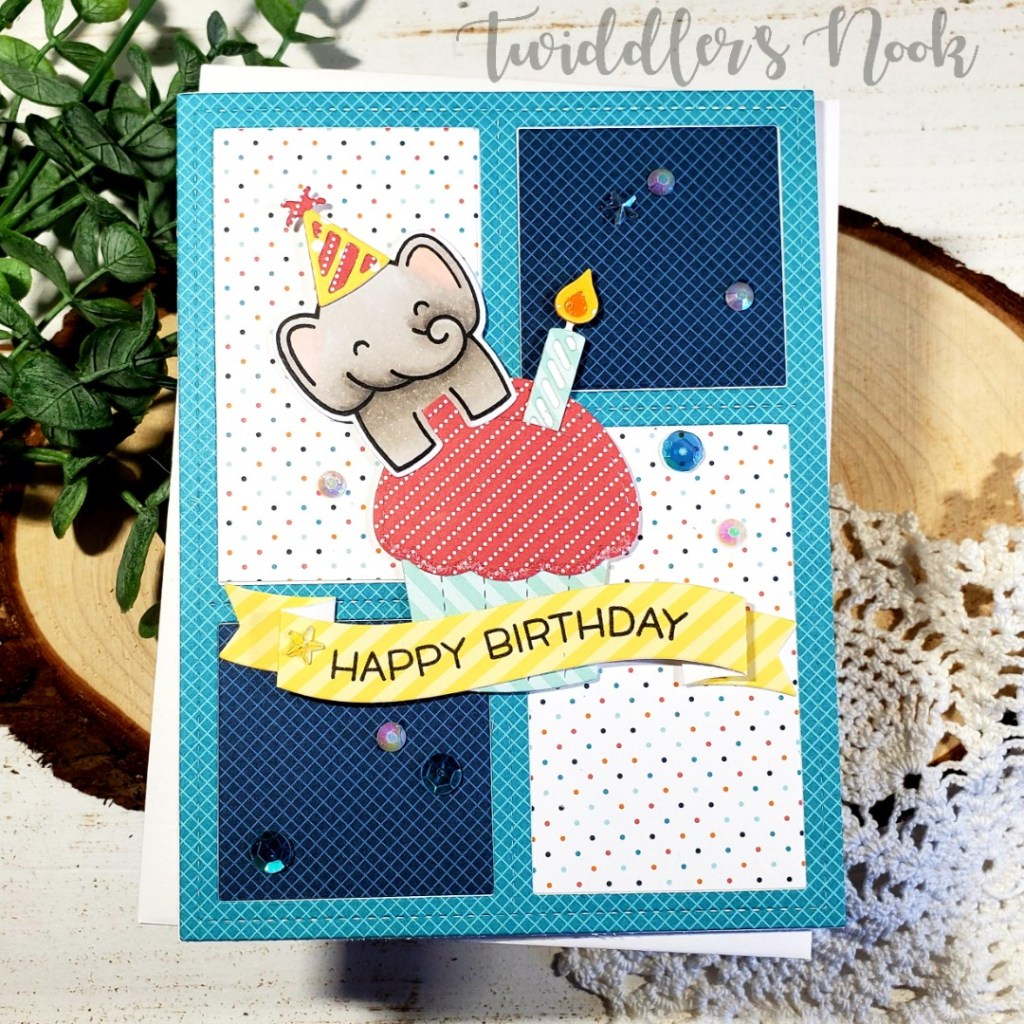
Lawn Fawn Stitched Cupcake Birthday Card

I’m super excited to share this cupcake card with you today. I made it for my mom’s recent birthday and wanted to wait to post it until she opened it.

As soon as I saw this Lawn Fawn Stitched Cupcake in the reveal I knew I wanted to make a card like this…it just took me this long to follow through with it. Ha! I love how it turned out! I think making a set with all of the hanging critters would be so fun!

The details:

  • I die cut the peekaboo frame from 3 pieces of patterned paper – one for the frame and two to fill in the windows. I glued these to a card front.
  • I die cut all the pieces to my cupcake and adhered them together.
  • Stamped and die cut my elephant from Slow Down and Enjoy and hooked him on the edge of the cupcake. I popped this whole thing up with foam squares.
  • Next I die cut my fancy wavy banner, stamped my sentiment on it and glued it down.
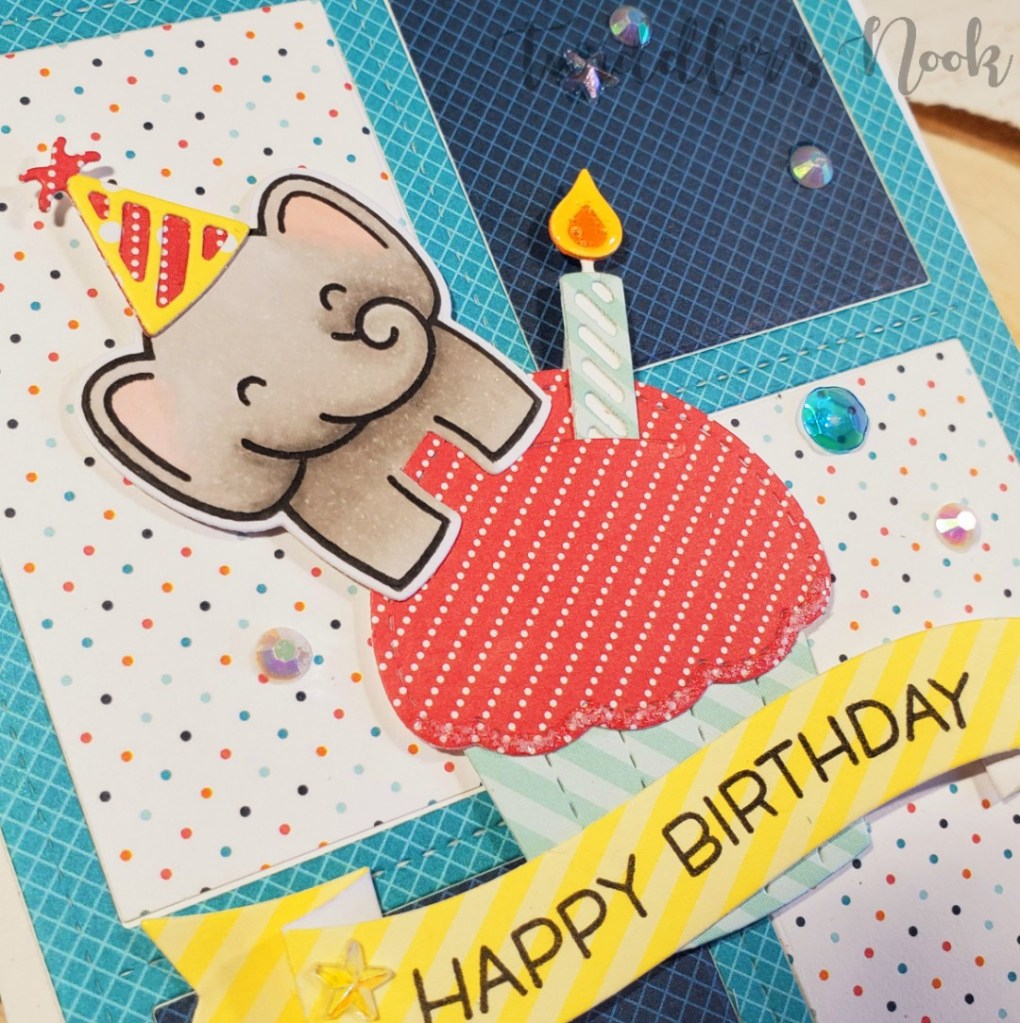
  • For finishing touches I added glossy accents to the candle flame, stickles to the edge of the cupcake and glued embellishments scattered all over.

Here’s a closer look at that cute elephant and the added embellishments. Can’t you picture this layout with the sloth, bear and deer hanging on the cupcake edge too! It would be so great.

I appreciate you sharing your time with me. Have a fabulous day!
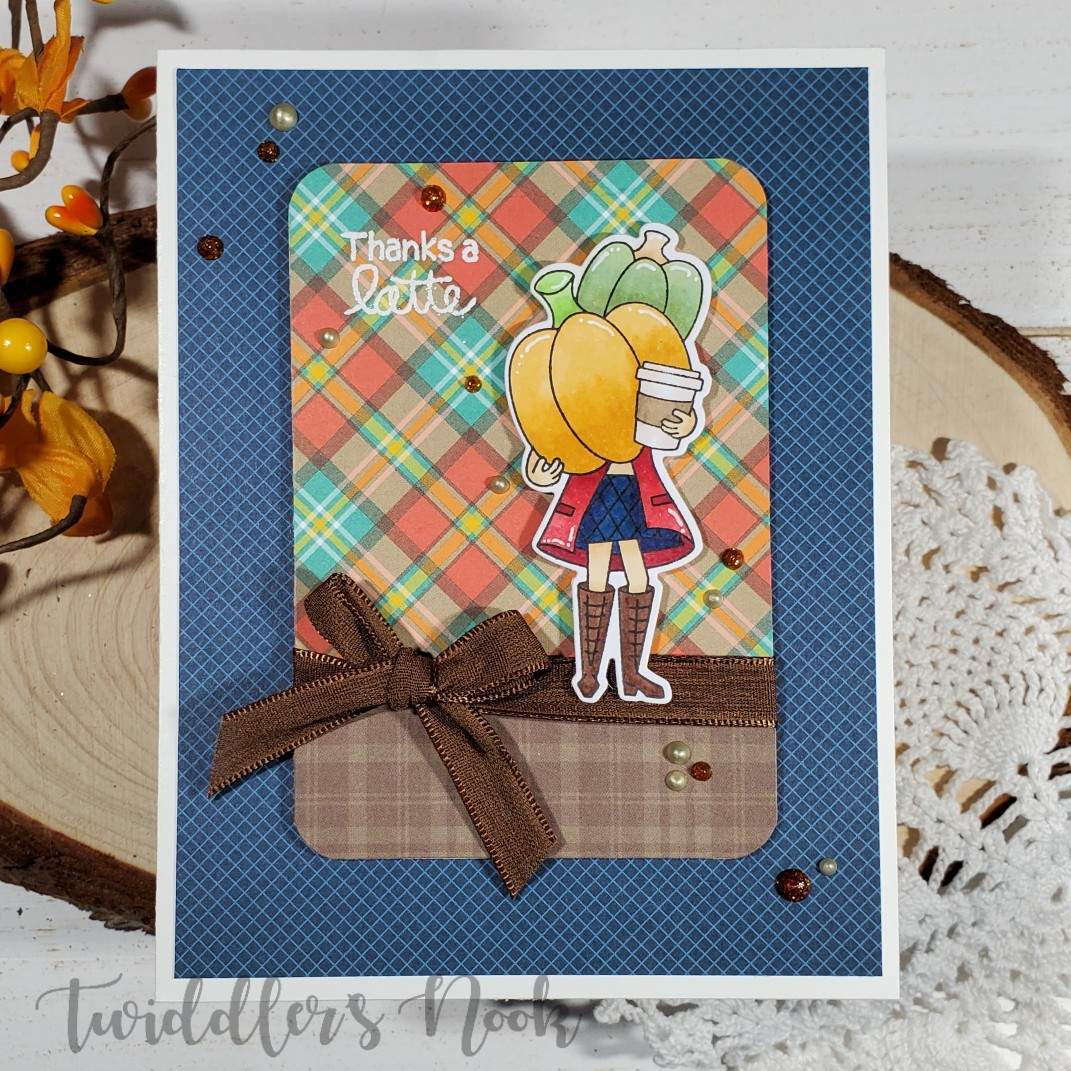
Newton’s Nook – Pumpkin Latte

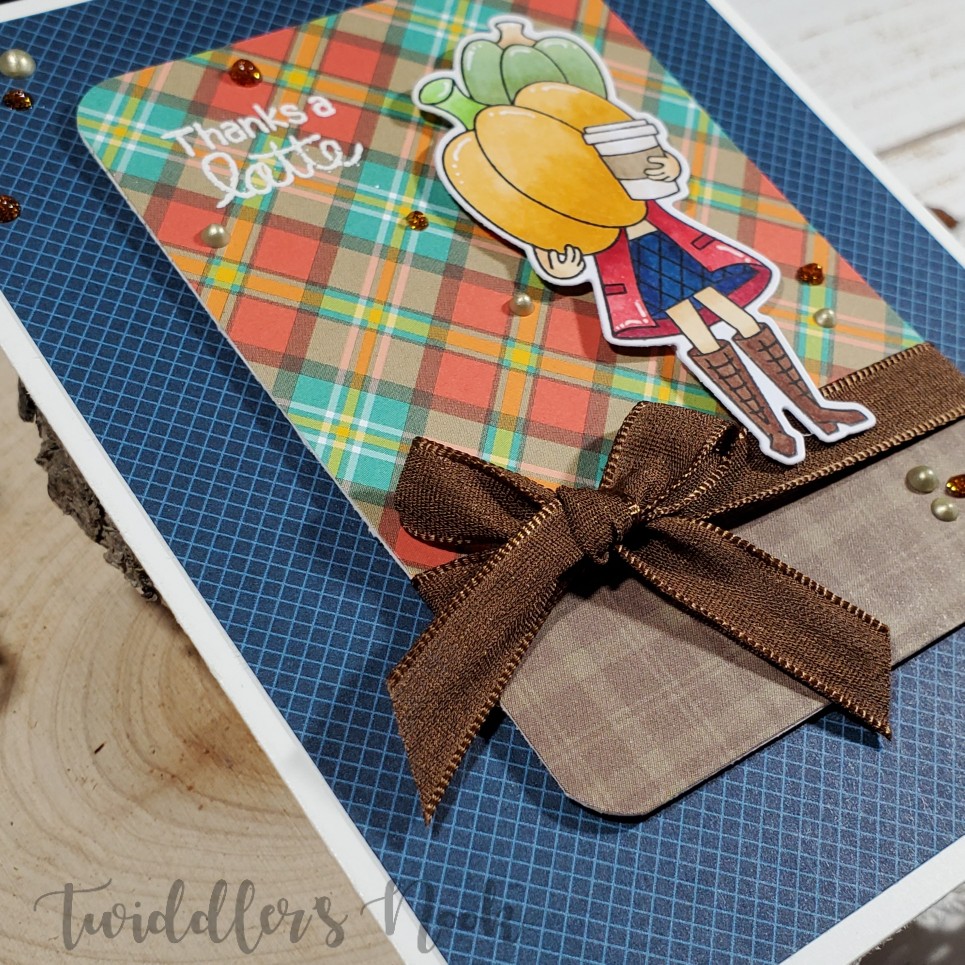
Welcome back!!! Today is my last entry into the current Inky Paws Challenge. This sketch has been so much fun, I’m sure this isn’t the last I’ll use of it. I’m really enjoying creating mini scenes with my stamps and using that wide border for fun accents and details like stencils and patterned paper.

Today I’m using my second favorite set from the most recent Newton’s Nook releasePumpkin Latte. It’s pretty much me in a stamp set. Just ask anyone who knows me…all things pumpkin and all things pumpkin latte. ❤ I’m still swooning! ❤

Enough of that, on to the pretty things!

We’ve been through this sketch twice before so you get the gist of it but this one is even simpler because I used patterned paper instead of ink blending. This card came together so beautifully. I’m still smiling over it! She’s just adorable holding her latte and those awesome pumpkins!

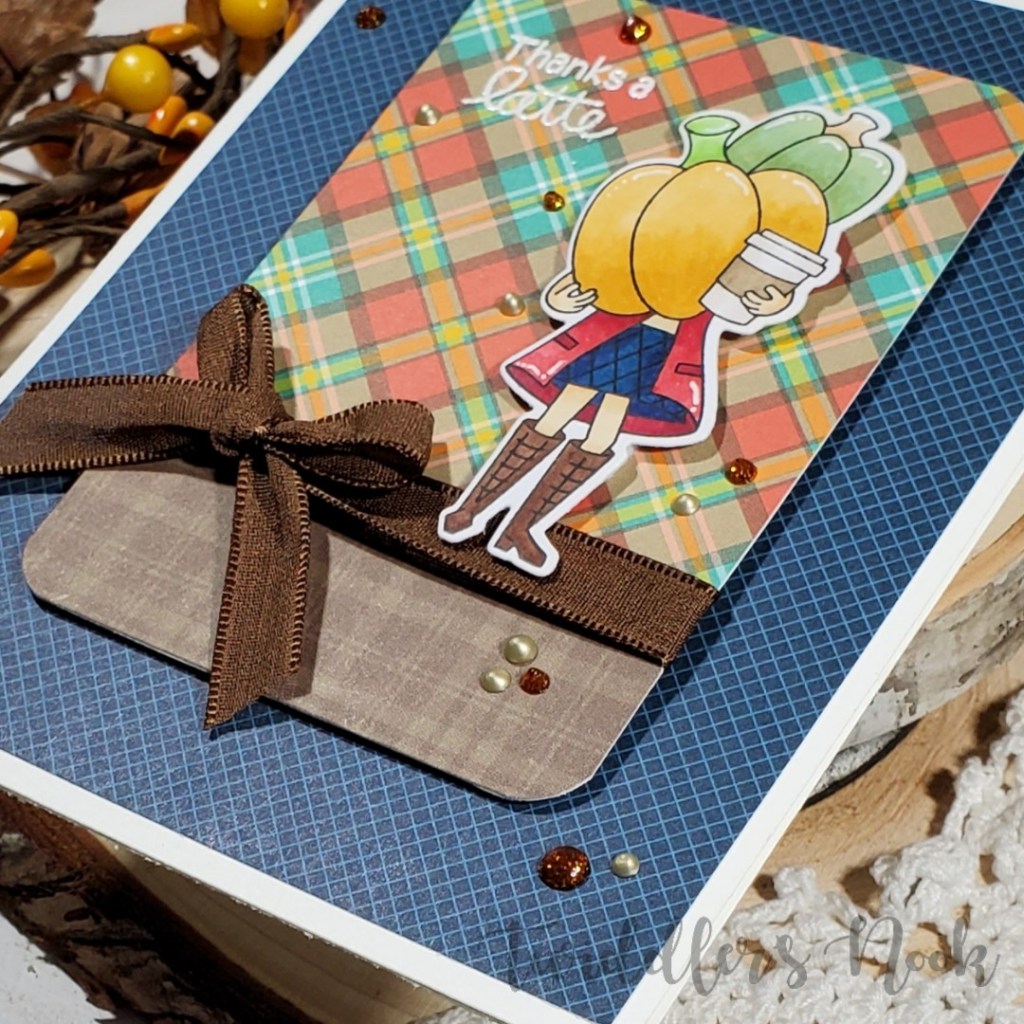
The difference in the details with this card is that I heat embossed the sentiment and scattered Nuvo Crystal and Glitter drops across the card for added interest.

I hope you’ve enjoyed this card as much as I enjoyed making it! Be on the look out for the next Inky Paws Challenge creations and more creations from this fabulous sketch! I think I need to try it with some Christmas stamps next!

Thank you for sharing your time with me. Have a fabulous day!
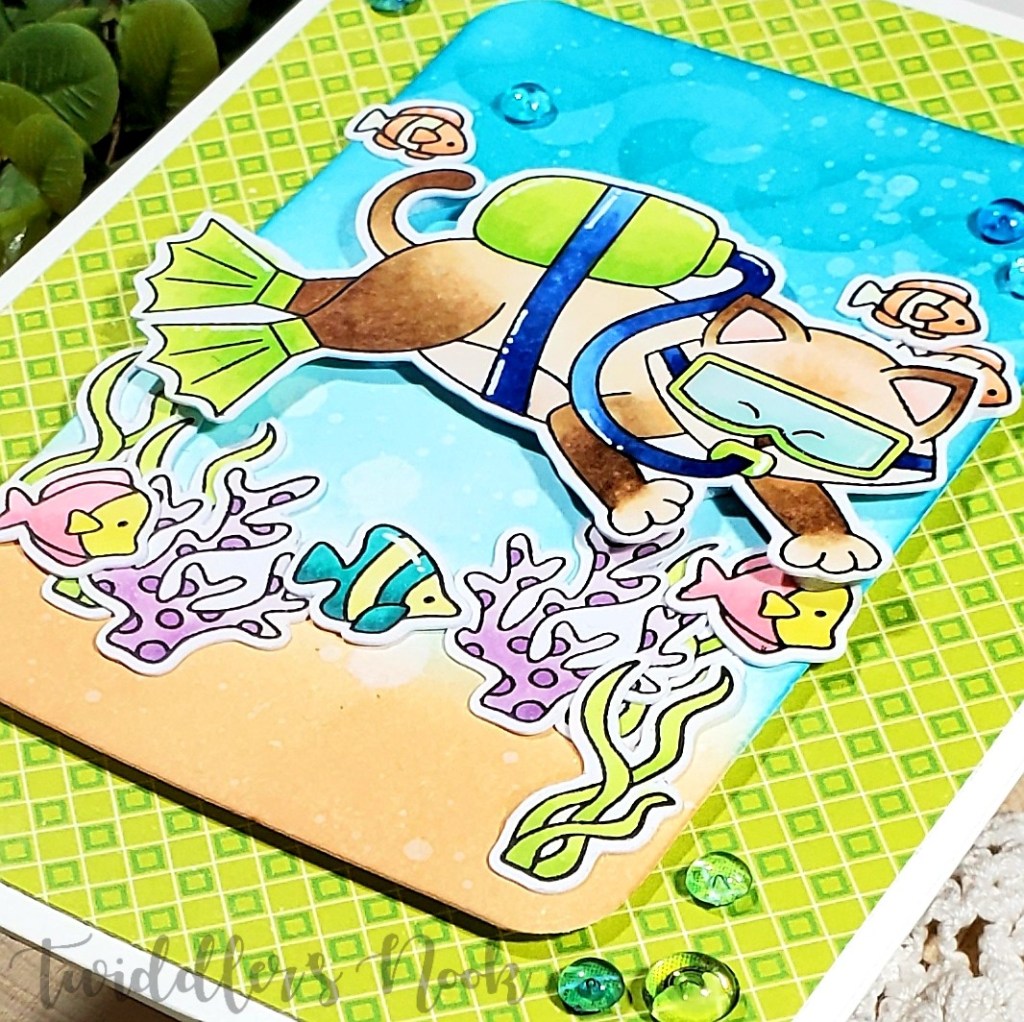
Newton’s Nook – Scuba Newton is Back!

This Scuba Newton set is one of my favorites ever! I am so drawn to all things ocean and water related so it’s not really a surprise but seriously, he’s so flippin’ cute! Get it? He’s got flippers? Ha! You’re welcome. 😉

This card is my second entry into the current Newton’s Nook Inky Paws Challenge. When this challenge was released I hadn’t gotten my newest order yet so I sat out all 5 of my Newton’s Nook stamp sets and started thinking how I could make it work with what I had. This was the first one that came to mind and I knew I had to try it.

Here are the details:

  • Stamped, colored and cut out my images.
  • Cut a panel 2.75×4 and blended distress inks for ocean and sand. Then used the waves and splashes stencil twice at the top for some texture. Then spritzed it all with water for distressing.
  • I cut down a 5.25×4 panel of patterned paper and adhered it to a card base. Then popped up my ink blended panel with foam tape.
  • Now I started arranging my images and gluing them down. Only Newton is popped up with foam squares on this card.
  • For finishing touches on this card I used glossy accents on Newton’s goggles, white gel pen accents on the fish and Newton and glued down some bubble baubles from Honey Bee Stamps throughout.

Here’s a closer look at Newton’s shiny goggles and some of the other dimension and details of the card. It’s so bright and cheery.

I’m completely ready for fall but one last bright summery card can’t hurt, right?

This card was so fun to create. Mostly because of the coloring I chose for Newton. I’d seen others do it but couldn’t figure out the colors I should use. I decided to bit the bullet and give it a shot. I love him!

Side story: We have a neighborhood cat that does have a home but he loves to get lovin’ from anyone and everyone. We don’t know his name so we call him Pretty Kitty. And this is him! It makes me heart happy. I hope I can recreate his coloring again.

I appreciate you sharing your time with me. Have a fabulous day!
The Rabbit Hole Designs Witches Gotta Stick Together

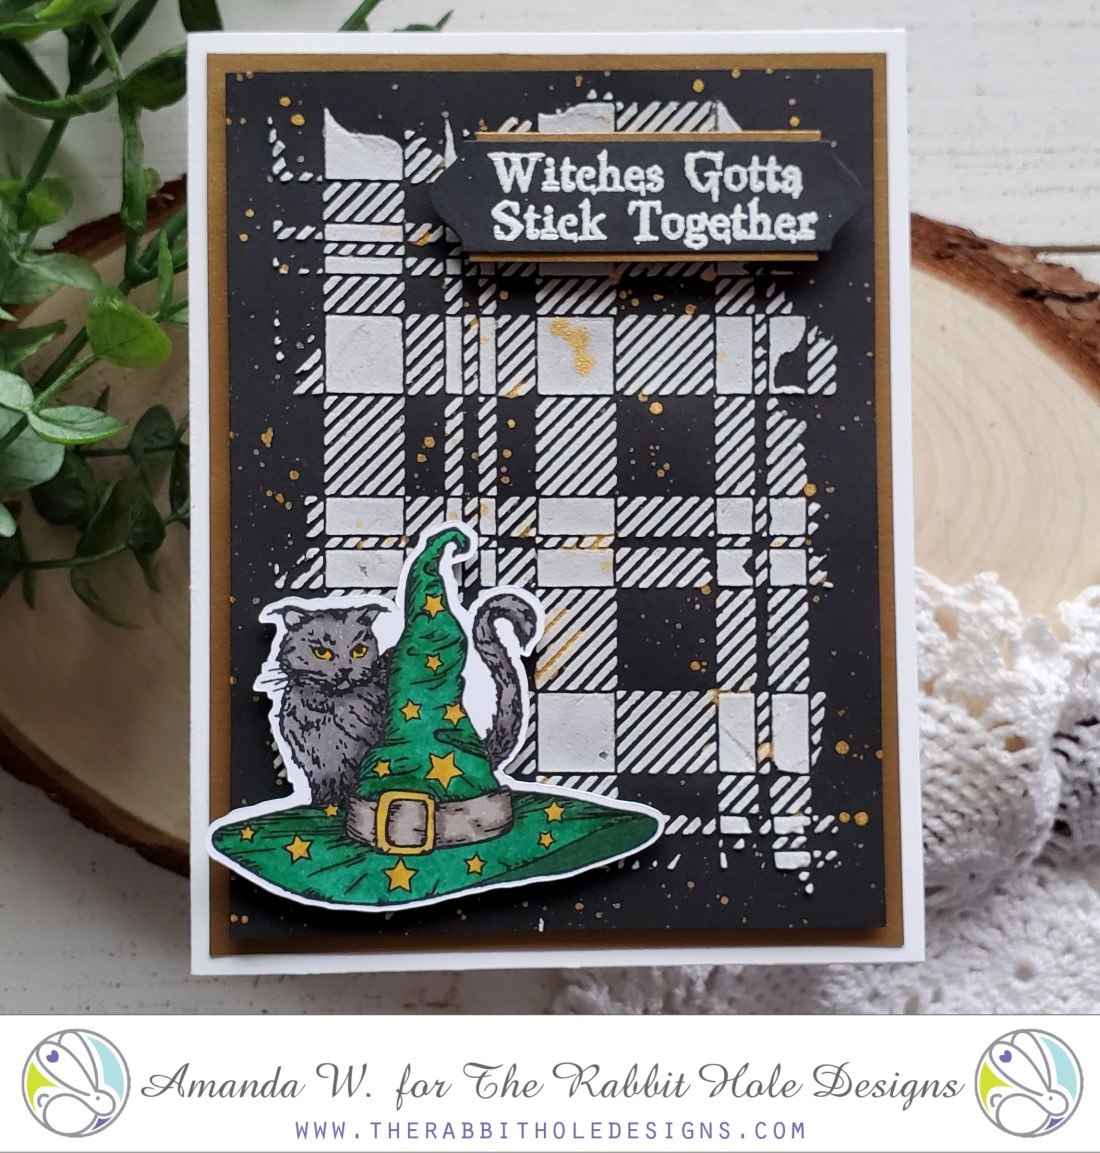
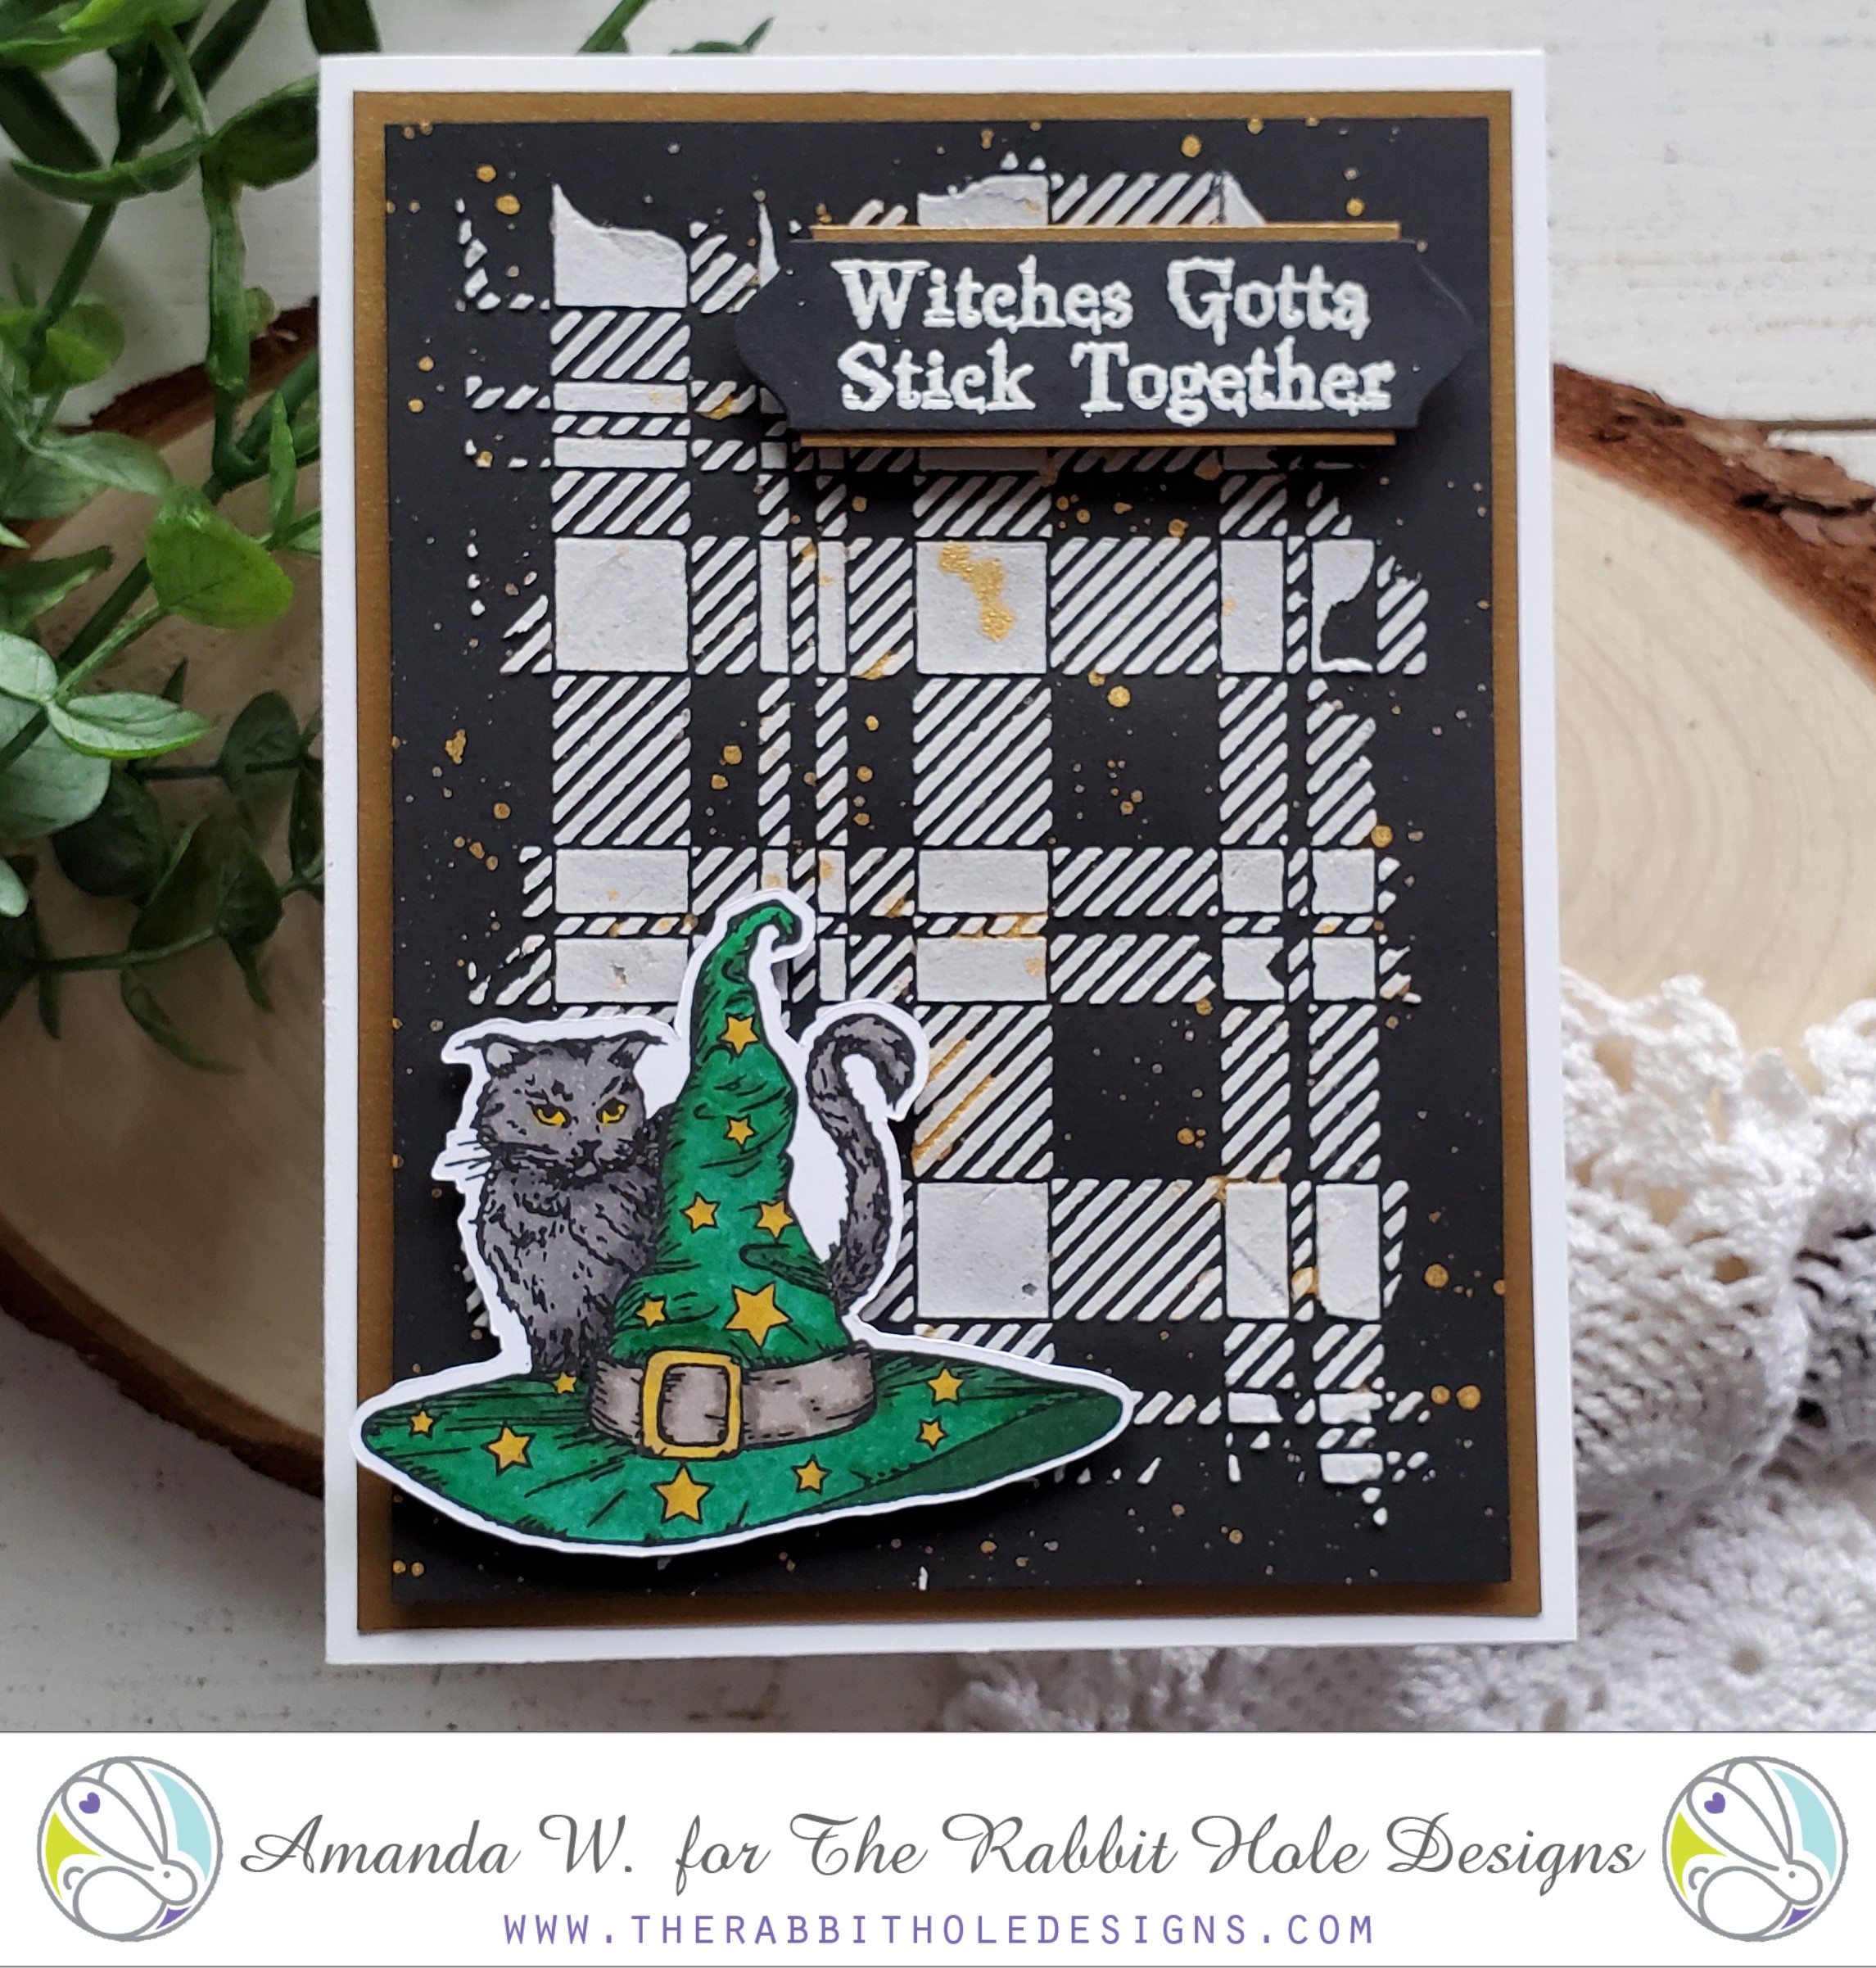
You say witch like it’s a bad thing… ha!ha!ha! I seriously can’t get enough of this new Halloween release from The Rabbit Hole Designs! They are all so fabulous and fun to create with! Today I’m on The Rabbit Hole Designs blog sharing the fabulous witchy card using the newly released Boo to You stamp set.

Here’s how I did it.

  • Started with a black panel and smeared texture paste across a plaid stencil and set it aside to dry. Once that was dry I flicked gold watercolor on it and let that dry too. Then adhered it to a piece of craft foam for dimension and glued that to a copper panel.
  • I stamped, colored and cut out my image. Stamped and heat embossed my sentiment and die cut it with a label die. Then added gold accents to the top and bottom to go with the base panel.
  • I adhered the background to a white card base and popped the image and sentiments up with foam squares.
  • Voila! Shimmery, witchy goodness!

I really like the flat look of the texture paste and the shiny of the gold paper and watercolor. They mix well. And that green hat! Perfect!

Remember you can pick up The Rabbit Hole Designs products at their website linked below and also at Simon Says Stamp!

Boo To You

For more inspiration, updates and news be sure to check these places:

I appreciate you sharing your time with me. Have a fabulous day!