Blog

The Rabbit Hole Designs September Release – Day 1

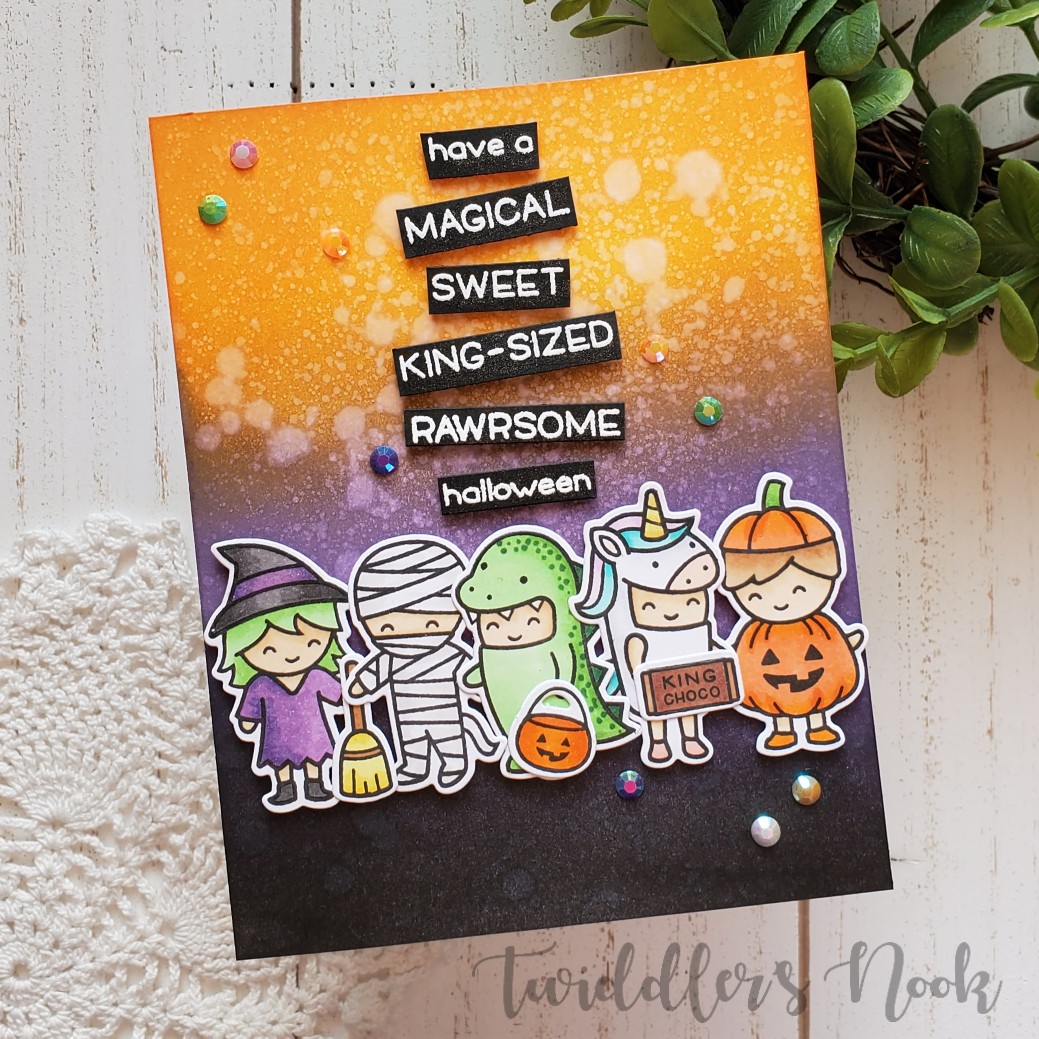
Welcome to day one of The Rabbit Hole Designs September release inspiration! Today we’re sharing this awesome new witchy set – Hex Yeah! And I’ve got two fun cards to show you.

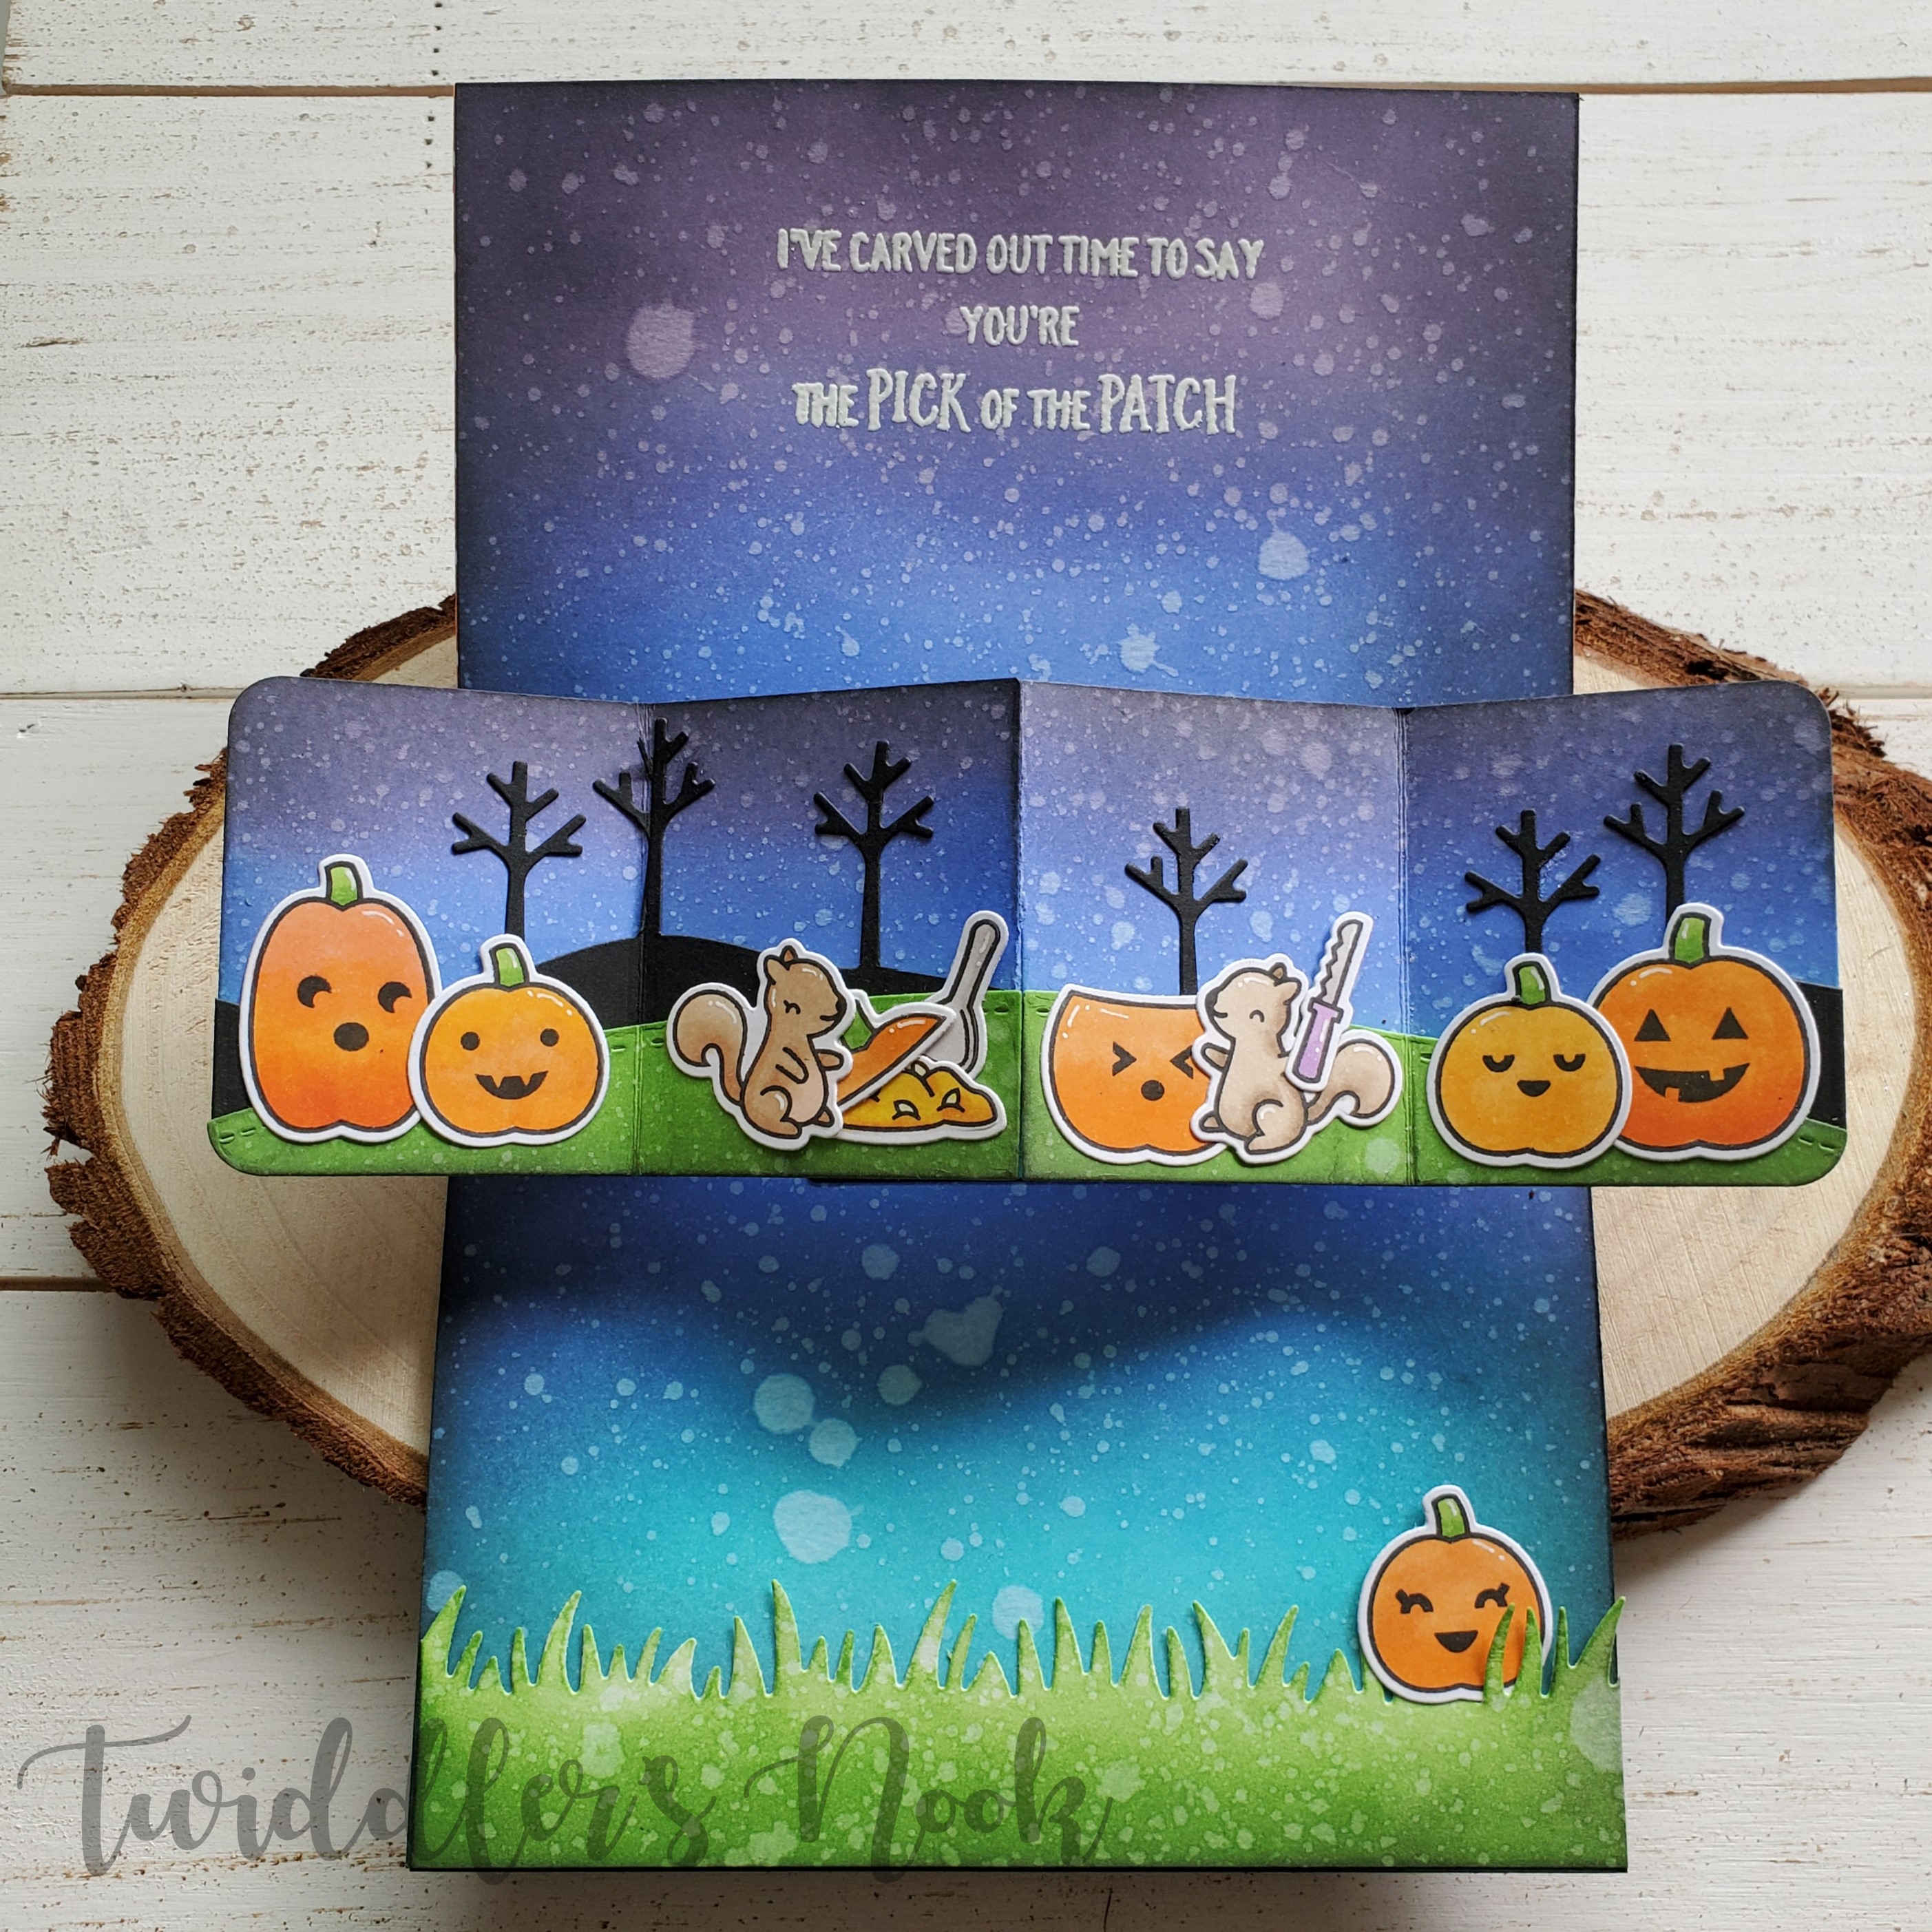
This first card is a pop-up shadow box which I learned from Jennifer McGuire. Here’s a link to her post so you can see how I created the basic idea and get measurements.

  • After I made the basic pop up card pieces, I ink blended the inside of the back piece and two hills with distress inks and spritzed them with water.
  • I stamped, colored and cut out my images and set them aside.
  • I stamped the bats on the front corners and heat embossed them. I also stamped my sentiment on the hill going on the front before assembling everything.
  • I followed the video for assembly and then glued the hill on the front panel and attached my cat and pumpkin image directly to that.
  • I attached my inside hill and popped my witch up with foam squares and this card is done.
  • It’s so fun because it folds flat for an envelope but pops up and stands on its own when it comes out.

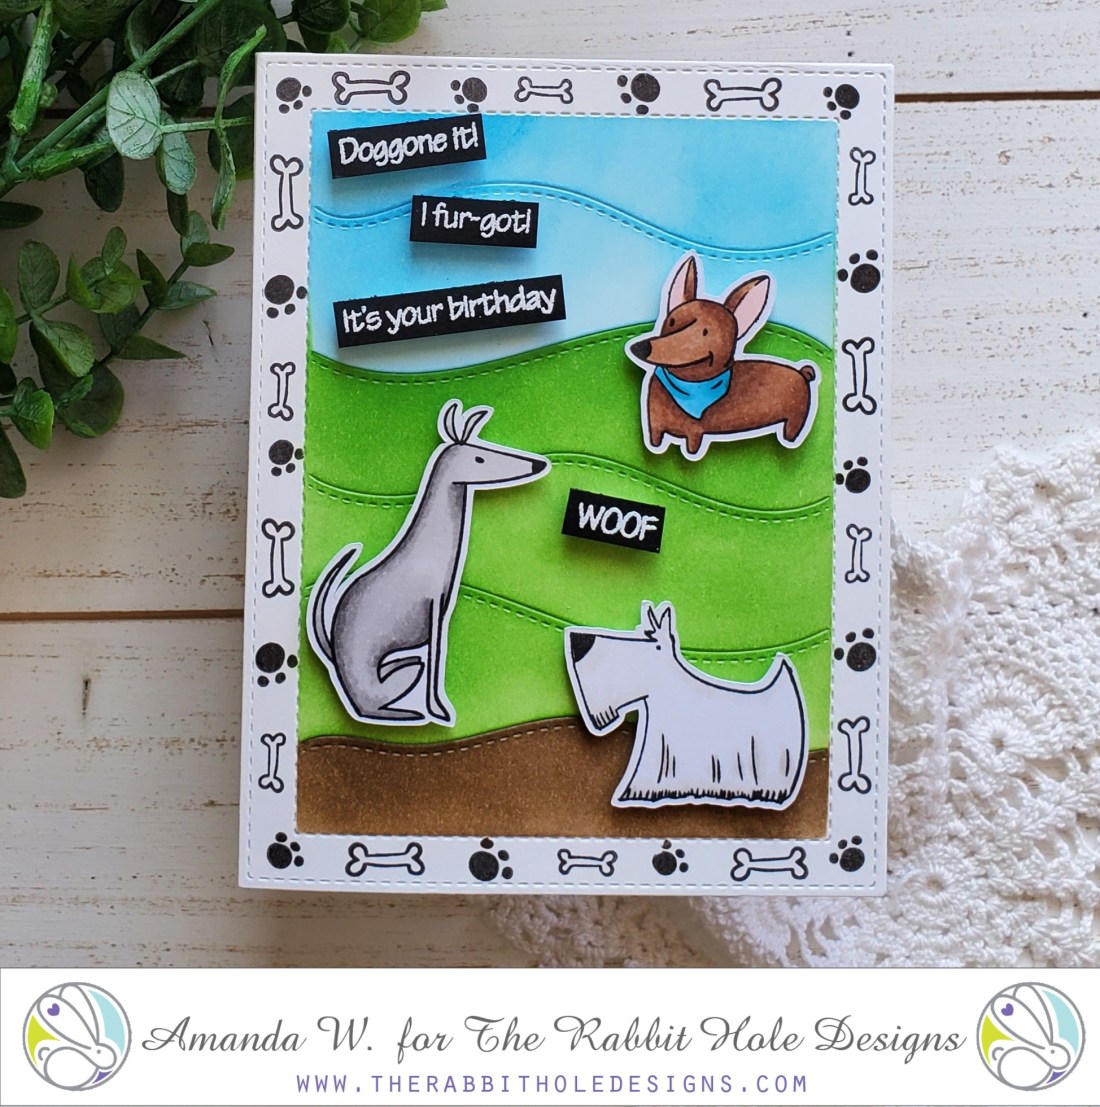
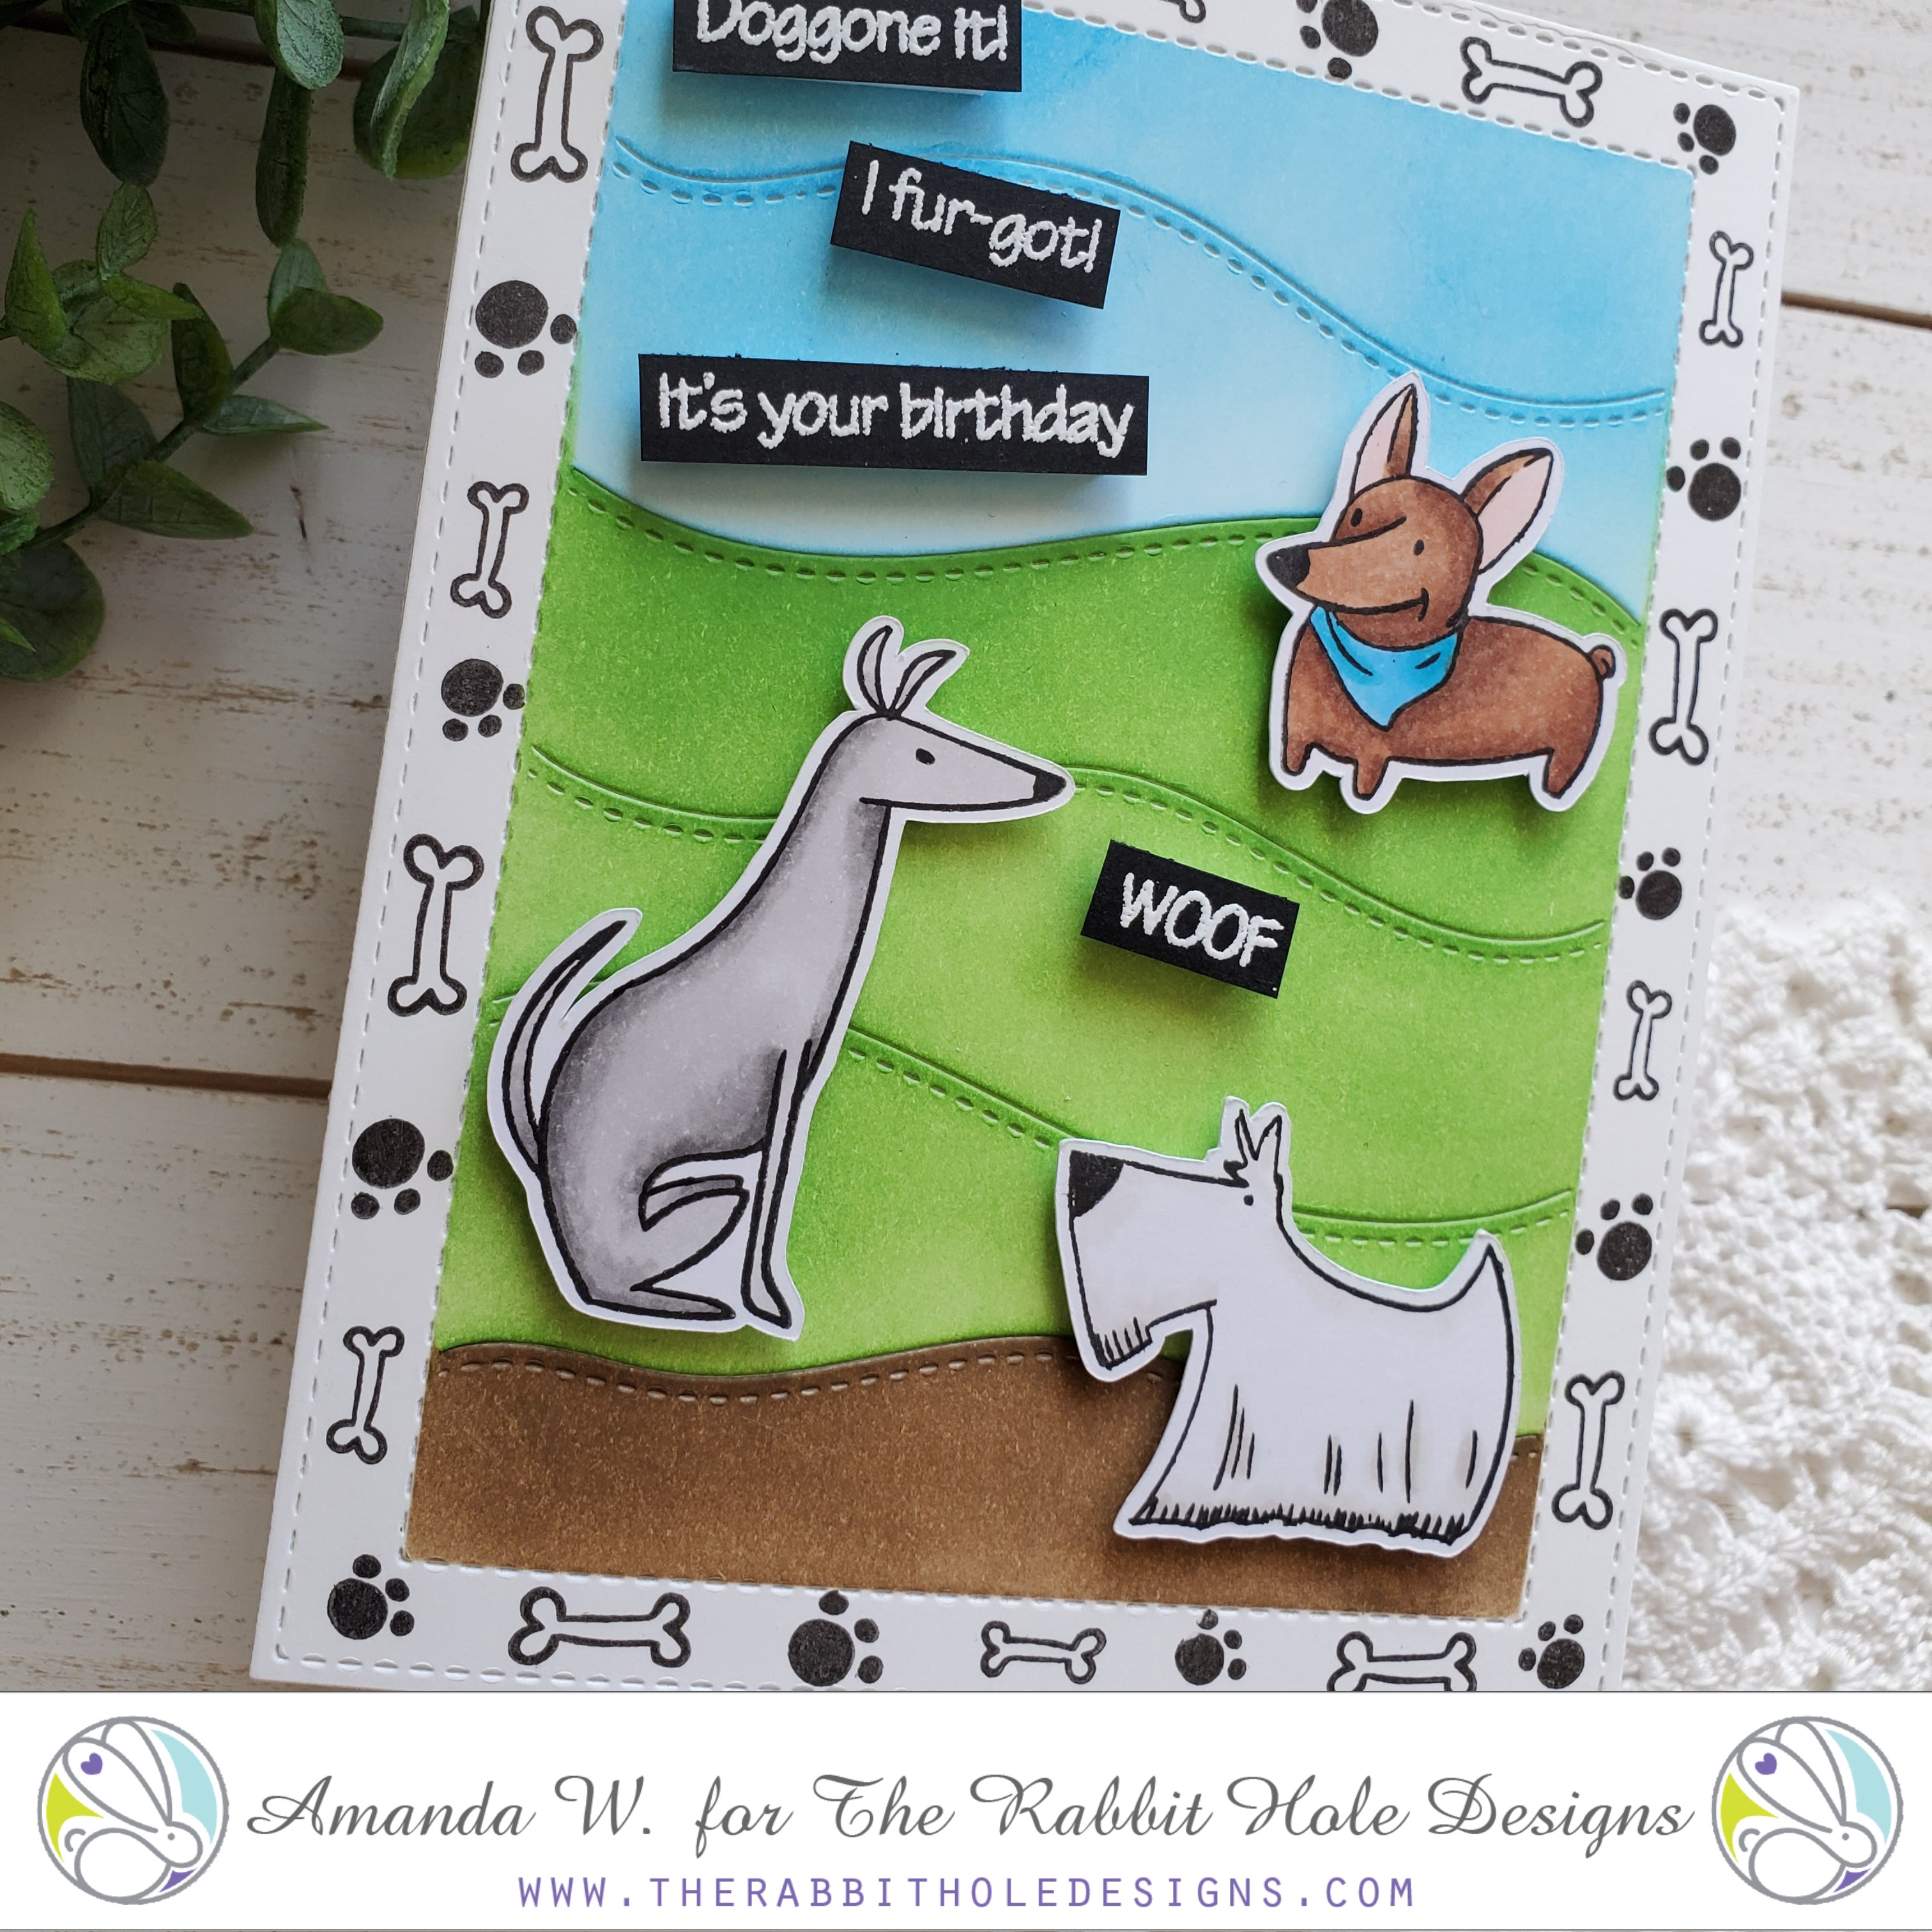
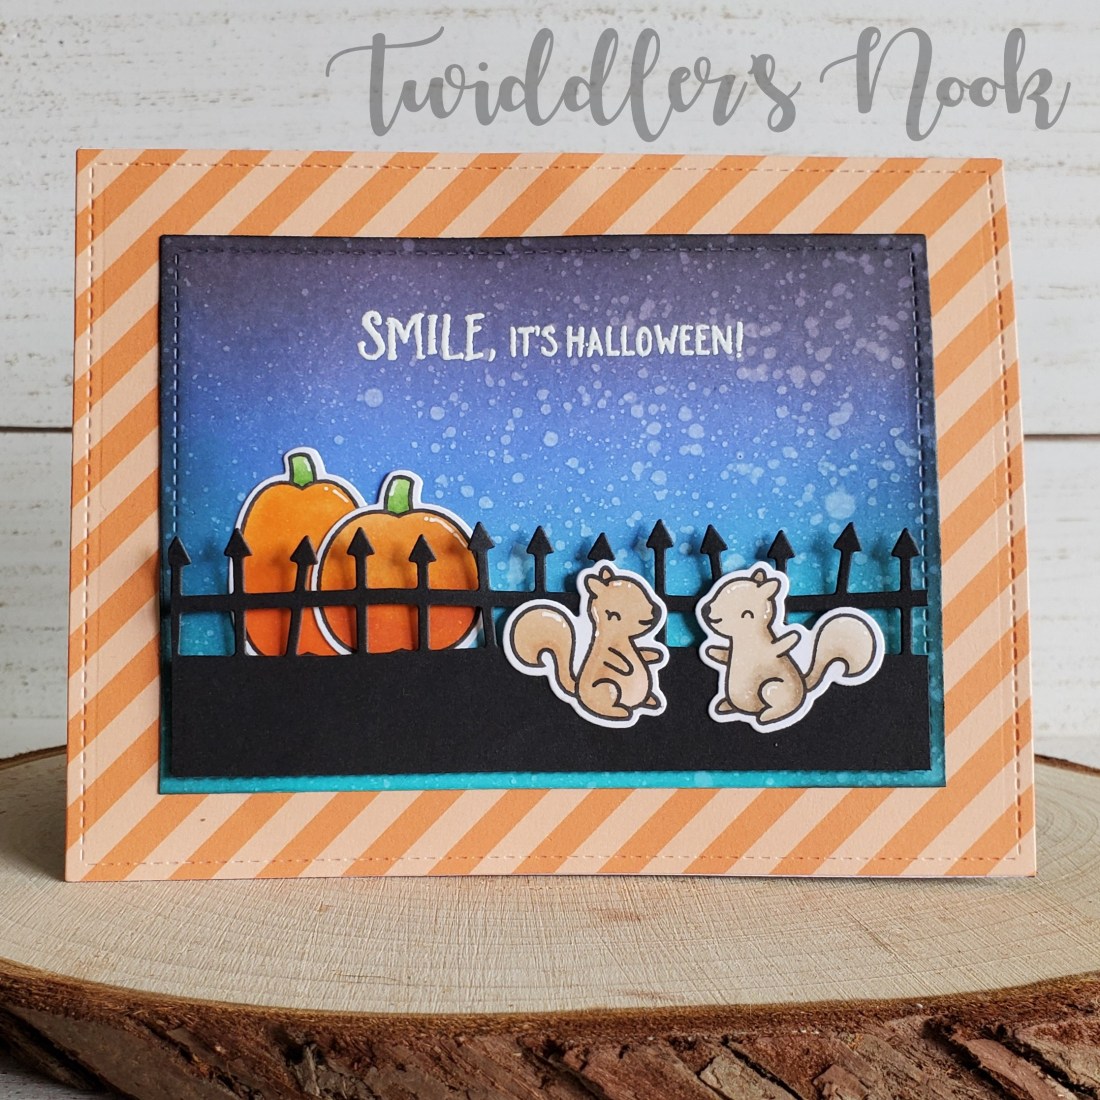
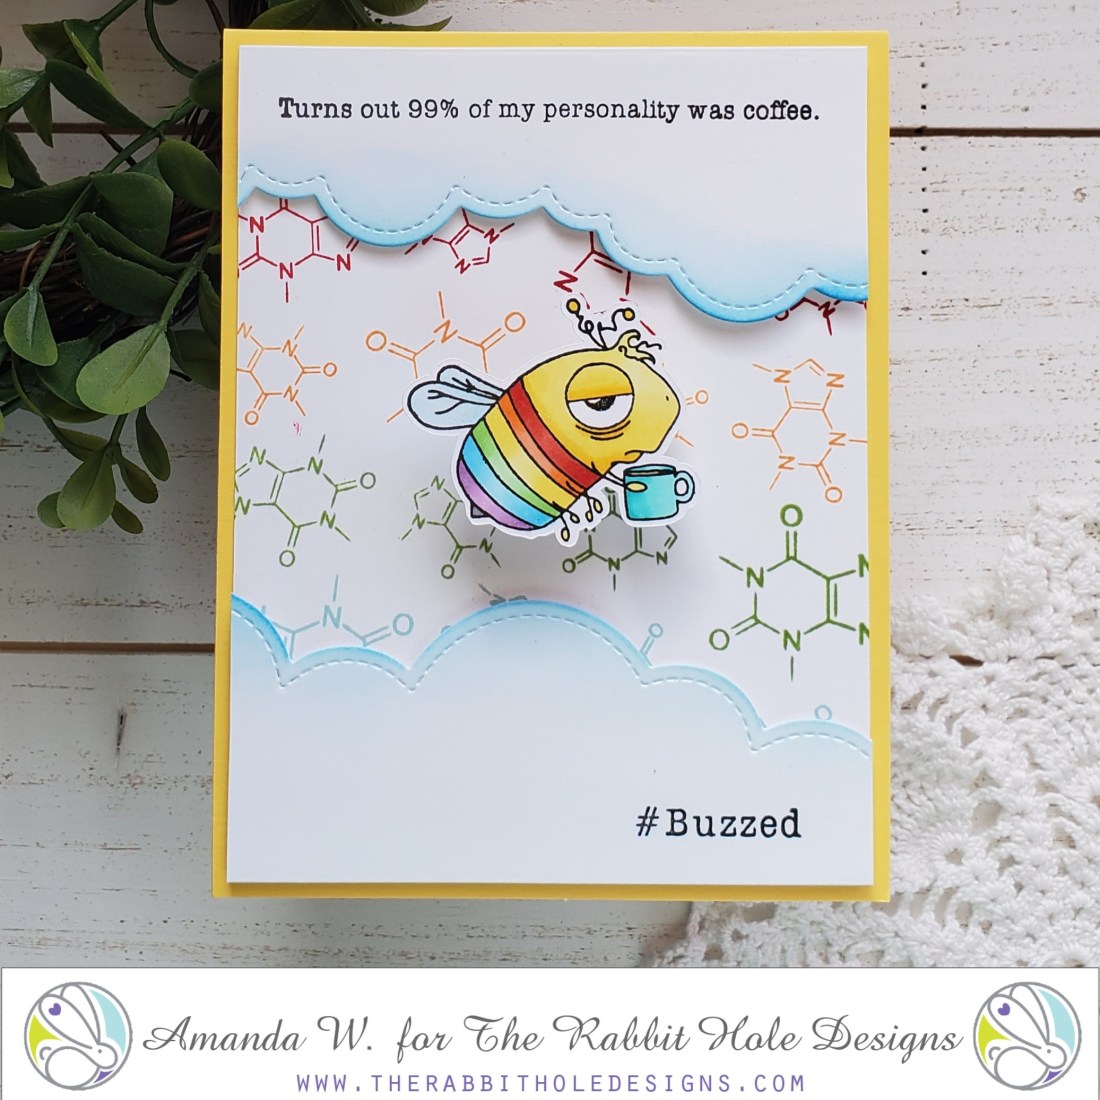
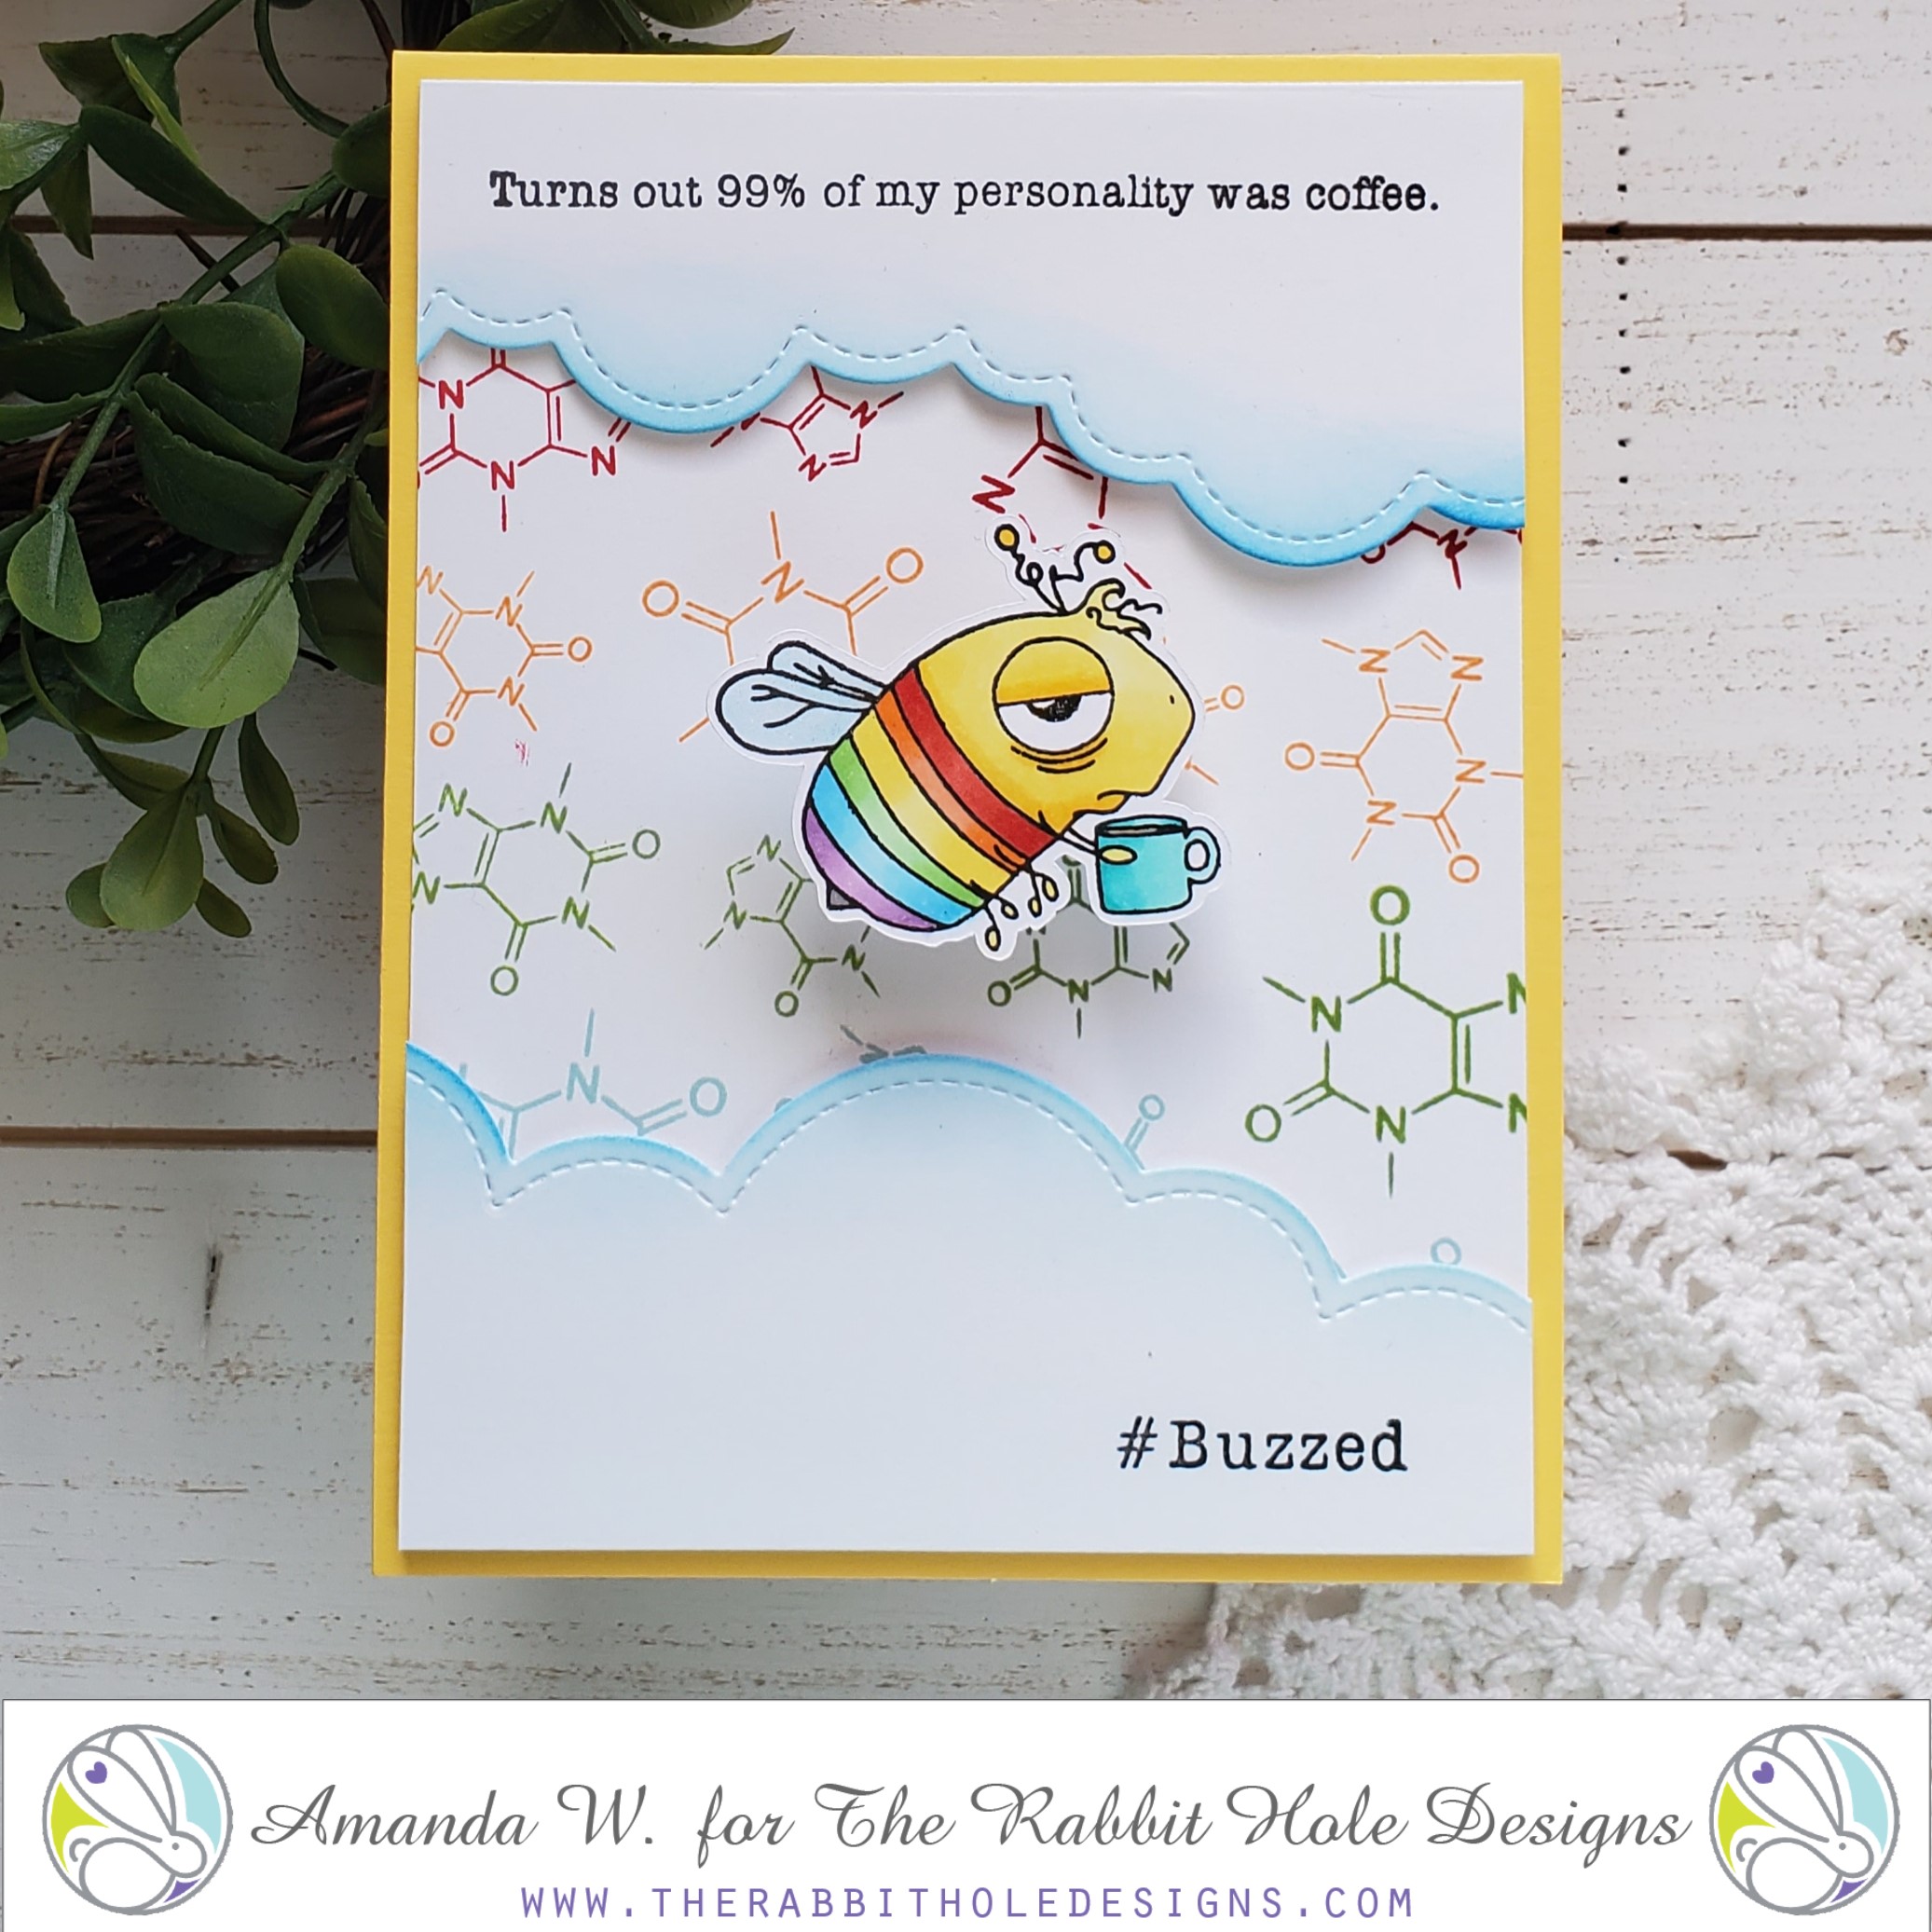
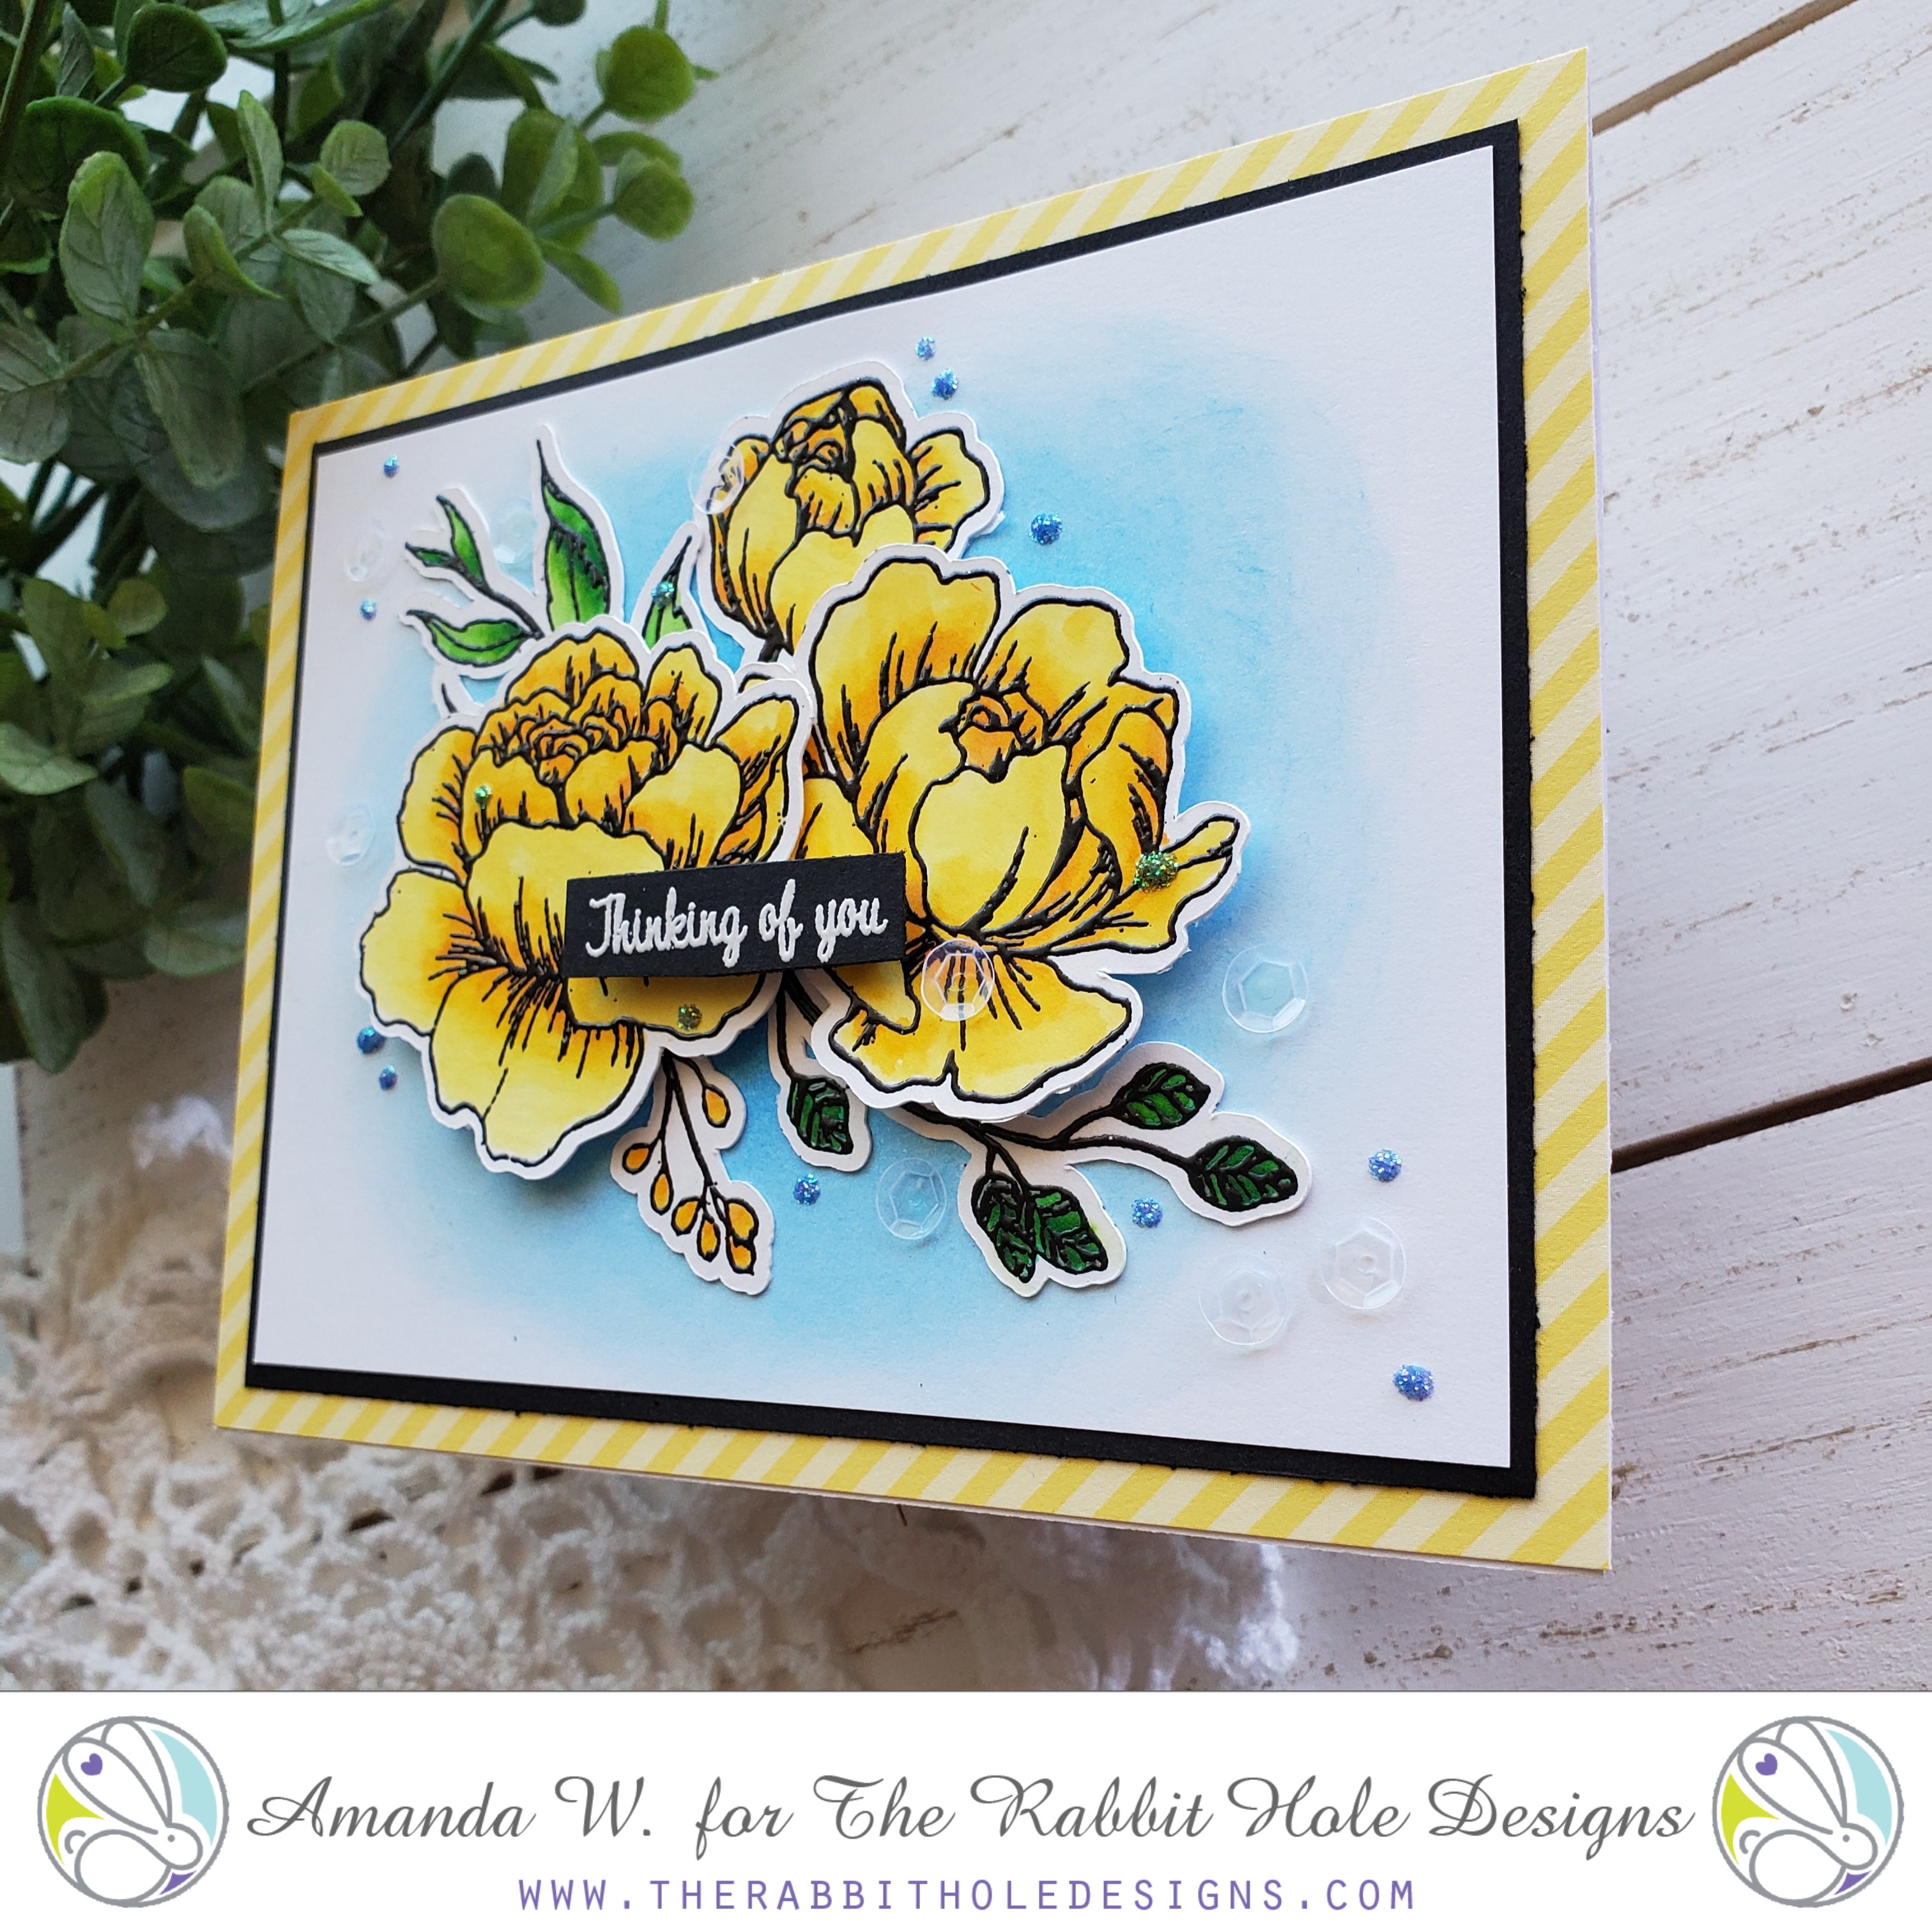
This next card has a little more to it as well but I love the look it gives!

  • I stamped, colored, cut my images out and set them aside while I worked on the card base.
  • I took a white card base and blended distress inks and cut a rectangle out of the center.
  • Die cut two window frames, glued one to the front, added vellum to the inside and glued the second window frame to that for a finished look inside and out.
  • I attached my images to the front of the card along with a grassy border.
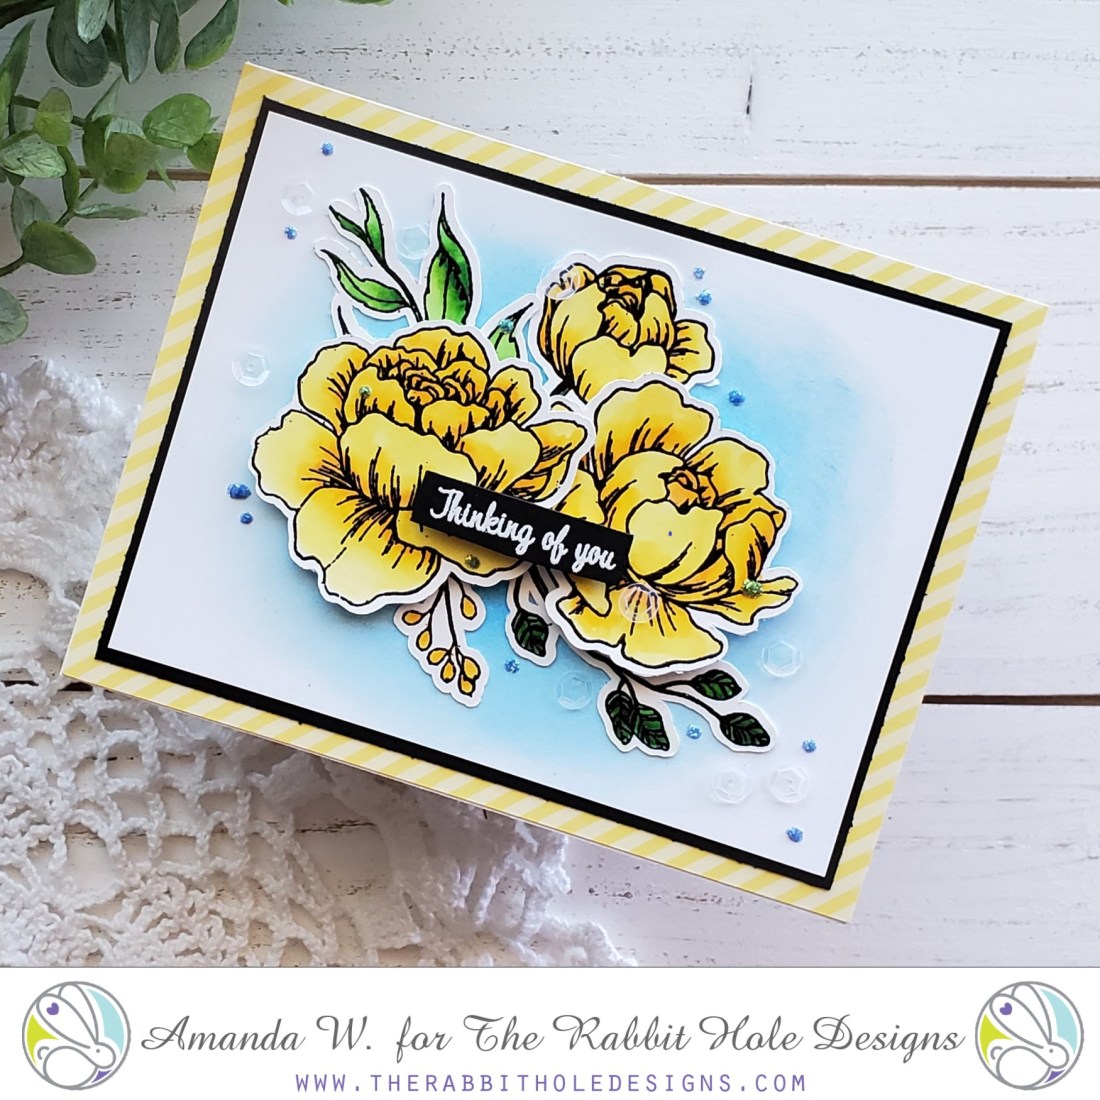
  • For the inside, I glued some wood grain cardstock down for flooring, glued my witch so she shows through the window and stamped my sentiment.

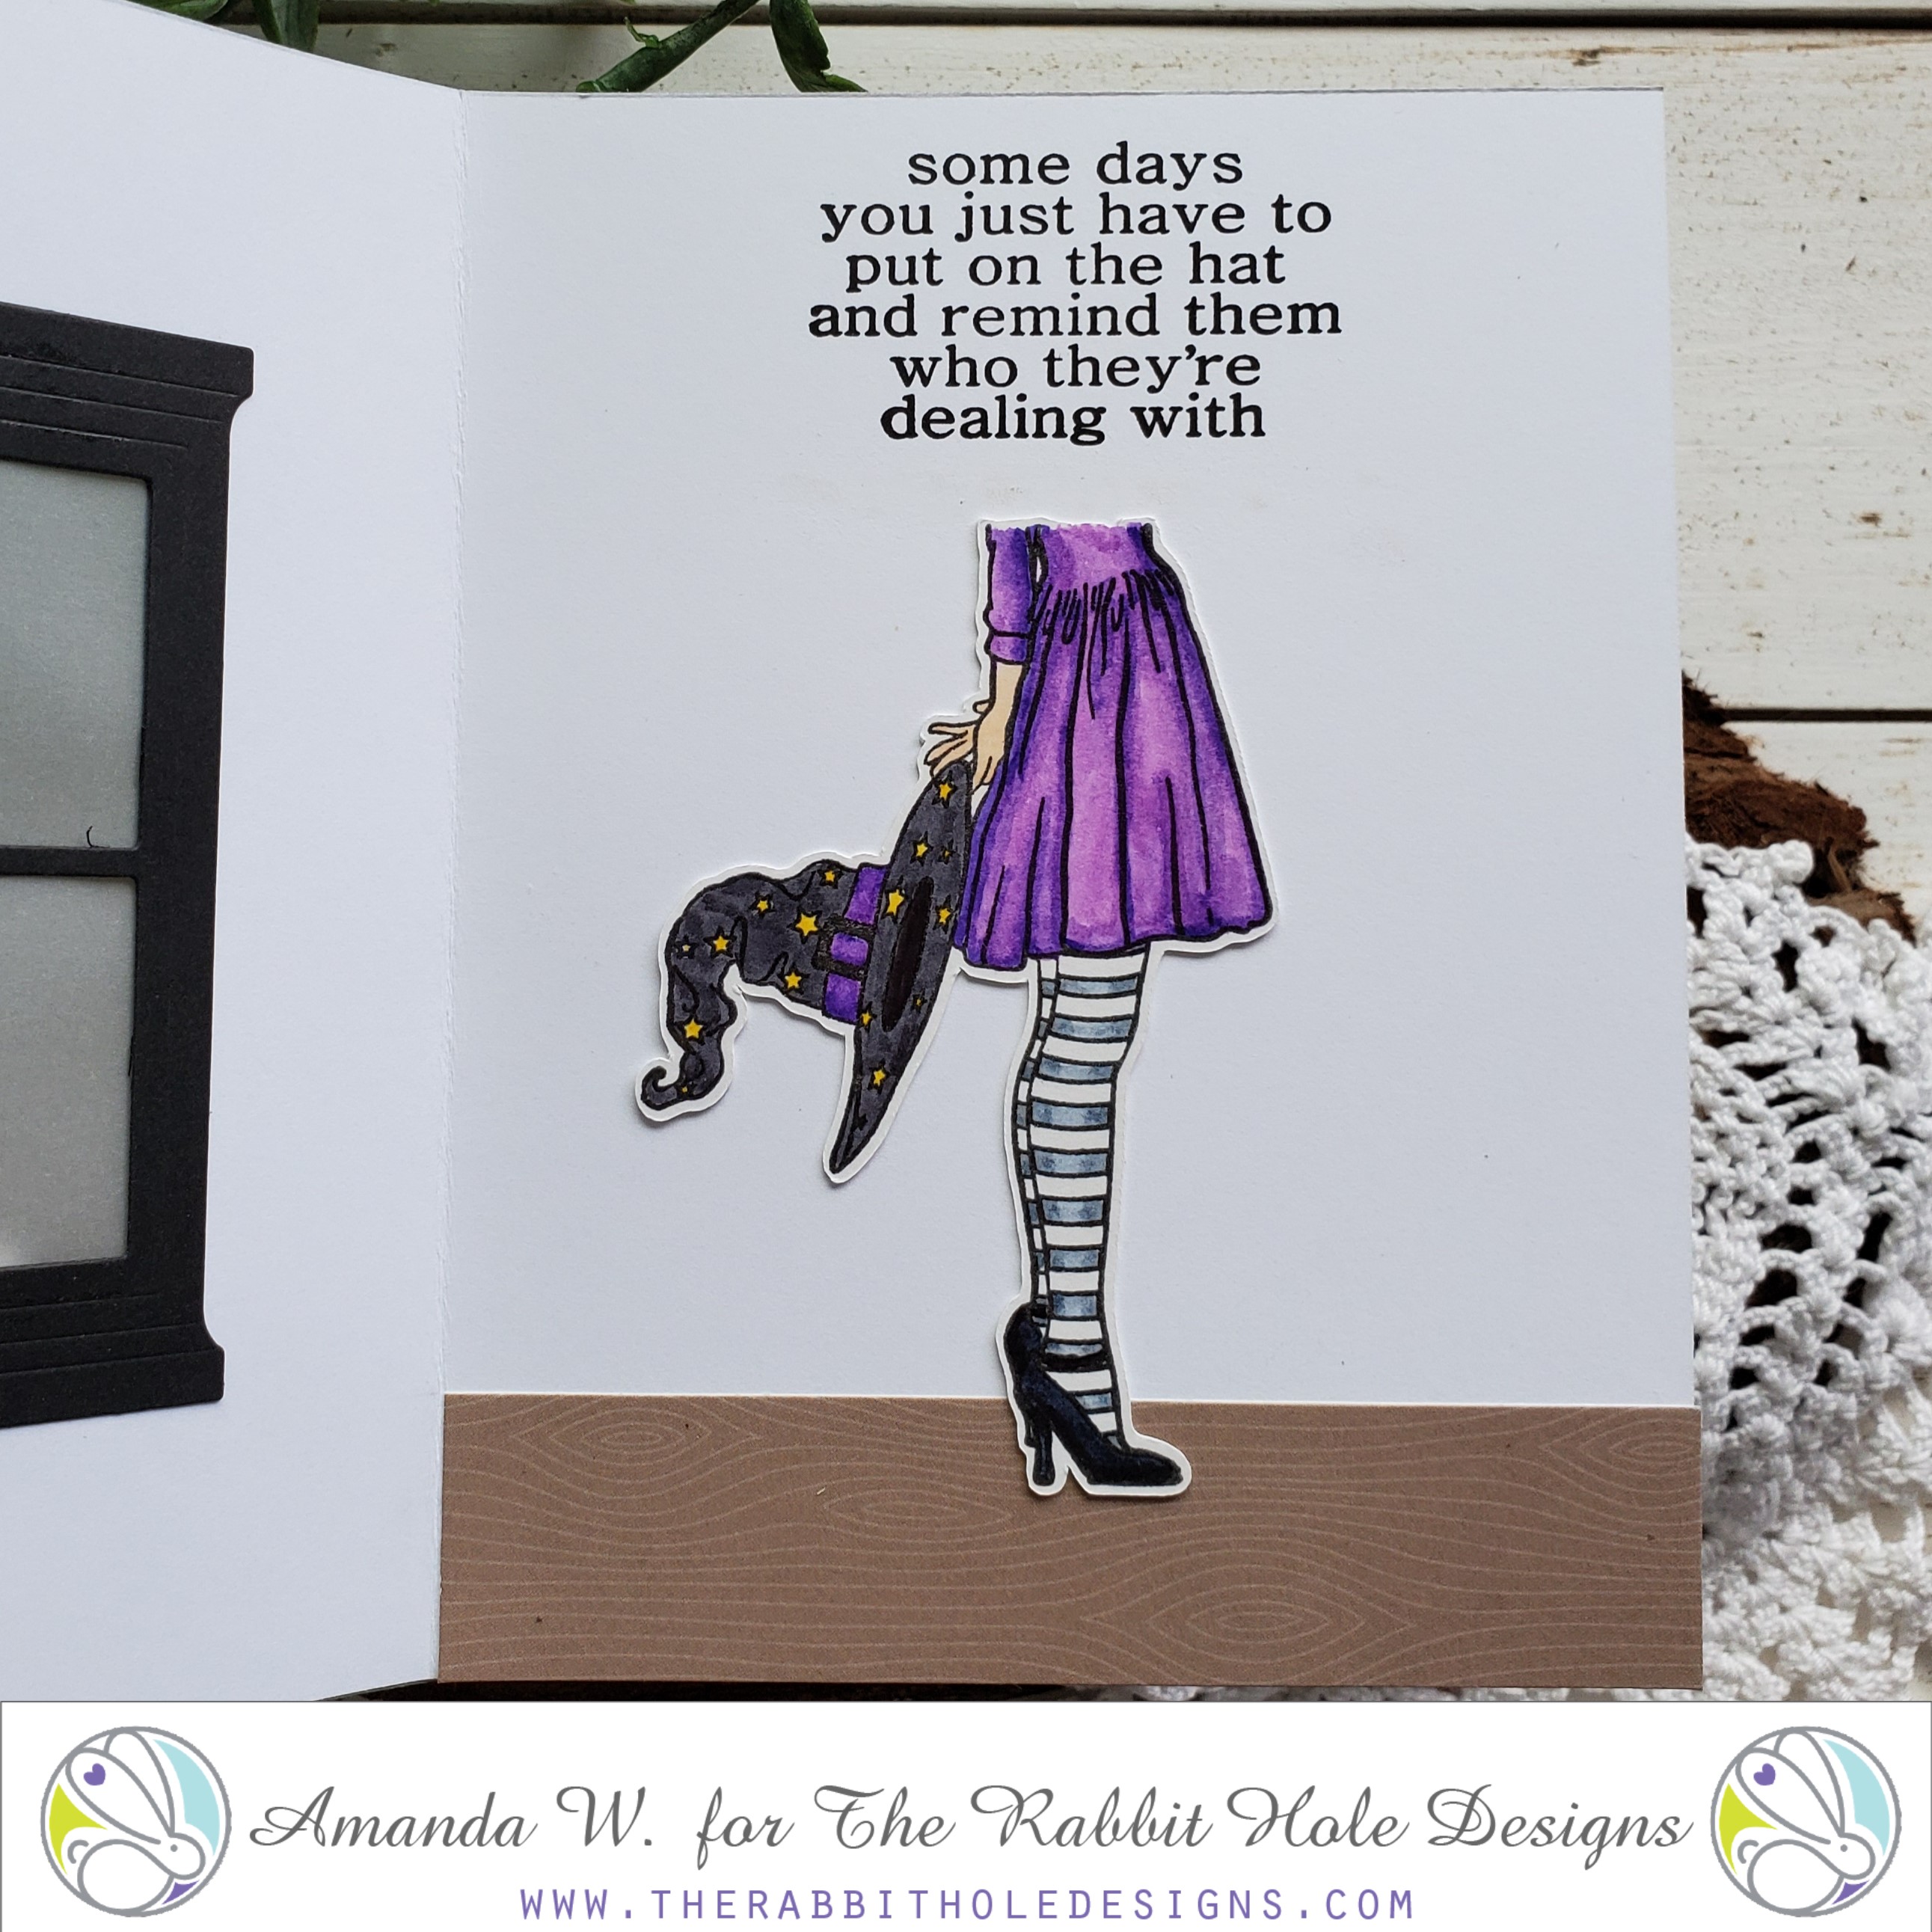
Here is a look at the inside of this one. It’s so great! I love the look of the vellum giving you an idea of what’s inside but not totally showing it off.

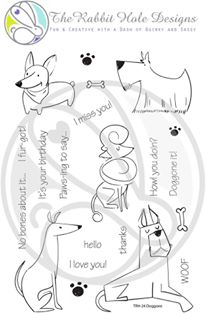
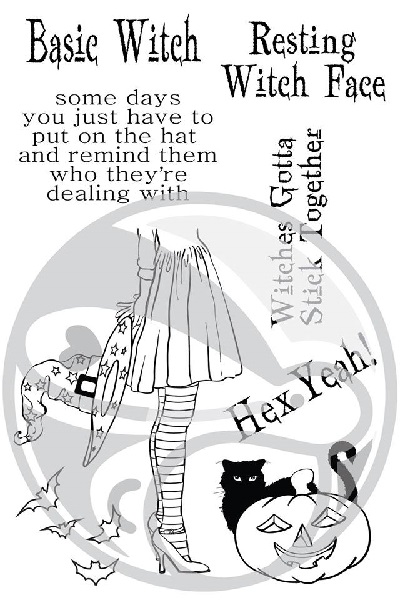
Here is the new stamp set I used. Remember you can head to The Rabbit Hole Designs and Simon Says Stamp for products!

Hex Yeah

REMEMBER: Every order placed directly with The Rabbit Hole Designs will be eligible for a 10% discount. Discount Code TRHD2019 this code will only be accepted until Friday 08-30-2019 12:01 am PST. EXCLUDES Dies and Crafters Essentials. Not applicable to previous orders. May be used more than once. Does not apply to shipping and tax.

ALSO, Simon Says Stamp is having a gift with purchase for all orders that contain The Rabbit Hole Designs products! This is so exciting!

GIVEAWAYS:
To celebrate day 1 inspiration The Rabbit Hole Designs is giving away the stamp set Hex Yeah to One lucky winner. Winner will be chosen at random from the comments left on participating blogs, so make sure to visit each stop and leave a comment. Leave comments by 11:59 pm PST 08-29-2019 on all participating blogs. Winner will be announced on The Rabbit Hole Designs blog 08-30-2019

Be sure to hop along to each blog in the list below!

Katie
Shanna
Niccole
Amanda S
Amanda W <—You are here!
Lisa
Charmaine
Echo

Rabbit Hole Designs – Doggone it! I fur-got!

Thanks for stopping by! I’m over at The Rabbit Hole Designs today sharing this super fun belated birthday card using Doggone.

Here’s how I did it:

  • Stamped, colored and cut the pups and then set them aside.
  • I diecut the panel, masked and inked it for dirt, grass and sky. Then reversed the mask to stamp the bones and paws around the border.
  • I adhered that to a card base and popped the pups up with foam squares.
  • Last I stamped and heat embossed my sentiments, then cut them into strips. I adhered these with foam strips.

I have so many dog lovers in my life, I might have to “fur-get” someone’s birthday just to use this. Ha! Ha!

Here are the products I used:

Doggone

For more inspiration, updates and news be sure to check these places:

I appreciate you sharing your time with me. Have a fabulous day!

Newton’s Nook Happy Purr-thday Card

Thanks for stopping by today. I’m sharing my last entry into the current Inky Paws Challenge. It’s all about color this time.

My collection of Newton’s Nook cuties is just starting out so I didn’t have a lot to choose from. The llamas I shared earlier were just perfect for this color palette but I decided to try and stretch myself with something else for this entry. I think it ended up fabulous and would be great for a fall birthday.

Here’s how I did it.

  • I stamped, colored and cut out Newton and set him aside.
  • Cut a 4×5.25 inch yellow patterned paper and a strip of coordinating paper to 4×2 inches. I wrapped brown ribbon around them and tied a knot. Then I glued that panel to a white card base.
  • Die cut 2 ovals and stamped the cloud from the set on the smaller one in teal ink. These are glued together and popped up with foam tape and then Newton is popped up on that with foam tape as well.
  • I stamped my sentiment at the bottom with the same teal ink as the clouds.
  • For finishing touches I put glossy accents on the balloons and Newton’s nose, Wink of Stella glitter brush on the clouds (so much sparkle) and scattered clay hearts from Honey Bee Stamps around the card.

Here’s a closer look at the glossy accents and the glittery clouds. It adds so much interest to this card. I love it!

I appreciate you sharing your time with me. Have a fabulous day!

Lawn Fawn Pick of the Patch Pivot Pop-up Card

Oh man I’m so excited to share today’s card with you. I was at a truck show with my husband all day Saturday, which was really fun. But you know my fingers were itching to be crafty as soon as I got home. And this is what came of my brain percolating all day long.

Here’s the front. I used fabulous Lawn Fawn striped paper for the background, ink blended and water spritzed a night sky. Then popped up the Lawn Fawn spooky fence with foam tape. I glued the pumpkins and squirrels from Pick of the Patch directly down and heat embossed my sentiment. Isn’t this card front so sweet? But wait! There’s more!!!

Ta-da!!!! Here’s the inside of this fabulous card! I love it so much!

If you need instructions for the pivot pop-up mechanism head over to the Lawn Fawn YouTube channel. Their videos are fabulous! Here’s a quick rundown on how I put the inside together.

  • Ink blended the inside of the card to match the panel on the front and heat embossed my sentiment toward the top.
  • Ink blended the pop up pieces and cut an additional layer of stitched tree border for added spooky and assembled it all.
  • I stamped, colored and die cut all my critters and pumpkins and attached them.
  • Last, I decided to add a grassy border for the bottom and happened to have an extra pumpkin which gave a cute, rounded out look.
  • One extra thing I did that you can’t see was adding a piece of black cardstock to cover the back of the card. I’m a messy ink blender so this covered up that issue plus gave the card extra stability.

I love it! Don’t you??? I really do hope you enjoyed it! What creative things have you made lately?

I appreciate you sharing your time with me. Have a fabulous day!

Newton’s Nook Alpaca My Bags

Welcome back for day 2 of my Newton’s Nook llama cuteness! Although today, I suppose they are alpacas based on the sentiment I chose for my card.

This card base is a stand up base using a Sizzix die called Step Up Card. Here are the details how I put it all together.

  • Die cut the card base from white and then ink blended two panels with distress inks for the orange to yellow ombre look, cut them to match the card shape and attached them.
  • Cut wood grain strips for flooring and attached those.
  • Stamped, colored and cut my llamas, blankets, bags and cacti from Newton’s Nook Loveable Llamas and glued them directly to the card base.
  • Last, I stamped my sentiment and for finishing touches I added glossy accents to the llama noses, sunglasses and cactus pot.

Here you can see all the shine from the glossy accents. It really adds so much fun to the card. I love it! These cards are so fun to give because the recipient can set them out and enjoy them since they stand up on their own.

I appreciate you sharing your time with me. Have a fabulous day!

Newton’s Nook No Prob-llama

I’ve been dying to use these adorable llamas since they arrived and the newest Newton’s Nook Inky Paws Challenge was the perfect opportunity! Today and tomorrow I’ll be sharing the first two cards I made then them and am also linking up to the challenge. I hope you enjoy them!

For this card:

  • I blended distress inks on a white card base over a new Rabbit Hole Designs stencil called diamond flower. I used cracked pistachio and spiced marmalade.
  • I stamped, colored and cut out my llama and his blanket from Newton’s Nook Loveable LLamas and popped them up with foam squares.
  • Last, I stamped my sentiment and then scattered Nuvo Crystal Drops throughout the background. My last final touch was to add glossy accents to my llama’s nose.

It was a really simple card to create but I am so happy how the background and the llama go together and the colors work perfect for the Inky Paws Challenge too!

I appreciate you sharing your time with me. Have a fabulous day!

The Rabbit Hole Designs Narly Shaker Card

I’m back again with another great caffeinated critter from The Rabbit Hole Designs. Today it’s a square shaker card featuring the Caffeinated Narwhal. I don’t make square cards often but it just struck me as perfect when I was planning the design of this card.

To make this card, I…

  • Stamped, colored, cut and set my narwhal aside.
  • I cut a circle frame and a sheet of acetate and glued them together. Then covered the back of the frame with a double layer of foam tape. This creates the shaker window.
  • I cut a square card base at 4.25×4.25 and adhered red wood grain paper to that. To complete the shaker part I added a pile of shaker bits to the center of the card and lined up my shaker window, sticking it down.
  • Next, I wrapped twine around the shaker window twice to cover the foam tape and give it a rustic look, then glued my narwhal and sentiment flag down.

I love the primary colors that came together for this card. It’s not a typical color palette for me but sometimes you just have to go back to the basics.

Here are the stamps I used:

Caffeinated Narwhal Stamp Set

For more inspiration, updates and news be sure to check these places:

I appreciate you sharing your time with me. Have a fabulous day!

The Rabbit Hole Designs #Buzzed Bumblebee

Thanks so much for stopping by today! I’m sharing this wobbly rainbow Caffeinated Bee from The Rabbit Hole Designs. He’s hanging out on an action wobbler so he buzzes when you flick him. It’s great fun! Trust me…

To make this card, I…

  • Stamped, colored, cut my bee and set him aside.
  • Die cut cloud borders for the top and bottom of the card, stamped the sentiments and inked the edges with distress ink.
  • I stamped the caffeine molecules from my various caffeinated critters in rainbow order, skipping yellow because my bee is yellow.
  • I adhered the stamped background to a yellow card base and then popped the clouds up with foam tape.
  • Last, I added Wink of Stella glitter brush to the bee’s wings and popped him on the card with an action wobbler for a little interactive element on this fairly simple card.

He sticks up pretty far but compresses totally flat to fit in an envelope. Also, when you pull the card out of an envelope the bee naturally buzzes a little on its own to give the recipient a hint that he moves. Super fun!

Here are the stamps I used:

Caffeinated Bee Stamp Set

Perfectly Blended Stamp Set

For more inspiration, updates and news be sure to check these places:

I appreciate you sharing your time with me. Have a fabulous day!

Lawn Fawn Costume Party Card

Who’s ready for fall??? Okay, if you know me, you know that my hand is raised the highest right now. Needless to say I’ve been having a blast with fall and Halloween cards lately. I’m super excited how this one turned out and couldn’t wait to share it.

So much cuteness and here’s how I did it:

  • Started by blending distress inks – I posted the background on Instagram last week after it turned out so well. I did spray it with water for distressing afterward.
  • Then I stamped, colored and die cut all my kiddos and accessories.
  • Next, I stamped and heat embossed my sentiments and cut them into thin strips.
  • Last I popped it all up with foam tape – kiddos and sentiments alike.
  • For finishing touches I added Wink of Stella glitter pen to the unicorn horn and band on the witch’s hat and scattered gems across the background for some shine.

I love it! I love it! I love it! Don’t you? It’s just so much fun and makes me want to start brainstorming costumes with my daughter.

Thanks for stopping by. I appreciate you sharing your time with me. Have a fabulous day!

Rabbit Hole Designs Pretty in Peony Thinking of You Card

Welcome back everyone! I’m over at The Rabbit Hole Designs blog today with this beautiful Pretty in Peony card.

Here’s how I did it:

  • Stamped, heat embossed, colored and cut my peonies and leaves.
  • Blended salty ocean distress ink starting in the center of a white panel working my way out.
  • Working my way up I layered the striped paper, black cardstock and inked white panel. Then adhered the peonies and leaves with glue and foam squares for dimension.
  • Last I heat embossed the sentiment in white on black cardstock and popped it up with a foam strip.
  • For finishing touches I added a scattering of clear sequins and ice blue stickles dots.

Such a bright cheery card to share with someone. And I can’t get enough of those peonies.

Here is the stamp set I used:

Pretty in Peony

For more inspiration, updates and news be sure to check these places:

I appreciate you sharing your time with me. Have a fabulous day!